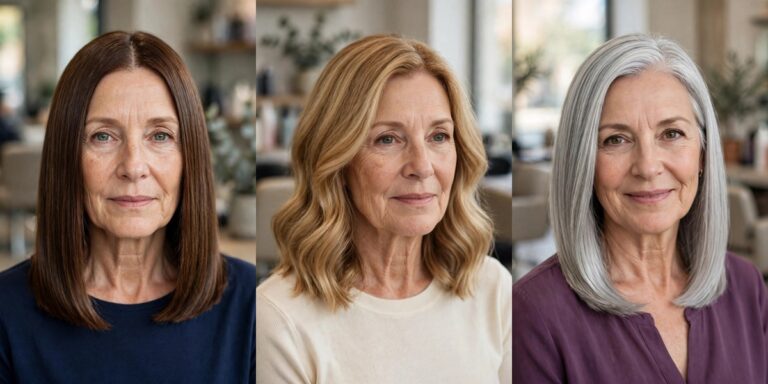
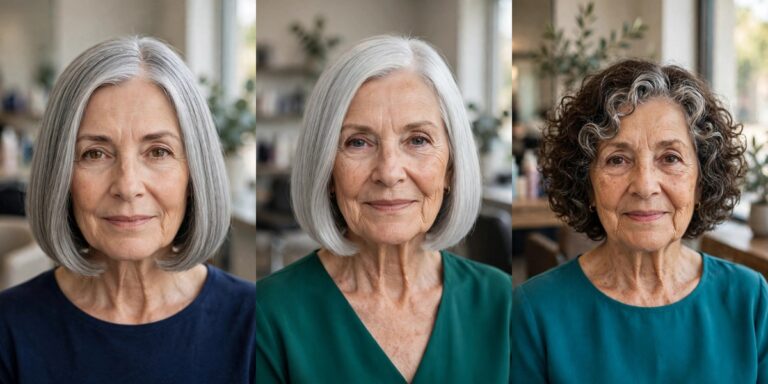
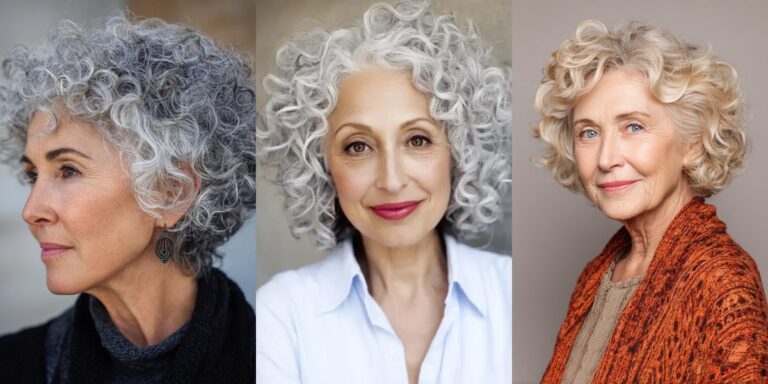
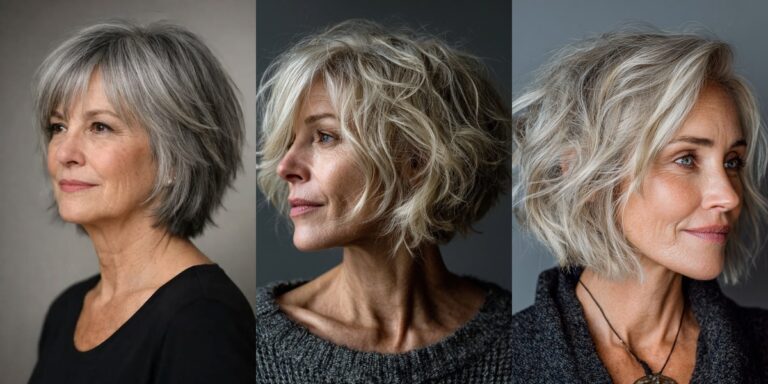
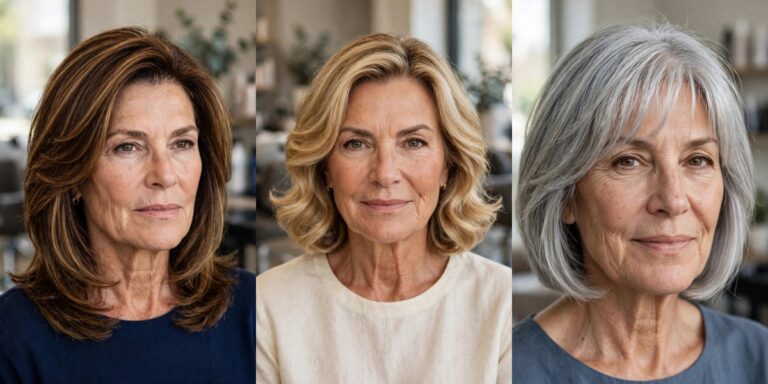
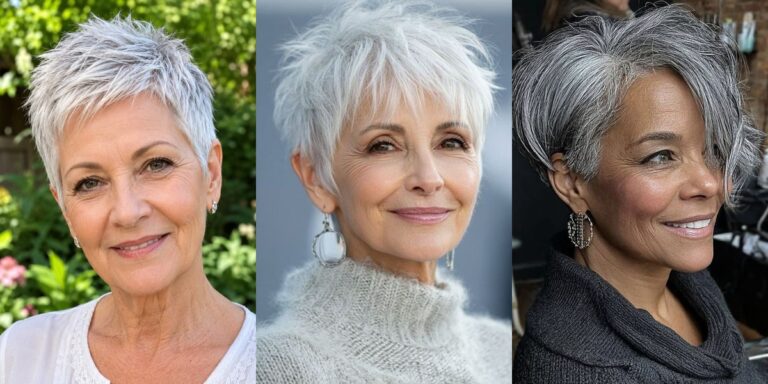
19 Volumizing Hairstyles for Women Over 70 With a Thinning Crown
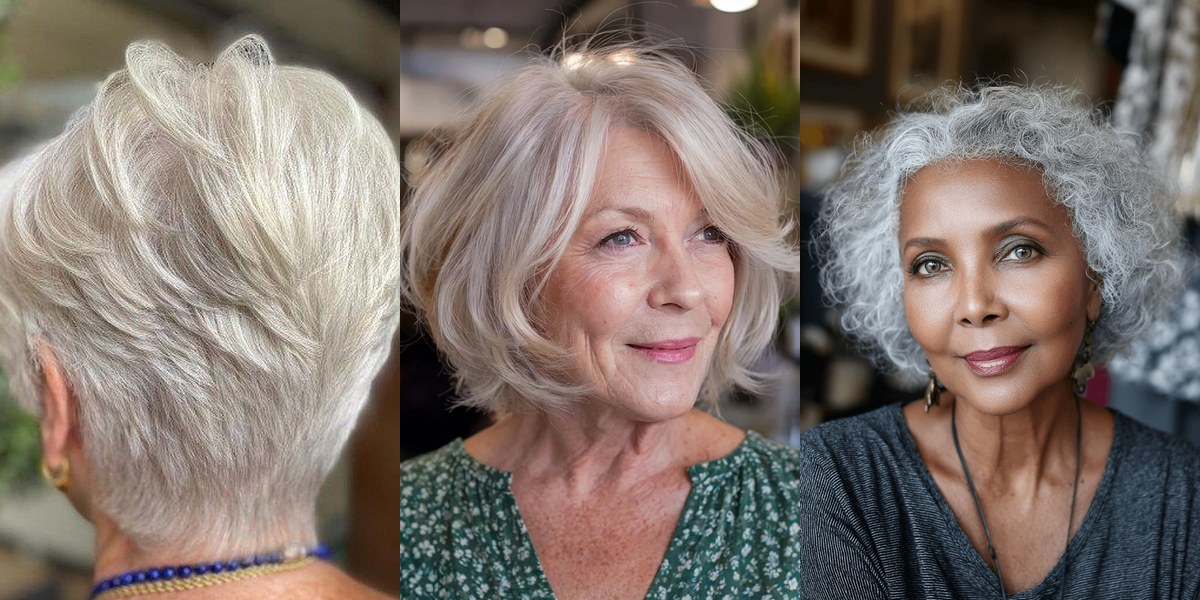
The crown is where thinning so often shows first — a whorl that spreads, a spot that shines through in photos, hair that lies flat no matter what you do. After 70, finer texture and a more tender scalp can make the old tricks, like hard backcombing, feel out of the question.
These 19 volumizing hairstyles are designed specifically for a thinning crown: stacked and forward-directed layers that cover while they lift, parts that borrow fullness from where you have it, and gentle styling methods that respect tired arms and sensitive skin.
Table of Contents
- Stacked Crown Pixie With Forward Layers
- Volumized Blowout Bob With Crown Height
- Large-Roller Set Short Style With Lasting Lift
- Layered Shag With a Crown Volume Section
- Side-Flipped Pixie That Borrows From the Fuller Side
- Short Bob With a Crown Undercut-Lift (Hidden Support Layer)
- Textured Crown Crop With Piecey Definition
- Feathered Crown Sweep on a Classic Bob
- Curly Crown Pixie With Height on Top
- Asymmetrical Crown Bob With a Deep Part
- Root-Lift Pixie Bob With a Tousled Finish
- Short Layered Cut With a Crown-First Blow-Dry Shape
- Soft Spiky Crown Texture on a Short Crop
- Wispy Crown Fringe Sweep (Forward Fringe From the Crown)
- Chin Bob With Crown Layers and a Zigzag Part
- Volume-Mousse Friendly Layered Cut (Cut for Your Product)
- Gentle Back-Brushed Crown (Soft Lift, No Teasing)
- Crown-Highlighted Silver Blend That Camouflages Thinness
- Classic Short Set With a Modern Crown (Roller-Friendly Cut)
Why These Styles Work After 70
- Stacked and forward-directed crown layers cover the thinnest spot while building height over it.
- Side flips and deep parts move your fullest hair across the crown, doubling coverage instantly.
- Gentle methods — rollers, crown-first drying, cooling time — create lift with no teasing or tugging.
💡 The right cut starts with your face shape. Use our face shape quiz to find yours in under a minute, then come back to the ideas above with fresh eyes.
1. Stacked Crown Pixie With Forward Layers
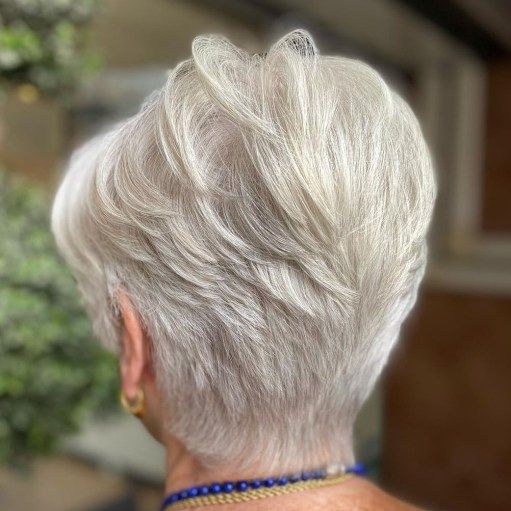
Image credit: Pinterest
Stacking short layers at the back of the crown builds a little shelf of hair that props everything above it upward. Forward-directed layers then fall over the thinnest point instead of away from it.
For a thinning crown, this combination is the gold standard: structure underneath, coverage on top. It holds its shape between washes better than most cuts on this list.
Ask your stylist: Stack the back, direct the crown forward, and keep the top layer unthinned.
2. Volumized Blowout Bob With Crown Height
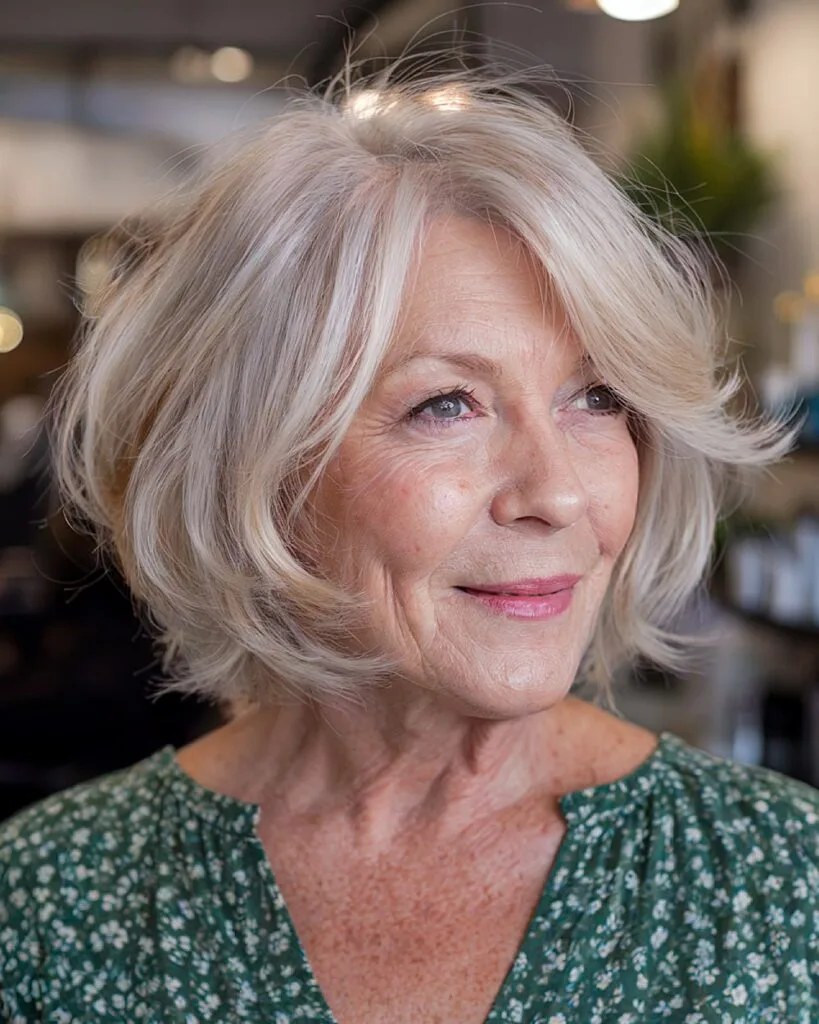
Image credit: How to Cook
A bob dried with deliberate crown height changes your whole silhouette — the eye goes to the lift, not the lightness of the hair. Bent-under ends keep the outline full and tidy.
Use a hot-air brush if holding a dryer and brush separately tires your arms. One tool, seated if you prefer, gives a salon-looking crown in about five minutes.
Styling tip: Always dry the crown section first, while it is wettest — that is when lift is set.
3. Large-Roller Set Short Style With Lasting Lift
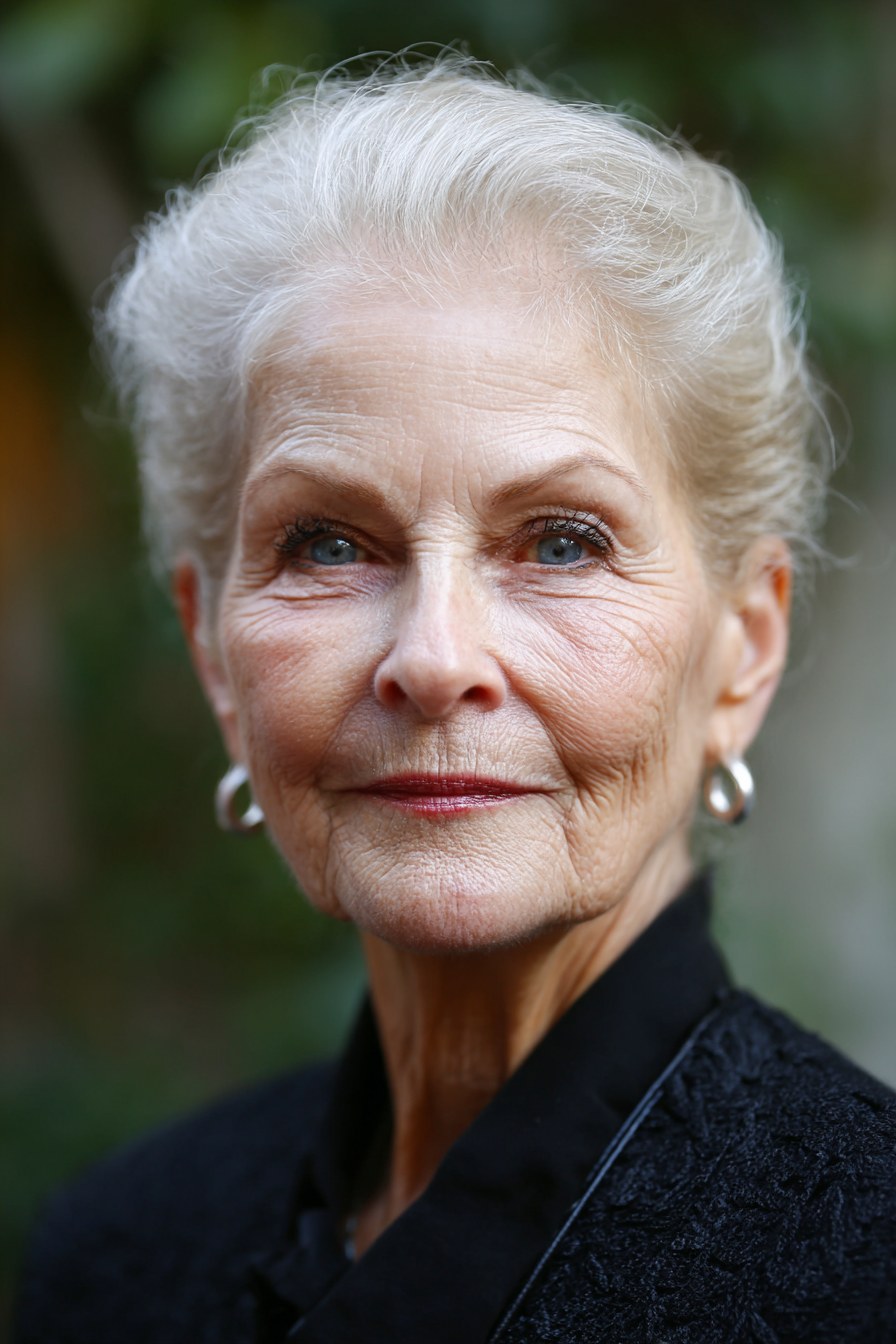
Image credit: Fabbon
Two or three large velcro rollers placed at the crown while you make tea or dress will set more volume than ten minutes of brushing. The hair cools in the lifted position, which is the secret.
This is the kindest volume method for arthritic hands and tired shoulders, because your arms are only raised for a few seconds. It works on any short cut in this article.
Keep it easy: Rollers go in on nearly-dry hair with a mist of setting spray, and come out after 15 minutes — no heat needed.
4. Layered Shag With a Crown Volume Section

Image credit: Fortattooideas
A shag’s choppy crown layers naturally stand away from the head instead of lying flat, which is exactly what a thinning crown needs. The messier texture also breaks up any shine-through.
Ask for the crown section to be layered a touch shorter than the rest. That shorter crown springs up and covers, while longer pieces around it add softness.
Best for: Straight fine hair that collapses at the crown by lunchtime.
5. Side-Flipped Pixie That Borrows From the Fuller Side
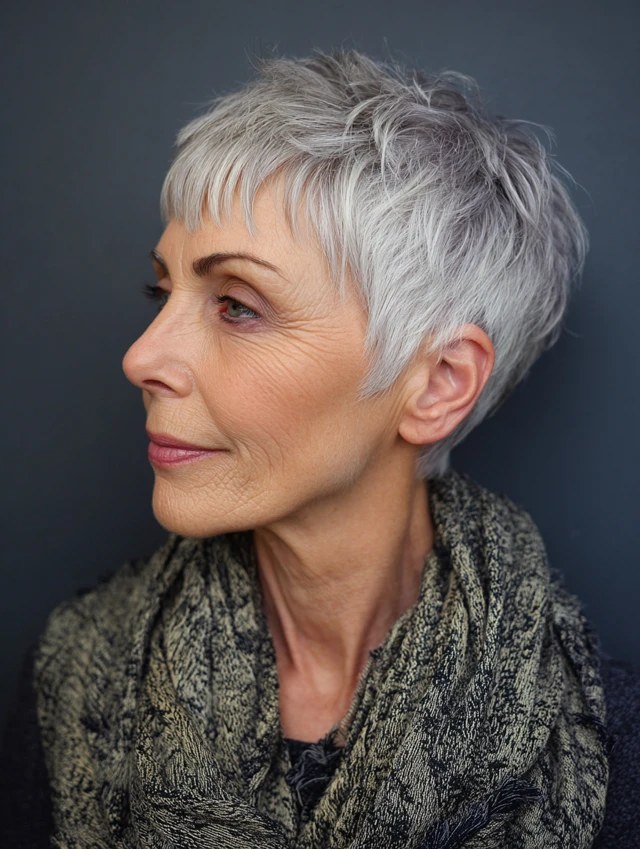
Image credit: For Hairstyles Inspo
Flipping your pixie to the opposite side of your natural part lifts every root at once and drapes a double layer of hair over the crown. It is an instant, product-free volume change.
Most women have one fuller side — flipping toward the thinner side borrows that fullness. Alternate sides on different days so no single area is always exposed.
Styling tip: Flip while hair is damp and let it dry that way; fine hair learns a new direction surprisingly fast.
6. Short Bob With a Crown Undercut-Lift (Hidden Support Layer)
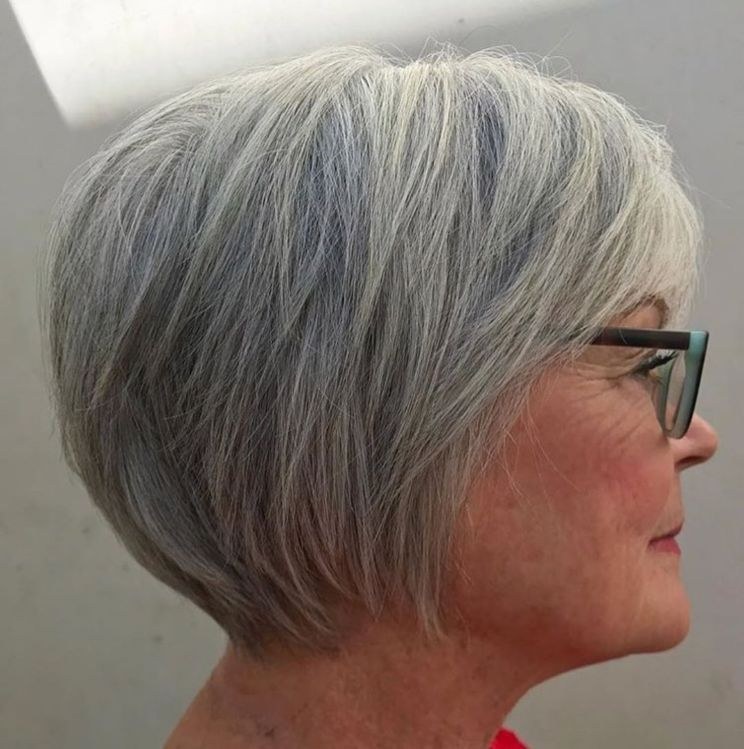
Image credit: Cocoaindochine
A discreet shorter layer cut beneath the crown acts like a built-in support, holding the surface hair up and away from the scalp. From outside, nobody would ever guess the trick is there.
This suits women whose crown hair is long enough to go flat but too fine to hold a style. The support layer does the standing; the top layer does the covering.
Ask your stylist: Keep the support layer gentle — on a very sparse crown, your stylist may suggest forward layers instead.
7. Textured Crown Crop With Piecey Definition
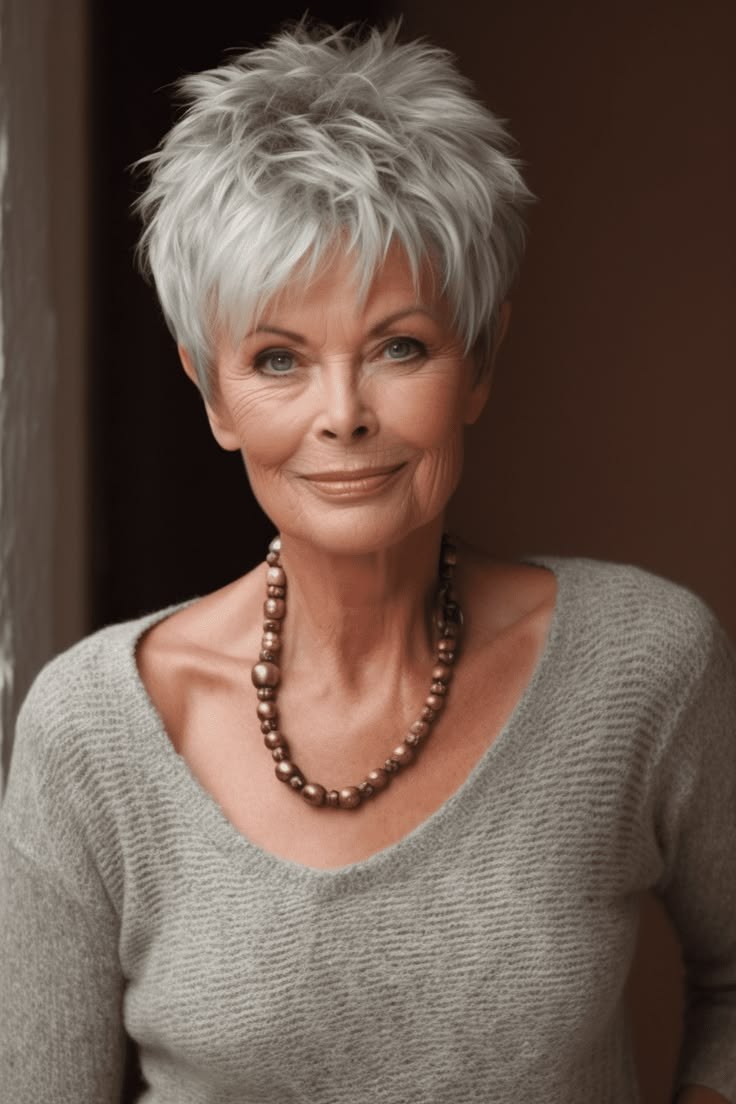
Image credit: Pinterest
A short crop with deliberately piecey, textured crown pieces creates dozens of tiny shadows across the crown, and shadows read as thickness. Flat, uniform hair offers no such camouflage.
Piecey definition needs only a fingertip of matte product worked into dry hair. It is a youthful, energetic look that is especially pretty in salt-and-pepper tones.
Styling tip: Pinch and lift small sections at the crown rather than smoothing — smoothing is the enemy here.
8. Feathered Crown Sweep on a Classic Bob
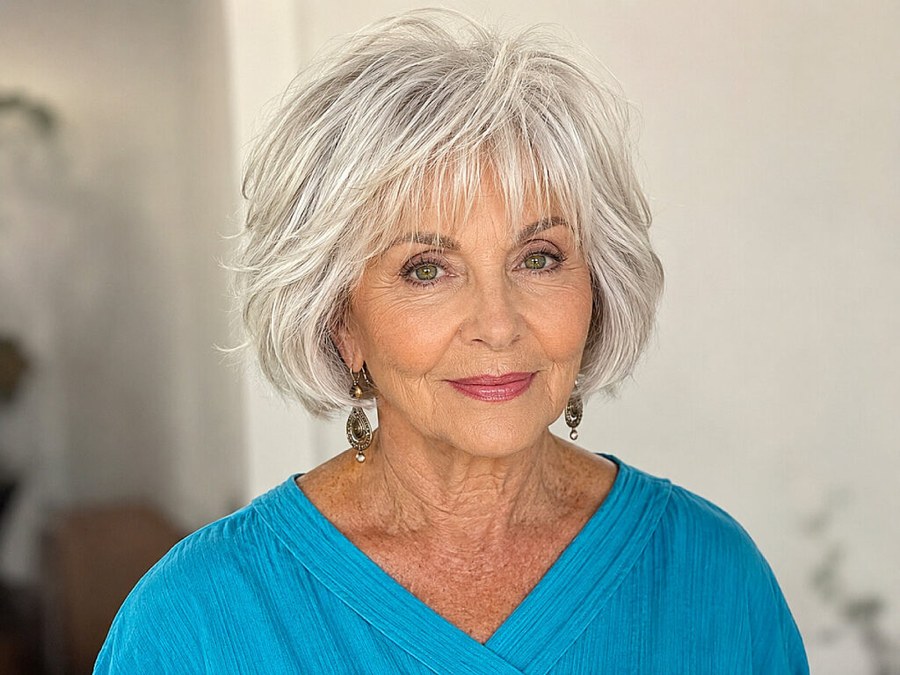
Image credit: Trendyhairideas
Feathering the crown section of a classic bob so it sweeps forward and to one side builds a soft wave of hair right over the thinnest area. The rest of the bob stays smooth and elegant.
This is a good choice if you love a bob but your crown has started to let you down. One changed section refreshes the whole cut.
Keep it easy: A single large roller at the crown for ten minutes sets the sweep while you have breakfast.
9. Curly Crown Pixie With Height on Top
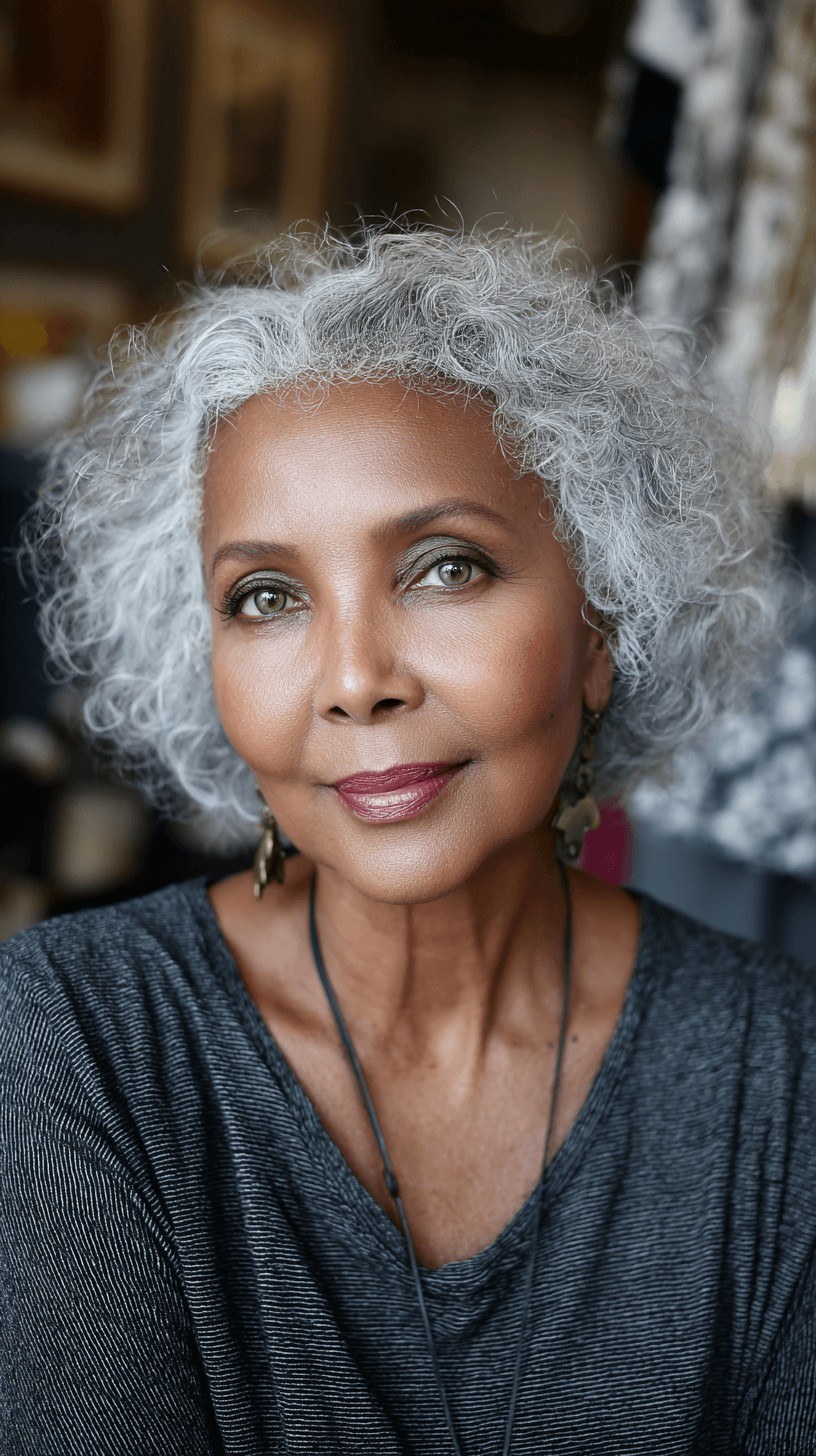
Image credit: Latest Hairstyles
Curls pile on top of each other, so a curly pixie worn longer on top gains height and coverage at the crown almost automatically. Each curl also shades the scalp beneath it.
If your hair has lost its curl with age, soft foam rollers overnight can restore enough bend for the crown area. Even a gentle wave makes a measurable difference to coverage.
Best for: Wavy or curly fine hair, and anyone willing to set just the crown.
Crown Care Checklist for Women Over 70
- Always dry the crown first, while the hair is wettest — that is when lift is decided.
- Let the crown cool completely before styling the rest; warm hair collapses.
- Skip hard backcombing — use a soft brush and three gentle strokes at most.
- Protect a sparse crown from the sun with a hat on bright days; thin coverage burns easily.
- Ask for a crown check at each trim — your stylist can adjust layers as density changes.
10. Asymmetrical Crown Bob With a Deep Part
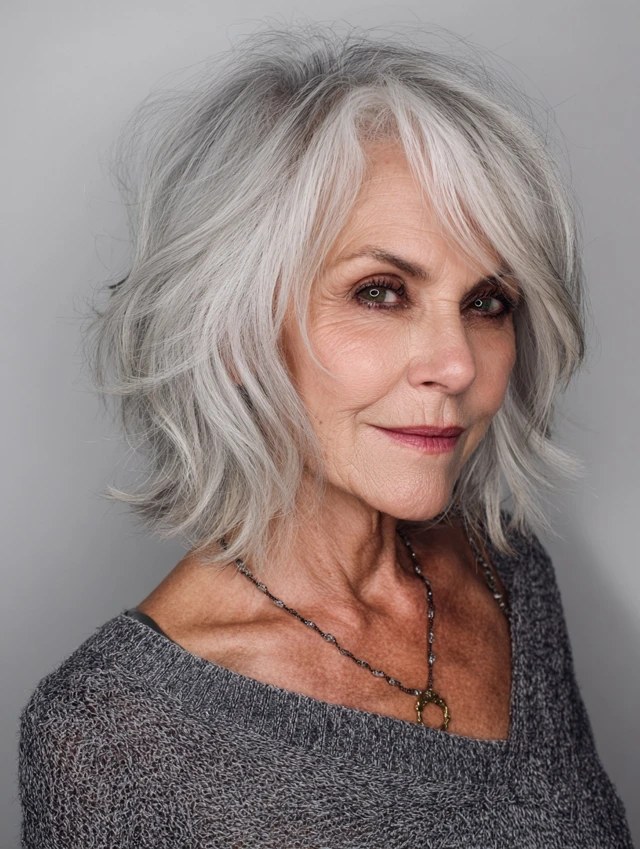
Image credit: For Hairstyles Inspo
A deep side part on an asymmetrical bob sends a long sweep of hair diagonally across the crown, covering it from an angle a center part never could. The longer side carries the volume; the shorter side keeps it neat.
Diagonal coverage is particularly good for a whorl or cowlick at the crown, because the sweep can be directed against it. It flattens the cowlick while covering the skin it exposes.
Ask your stylist: Show them exactly where your cowlick sits — the part placement should be planned around it.
11. Root-Lift Pixie Bob With a Tousled Finish
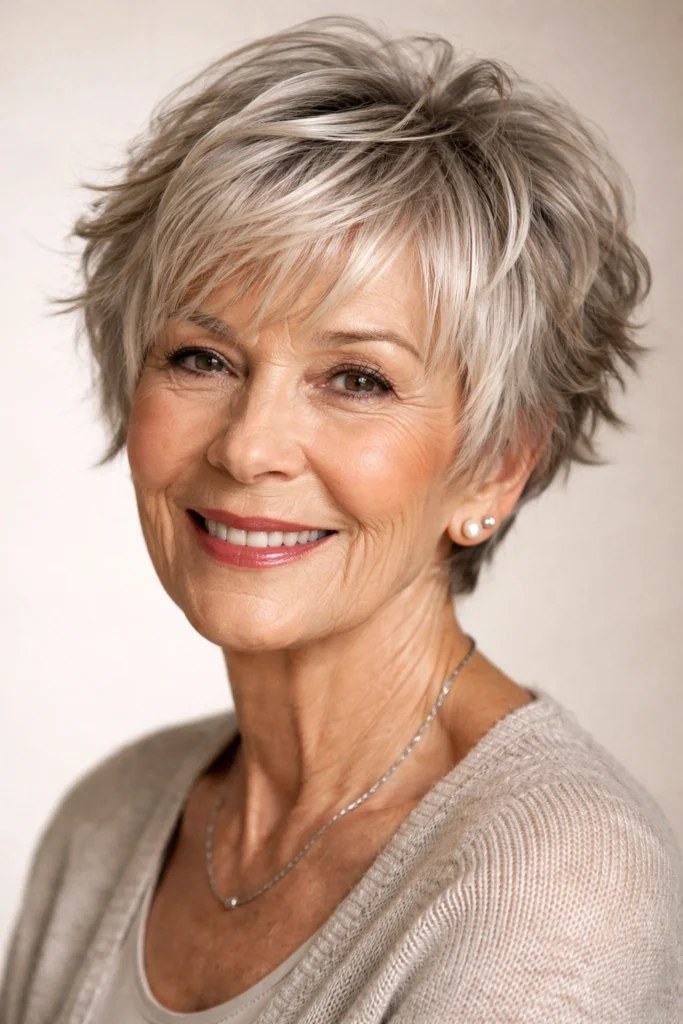
Image credit: Hairtical
The pixie bob keeps enough length on top to tousle, and a tousled finish — strands lifted, separated, and slightly disordered — is the most convincing volume illusion for a thin crown.
Tousling breaks the hair into light-catching pieces instead of a thin sheet. A little root powder or dry shampoo at the crown adds grip so the tousle lasts.
Styling tip: Tousle last, after hair is completely dry — damp fine hair separates into strings, not volume.
12. Short Layered Cut With a Crown-First Blow-Dry Shape
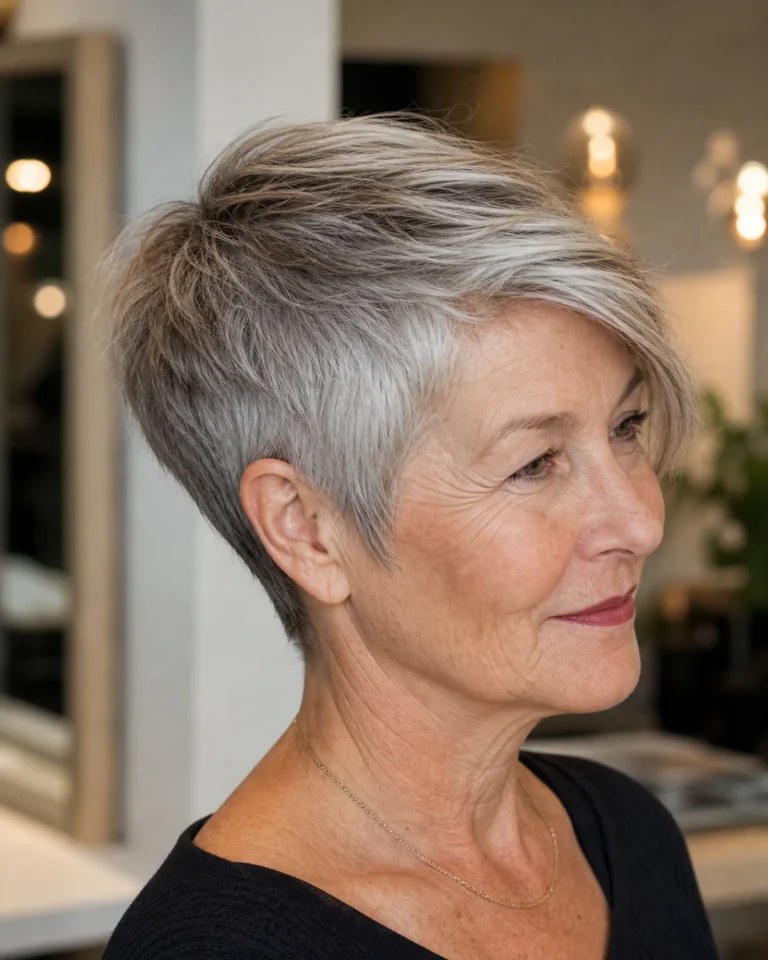
Image credit: Goldsupplier
Some cuts are designed around how they will be dried, and this one is: layers graduate so the crown section, dried first and lifted, stands tallest. The shape is built into the haircut, not just the styling.
Tell your stylist you always dry the crown first and want the cut to reward that. It is a small conversation that changes the result every single morning.
Keep it easy: Sit down to dry the crown — there is no rule that styling must be done standing at a mirror.
13. Soft Spiky Crown Texture on a Short Crop
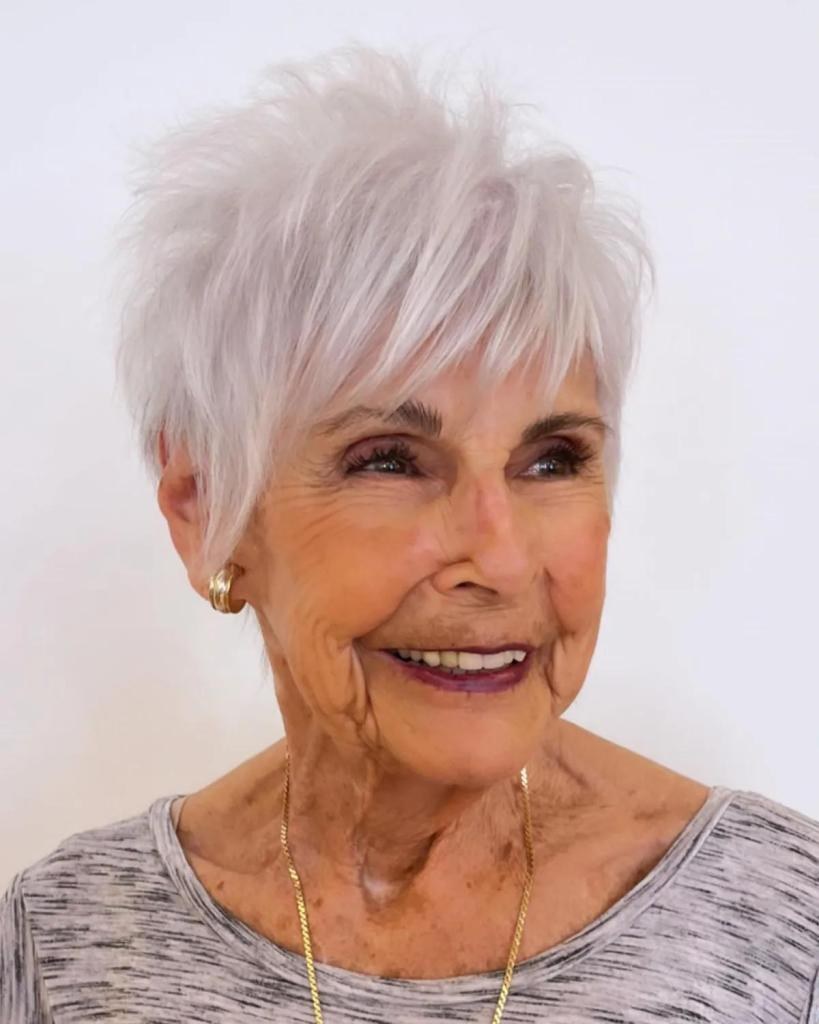
Image credit: Syl
Gently spiked texture at the crown — soft, never stiff — lifts strands away from the scalp so light and shadow do the thickening. Modern products keep it touchable, not crunchy.
This works best on hair that is short at the crown already. Keep spikes small and feathery; the goal is texture, not a statement.
Styling tip: Use the tiniest amount of fiber paste on fingertips only, and lift — never press down.
14. Wispy Crown Fringe Sweep (Forward Fringe From the Crown)
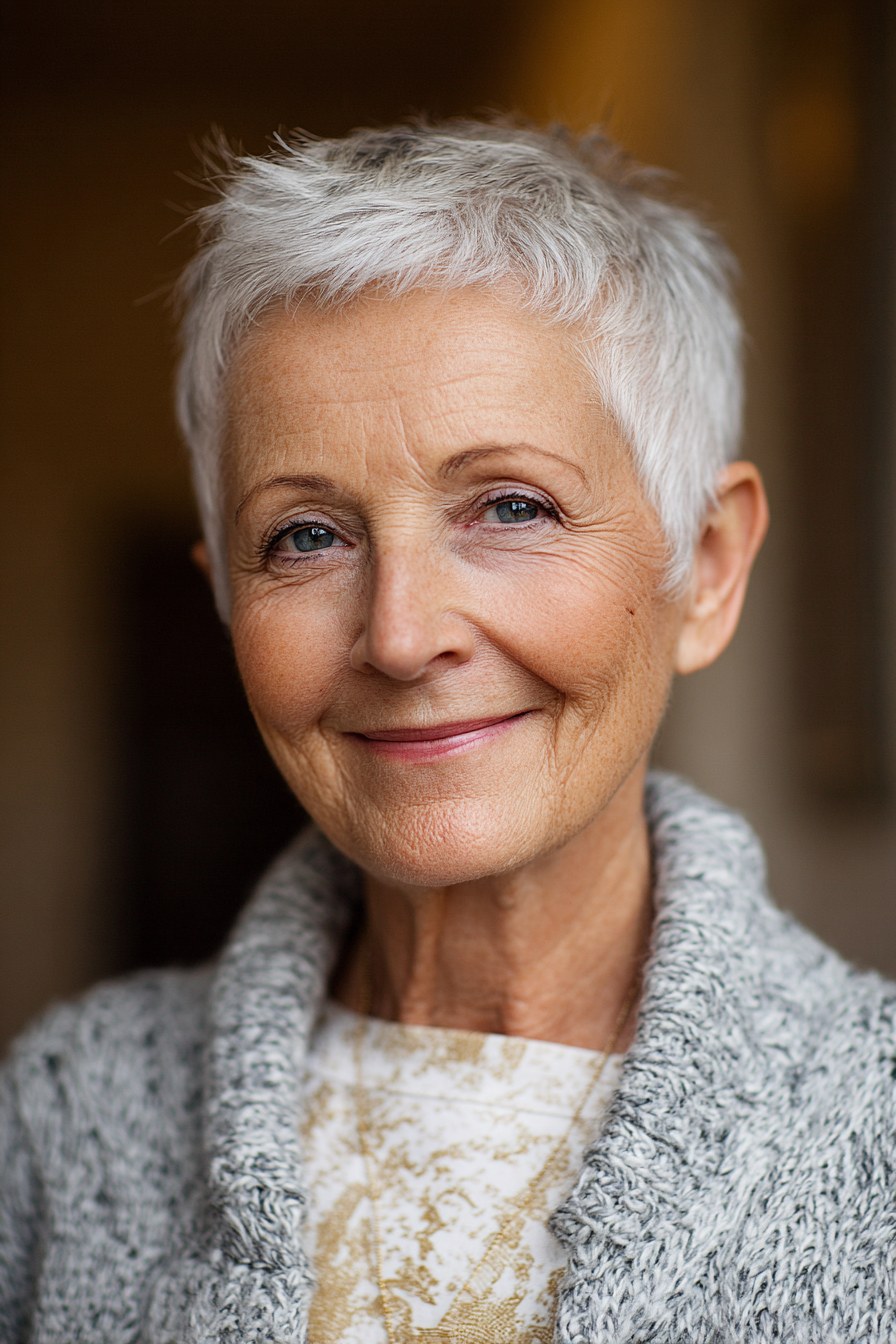
Image credit: Fabbon
Instead of brushing everything back, this style brings a wispy section forward from the crown itself, so the crown is covered by hair traveling over it. The effect is soft and surprisingly elegant.
It is an old-school hairdressing trick that deserves its comeback for thinning crowns. It suits a slightly longer pixie or a short bob with enough top length to travel.
Best for: A crown that is thin at the very top, with better density a little further forward.
15. Chin Bob With Crown Layers and a Zigzag Part
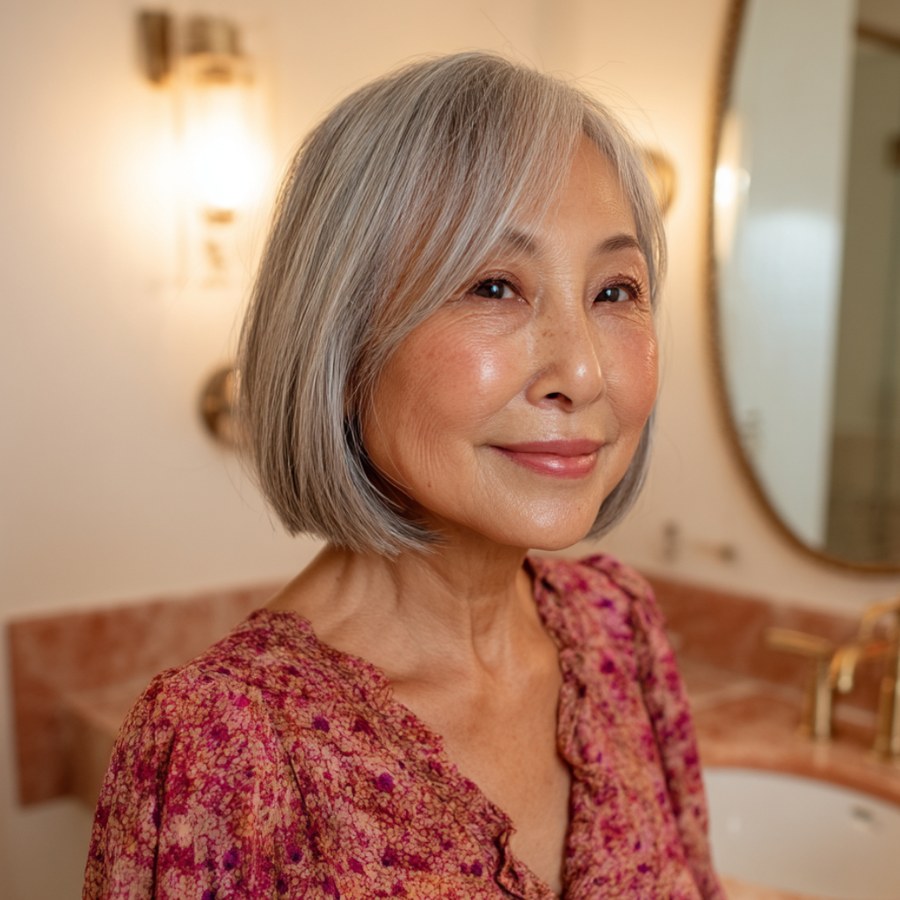
Image credit: Latest Hairstyles
Crown layers give this bob its lift, while a zigzag part makes sure no straight line of scalp shows where the hair divides. Together they solve the two problems a thinning crown presents: flatness and show-through.
The chin length keeps ends looking full, which balances the lifted top. It is a polished everyday style that photographs very well.
Ask your stylist: Zigzag the part with the comb at the end of your appointment and check it together in bright light.
16. Volume-Mousse Friendly Layered Cut (Cut for Your Product)
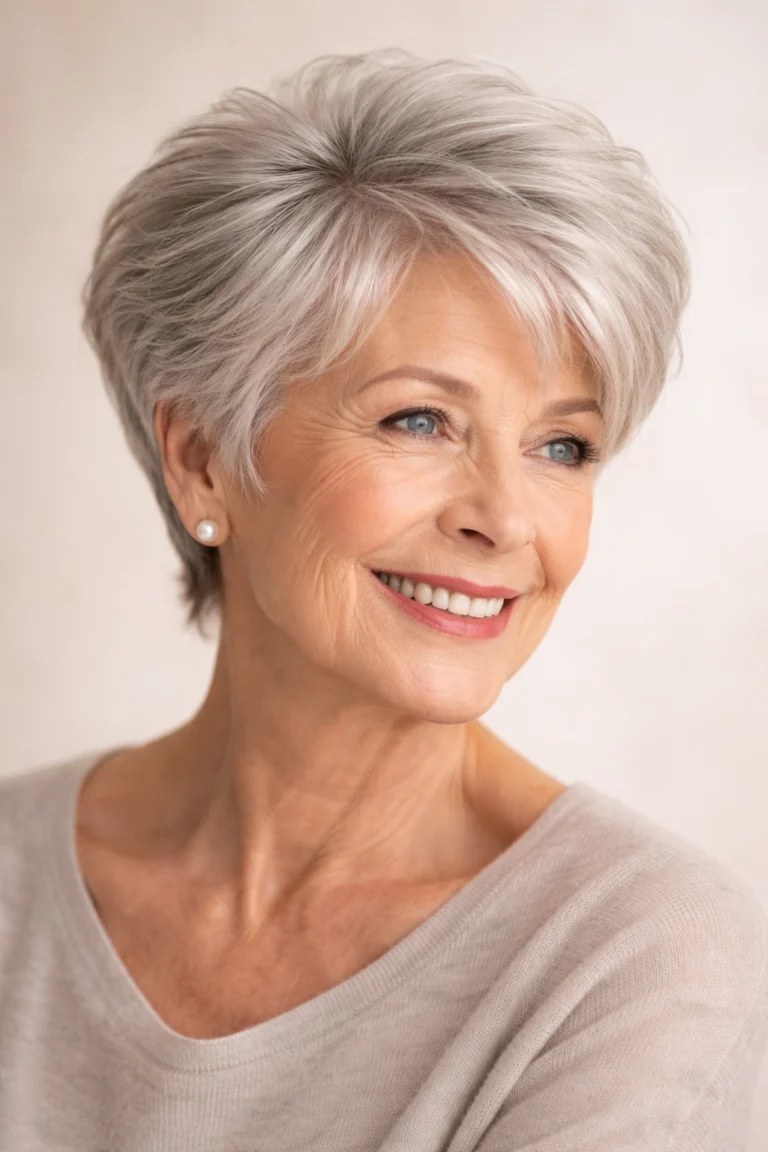
Image credit: Hairtical
If a light root mousse is already your best friend, choose layers cut to work with it: slightly shorter crown layers that mousse can actually lift, rather than long layers it cannot hold.
Product cannot rescue a cut that fights it, but it doubles the effect of a cut designed for it. Keep mousse at the roots of the crown only, on damp hair, in a pea-size amount.
Styling tip: More mousse is not more volume on fine hair — excess weight flattens the crown by midday.
17. Gentle Back-Brushed Crown (Soft Lift, No Teasing)
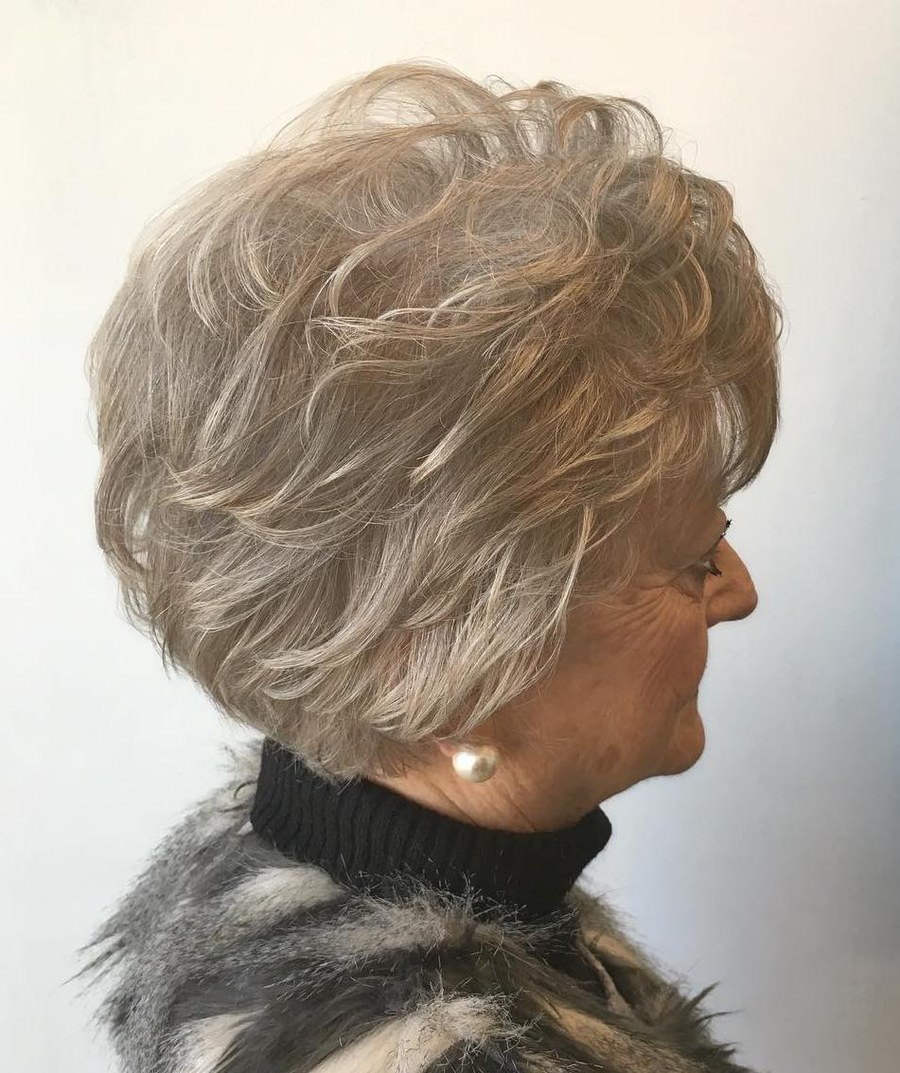
Image credit: Hairstyle (UNAT Amazonas)
True backcombing is too harsh for fragile over-70 hair, but a gentle back-brush with a soft bristle brush — three strokes at the crown roots — gives a whisper of lift without damage.
Smooth the surface layer over the top with your palm afterwards, so the lift is hidden and the finish looks natural. This technique suits special occasions when you want a little extra.
Keep it easy: Never back-brush wet hair, and always brush the lift out gently before washing to avoid tangles.
18. Crown-Highlighted Silver Blend That Camouflages Thinness
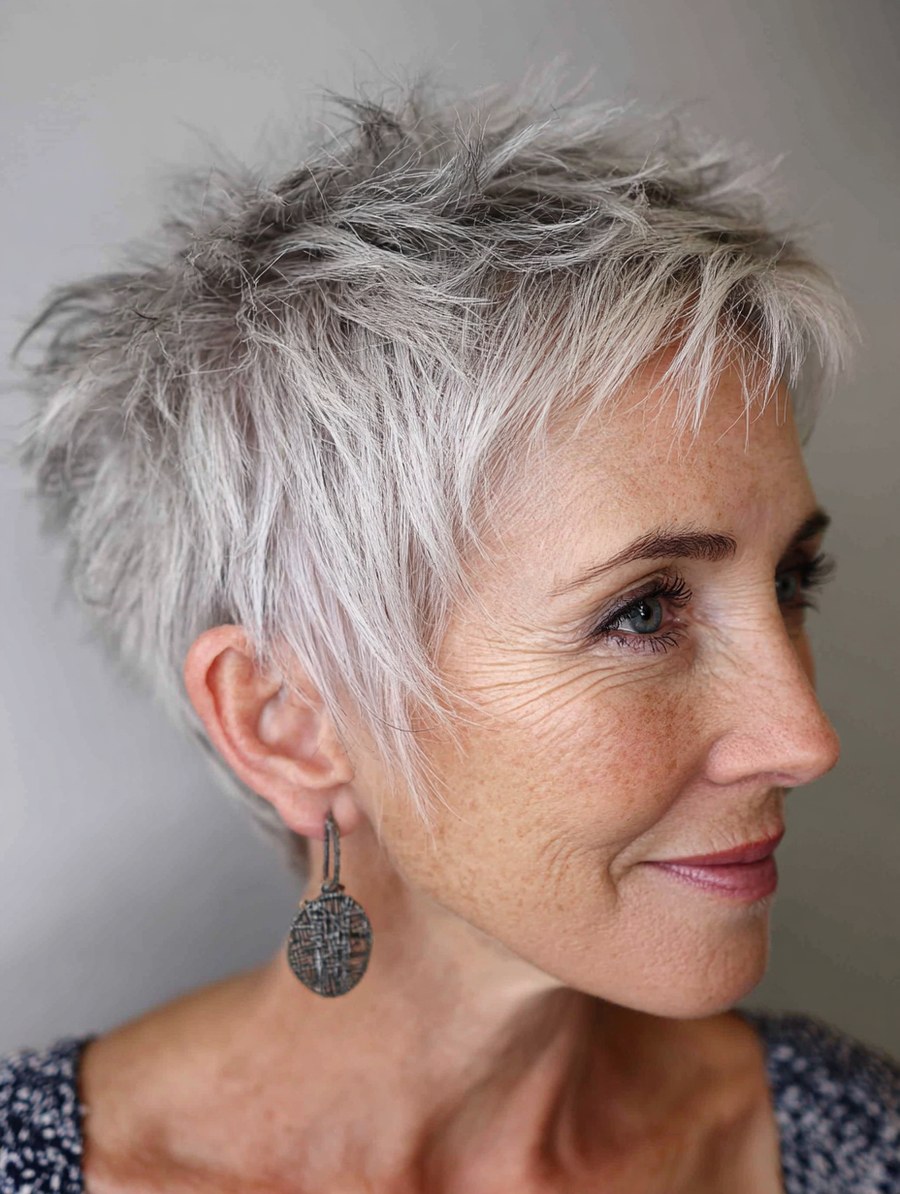
Image credit: Hair and Tattoo
Strategic lighter pieces around the crown reduce the contrast between hair and scalp, so thinning simply registers less. In silver hair, brightening the crown pieces often looks like natural light falling there.
Color cannot add hair, but it can absolutely change how much scalp the eye notices. Pair it with any cut on this list for a double effect.
Ask your stylist: Ask for camouflage, not coverage color — fine, blended pieces around the crown only.
19. Classic Short Set With a Modern Crown (Roller-Friendly Cut)
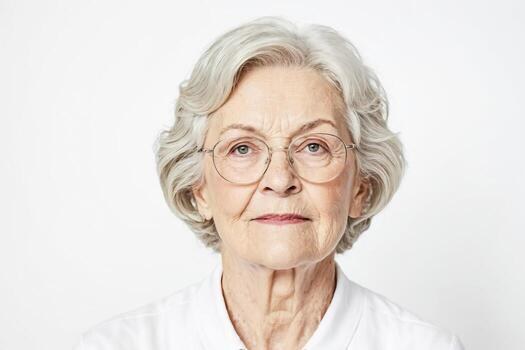
Image credit: Vecteezy
A classic short cut shaped to be set — slightly longer, even layers on top — takes rollers beautifully and gives the crown a smooth, lifted finish that lasts for days on fine hair.
A weekly set is a rhythm many women over 70 remember fondly, and modern foam or velcro rollers make it gentler than ever. Between sets, the cut still falls into a neat shape.
Best for: Women who prefer one good styling session a week over daily blow-drying.
Keeping Thin Hair Healthy After 70
Crown hair after 70 is often the most fragile hair on your head, so treat it kindly: no tight rollers pulled hard, no very hot dryer air held close, and no scratching brushes on a tender scalp. Washing two or three times a week with a gentle shampoo, and handling wet crown hair with a wide-tooth comb, keeps those precious strands in place longer.
If fullness everywhere — not just the crown — is the goal, explore our hairstyles for women over 70 with thin hair that add fullness, and for keeping scalp out of sight, these haircuts for very fine hair that hide scalp show-through go deeper on coverage. You may also like our medium-length hairstyles for women over 60 with thin fine hair, and the hair growth calculator on our tools page helps you plan trims as your cut grows out.
Frequently Asked Questions
What is the best hairstyle for a thinning crown over 70?
A short pixie or bob with stacked, forward-directed crown layers is usually the most effective. The stacking builds height at the back while forward layers fall over the thinnest point, giving lift and coverage at the same time.
How can I add volume at the crown without backcombing?
Dry the crown first with your fingers lifting the roots, let it cool fully, and try two large velcro rollers for 15 minutes. Flipping your part to the opposite side also lifts every root at once — no teasing needed.
Why does my crown look thinner in photos?
Camera flash and overhead lighting shine directly through fine crown hair to the scalp, exaggerating thinning. Styles with forward coverage, a broken part, and a matte finish photograph far more kindly.
Can hair color help a thinning crown look fuller?
Yes — softer, multi-tone color or slightly brighter pieces around the crown reduce the contrast between hair and scalp, so the area registers as less thin. Ask your colorist for camouflage, not a single flat shade.
How often should a thinning crown be trimmed?
Every five to seven weeks keeps crown layers at the length where they lift and cover best. Grown-out crown layers lie flat and separate, which shows more scalp — little and often is the rule.