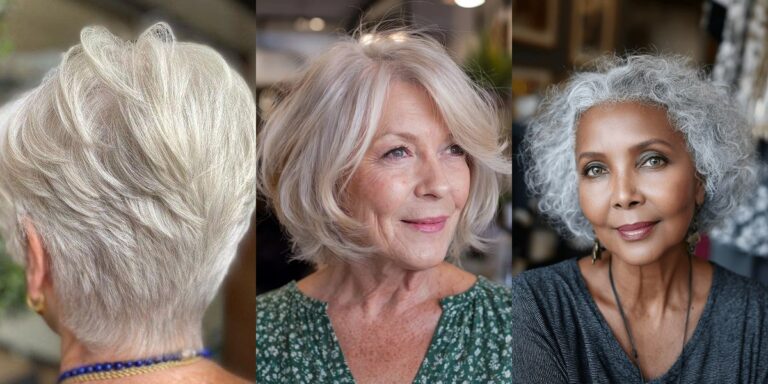
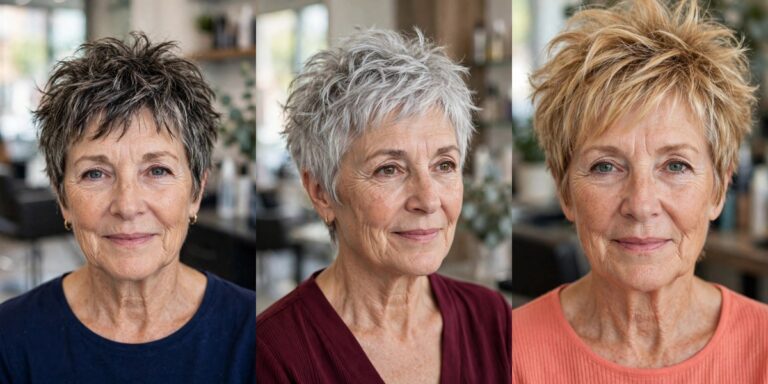
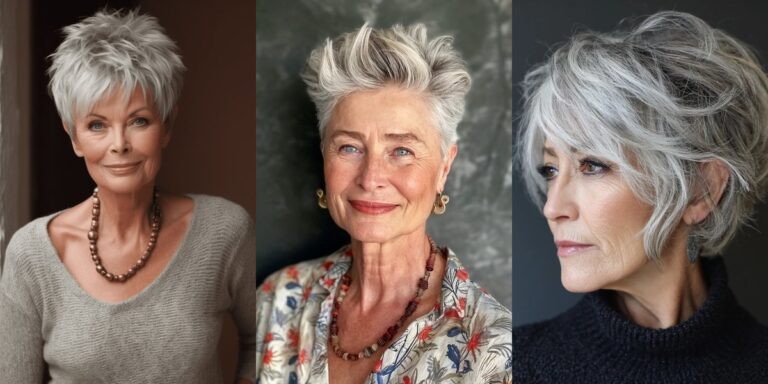
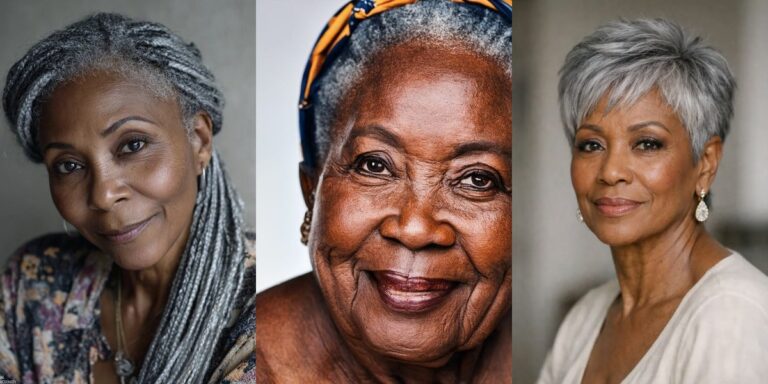
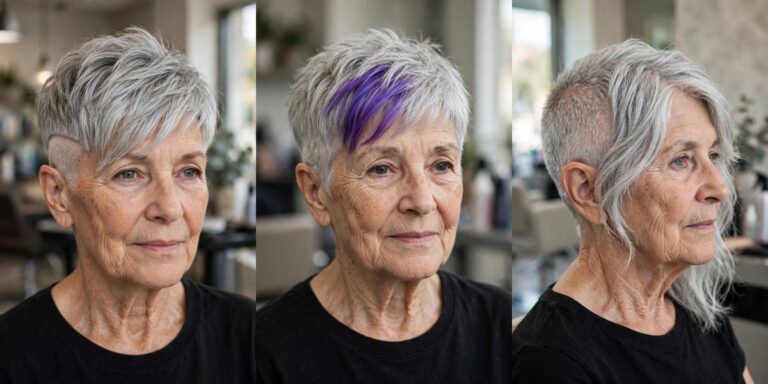
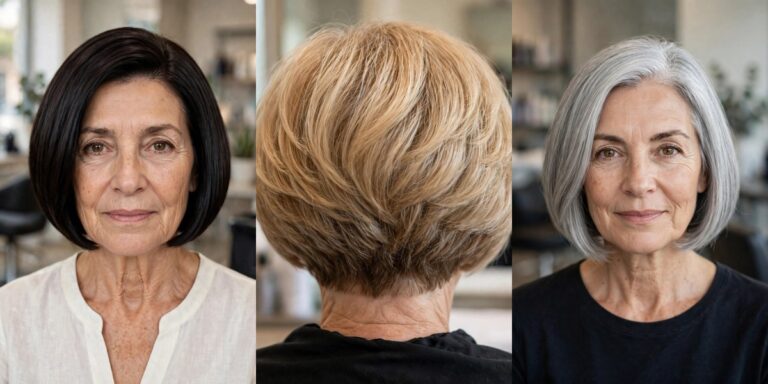
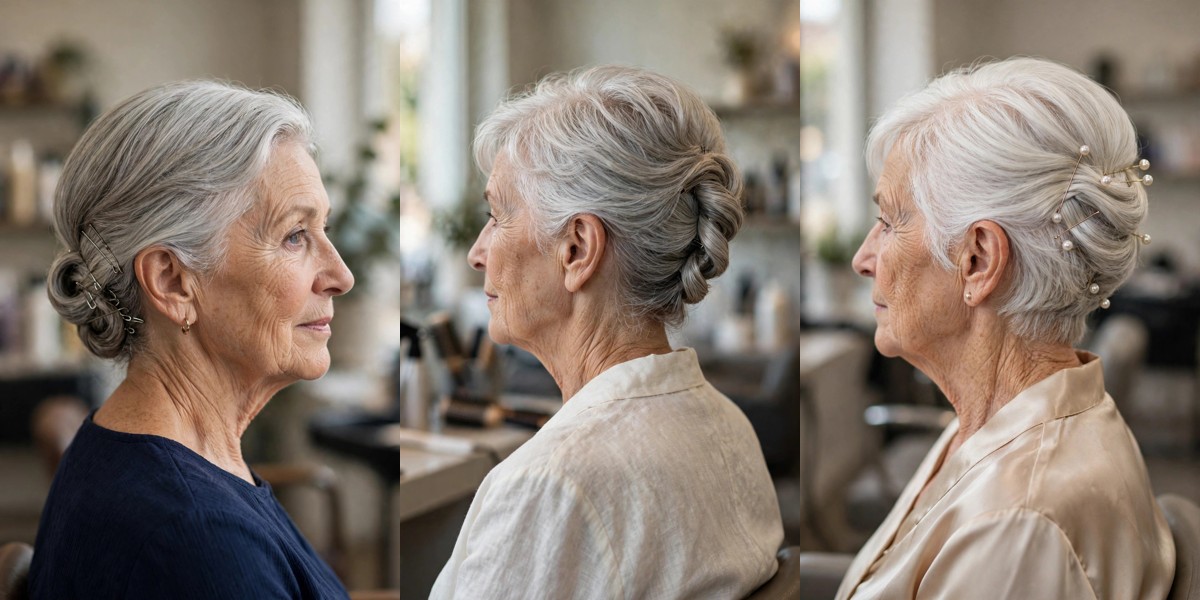
Elegant Updos for Short Hair Over 60
This post contains affiliate links. As an Amazon associate, I earn from qualifying purchases. I only recommend products that are of high quality and that I would use myself.
Short hair does not lock you out of an updo — it just changes the method. Instead of gathering long lengths, elegant updos for short hair over 60 are built from tucking, rolling, twisting and pinning the hair you already have. This guide is honest about that: every idea below says exactly how much length it needs, whether it suits a grown-out pixie or a bob, and whether it is a realistic DIY job or one to book a stylist for.
If your everyday cut is still a work in progress, start with a flattering base — these pixie haircuts for women over 60 that look elegant grow out beautifully into several of the styles below. And if you want occasion inspiration from the over-50 series first, the easy updos for women over 50 show the same tuck-and-pin logic on slightly longer hair.
Table of Contents
- 1. Classic Tucked Bob Faux Chignon
- 2. Twisted Crown Pixie Updo
- 3. Pinned-Back Swept Elegance
- 4. Rolled Nape Bob Updo
- 5. Soft French Twist for a Short Bob
- 6. Pinned Curls Crown Cluster
- 7. Headband-Assisted Rolled Updo
- 8. Side-Swept Pinned Waves
- 9. Gibson Tuck for a Chin-Length Bob
- 10. Mini Top Knot with Pinned Sides
- 11. Braided Crown on Short Hair
- 12. Twisted Halo for a Grown-Out Pixie
- 13. Low Pinned Chignon Illusion
- 14. Vintage Finger Waves Pinned Up
- 15. Tousled Pinned-Up Texture
- 16. Sleek Swept-Back Evening Look
- 17. Double Twist Nape Roll
- 18. Pearl-Pin Accented Bob Updo
- 19. Curly Crown Pin-Up
- 20. Elegant Side Roll with Soft Fringe
- Recommended Products
- FAQs
1. Classic Tucked Bob Faux Chignon
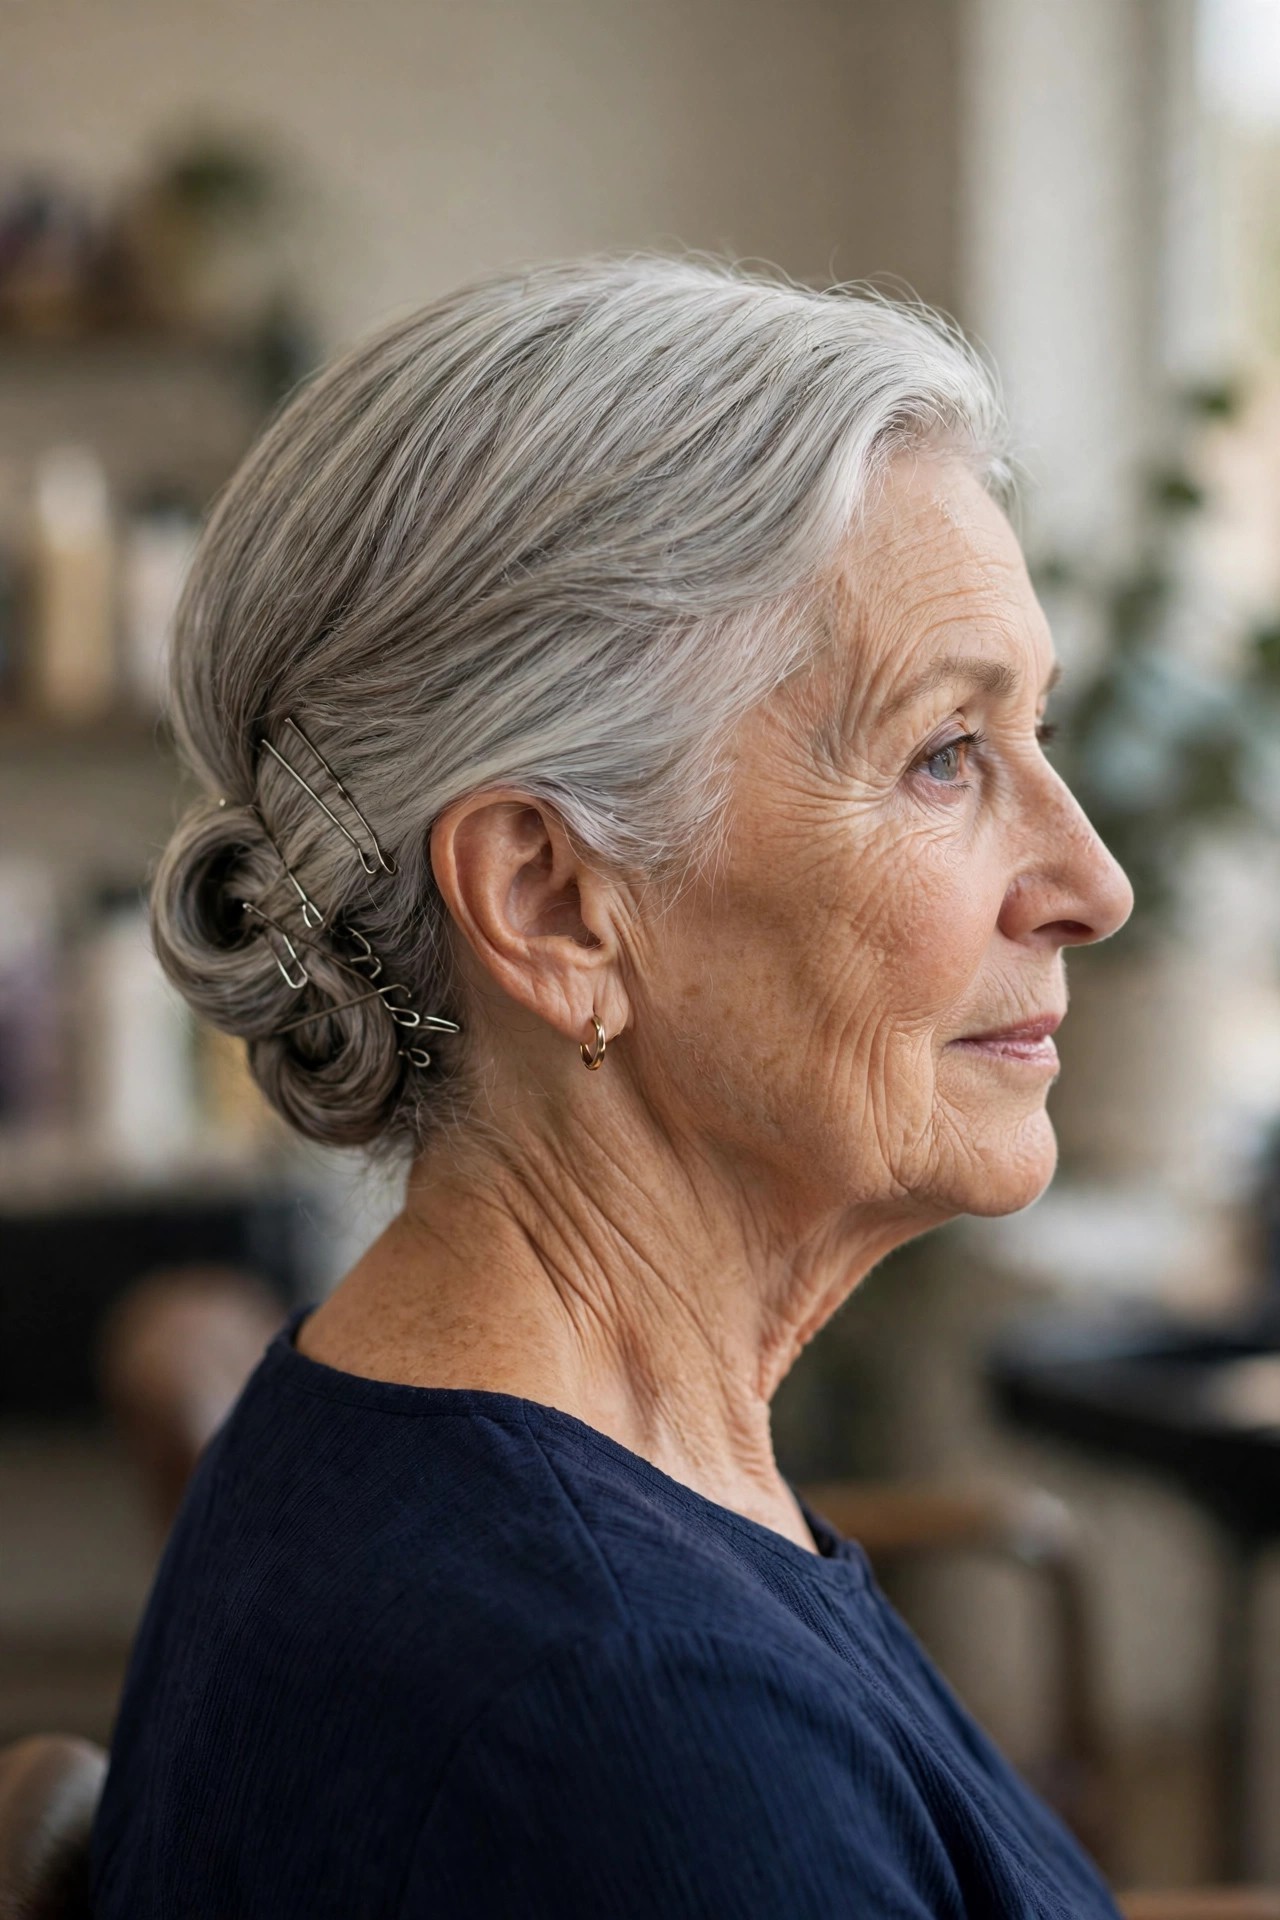
Brush the bob smooth, gather it low, fold the ends under in small sections and cross two U-pins over each fold. On a bob this creates the neat, rounded shape of a chignon without needing the length a real chignon demands. Leave the front soft rather than scraped back, so the face keeps its framing.
This is the safest first updo if you are new to pinning short hair. It needs a bob that at least brushes the jaw — a very short pixie will not fold — and it is mostly DIY-friendly, though a stylist will get a smoother finish for a wedding photograph. A light backcomb at the crown stops fine, silky hair from sliding straight back out. Length needed: a chin-length bob.


2. Twisted Crown Pixie Updo
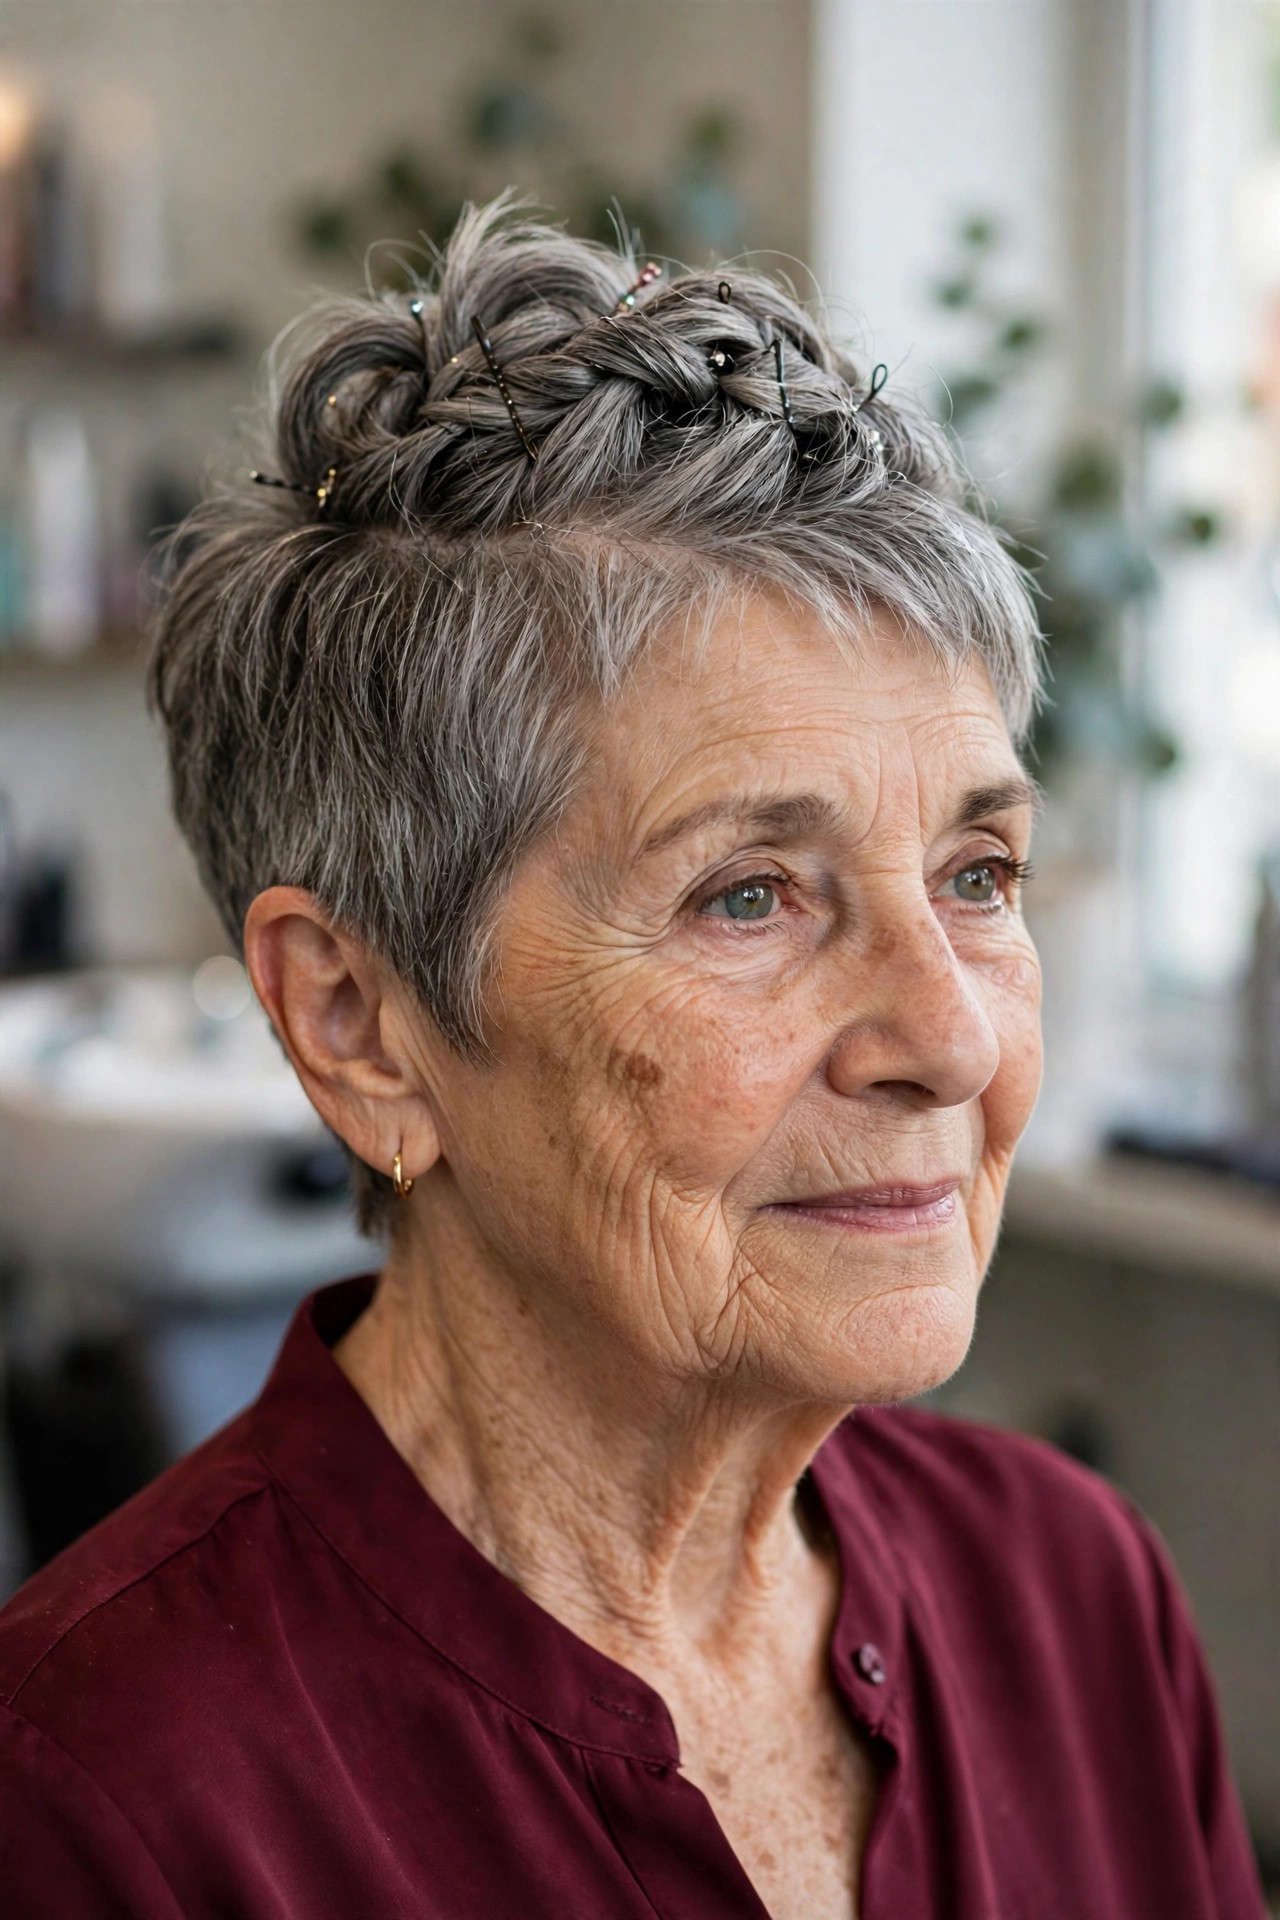
Take the longer top of a grown-out pixie, twist it back in two or three small sections and pin each twist flat at the crown. The twists do the work that length would normally do: they create height, direction and a clear ‘up’ finish while the short sides stay neat and close.
You need roughly three to four inches on top for the twists to hold, so this suits a pixie that is a few weeks past its cut rather than a fresh crop. It is an easy DIY option because small twists forgive imperfect technique. If your top is very fine, work texture spray through it first so the pins have something to grip. Length needed: a grown-out pixie.

3. Pinned-Back Swept Elegance
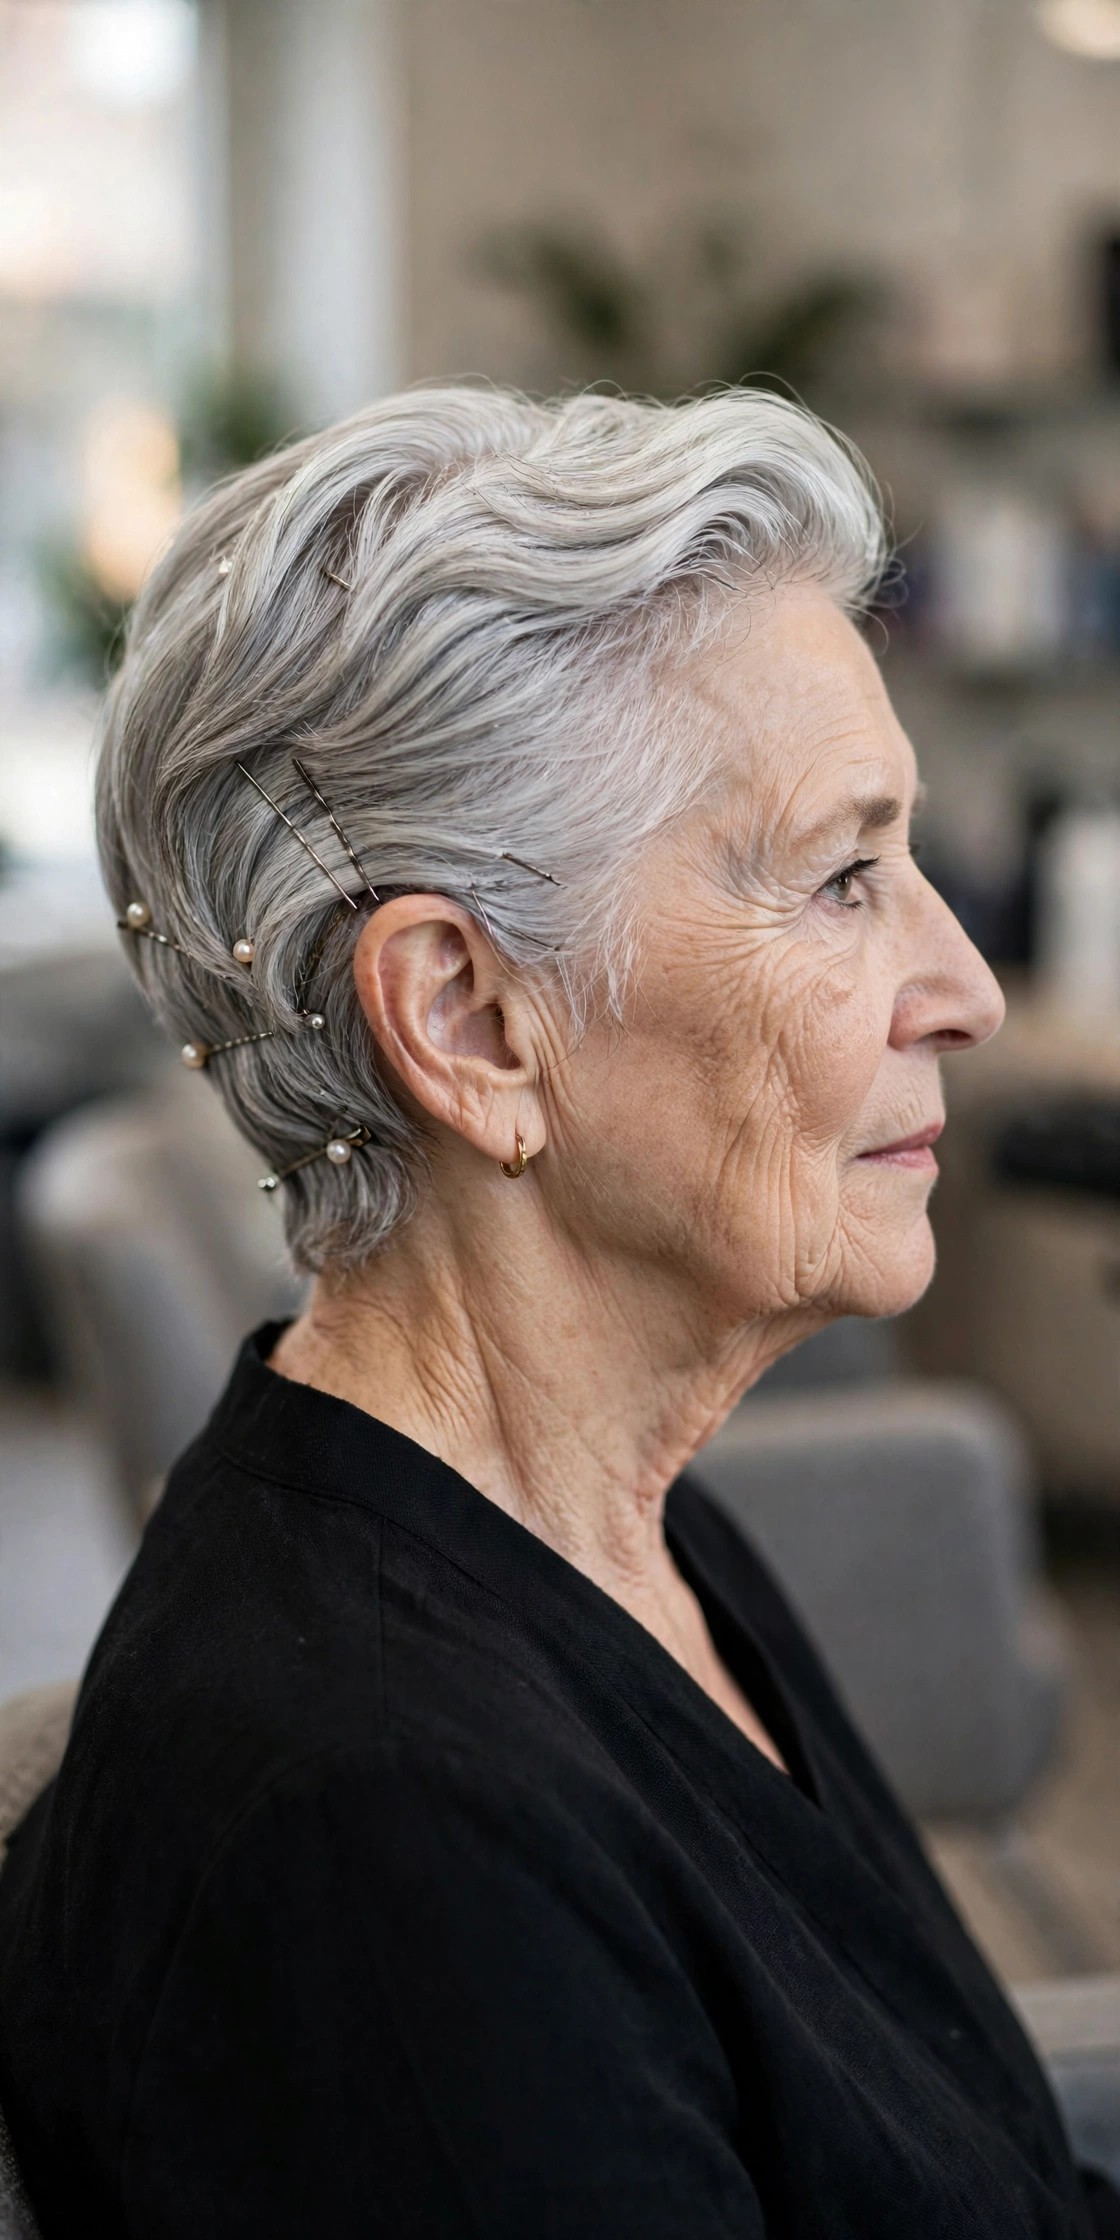
Sweep everything back and slightly up, then anchor the sides and back with flat pins placed in an X shape. The swept-back line opens up the face and neckline, which is why this reads so elegant with earrings and a higher neckline, even though almost no length is involved.
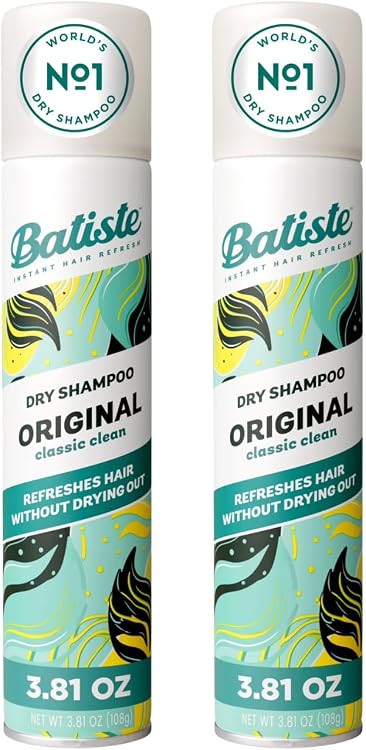
This works on the shortest hair in this list — a pixie-bob is enough — because nothing needs to be gathered or folded. It is fully DIY, but silky hair will try to slip forward within the hour, so start with dry shampoo for grit and finish with a flexible-hold spray rather than a stiff one. Length needed: a pixie-bob.
4. Rolled Nape Bob Updo
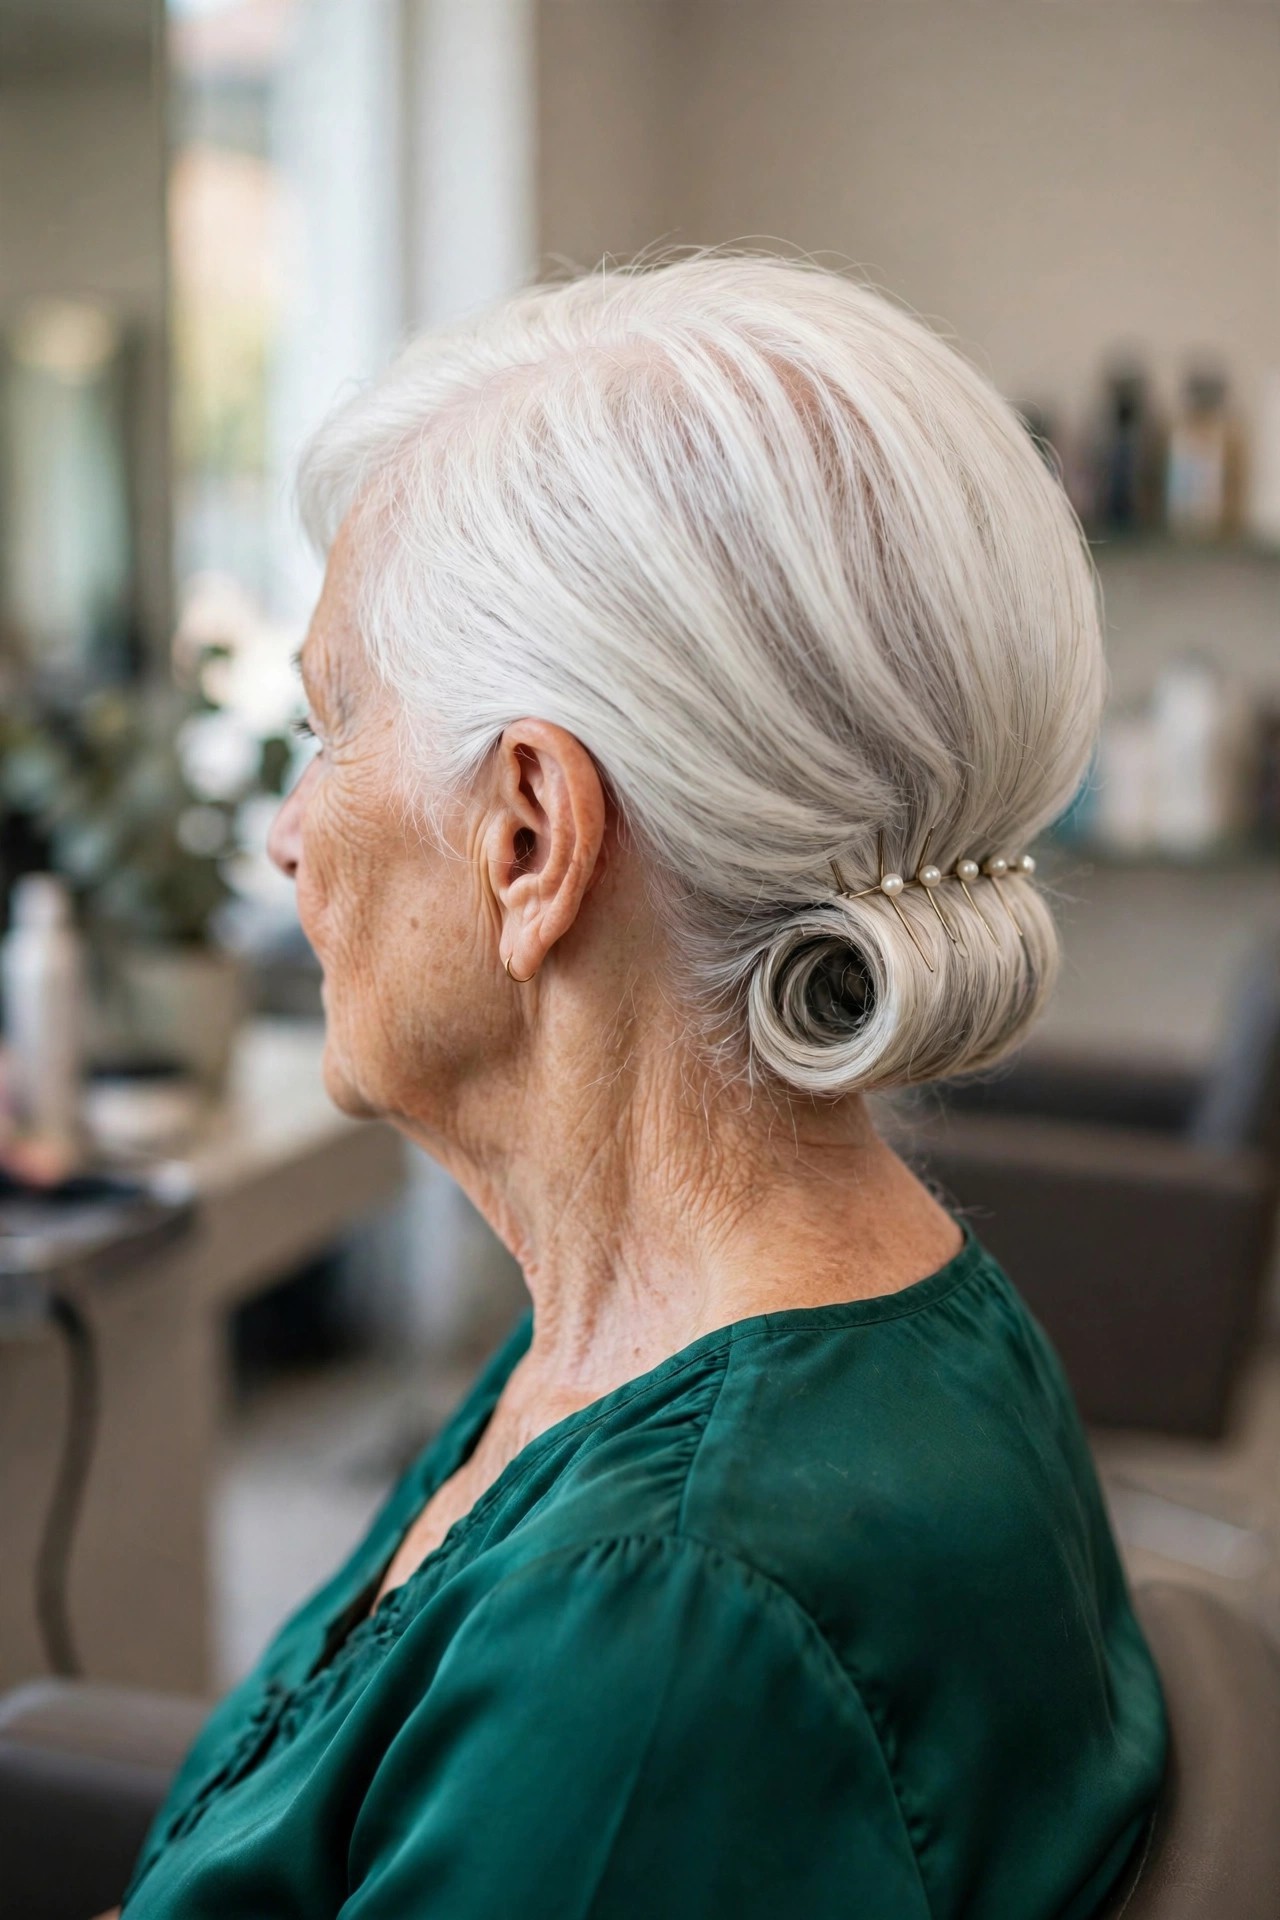
Roll the back of the bob upward, section by section, and pin the roll flat against the nape. Working in sections is the honest secret here: a short bob will not roll in one piece the way long hair does, but three small rolls pinned side by side look like one polished updo from every angle.
Plan on a bob that reaches at least the nape. Shorter than that, the rolls will not meet and you are better with the twisted halo below. This is a good DIY style with a hand mirror to check the back, and U-pins hold a roll far better than standard bobby pins because they do not spring open. Length needed: a short bob.
5. Soft French Twist for a Short Bob
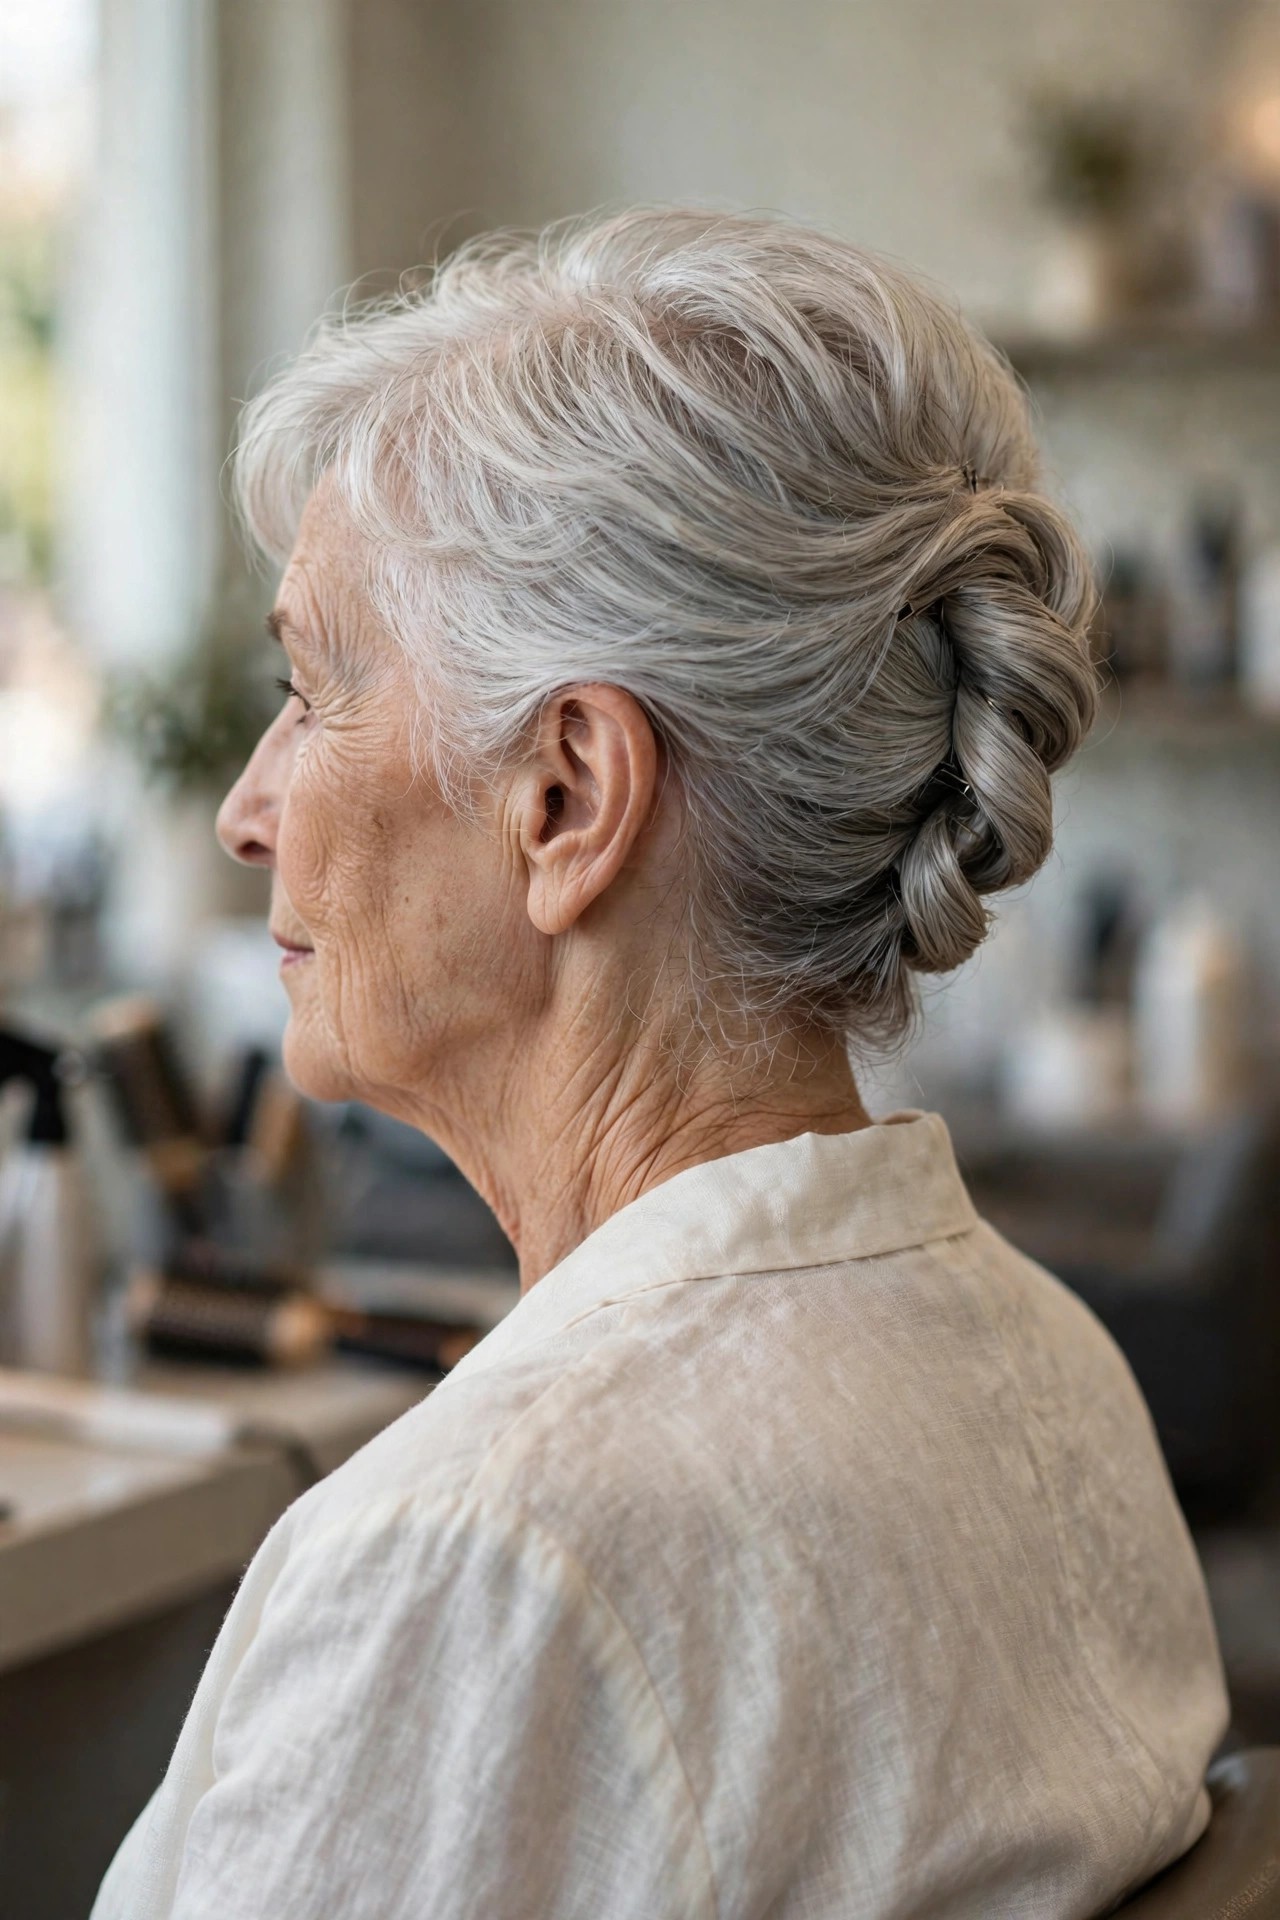
A true French twist needs length, so on short hair this is a mini version: gather the back, twist it upward in one short vertical seam and pin along the seam, letting the top stay soft and slightly loose. The result keeps the twist’s elegant line without pretending the hair is longer than it is.
Be honest with yourself about length — you need a full chin-length bob, and even then the seam will be short. For an important event, let a stylist do this one; at home it is doable but fiddly. A small donut piece tucked inside the twist can add the fullness fine hair lacks. Length needed: a chin-length bob.
6. Pinned Curls Crown Cluster
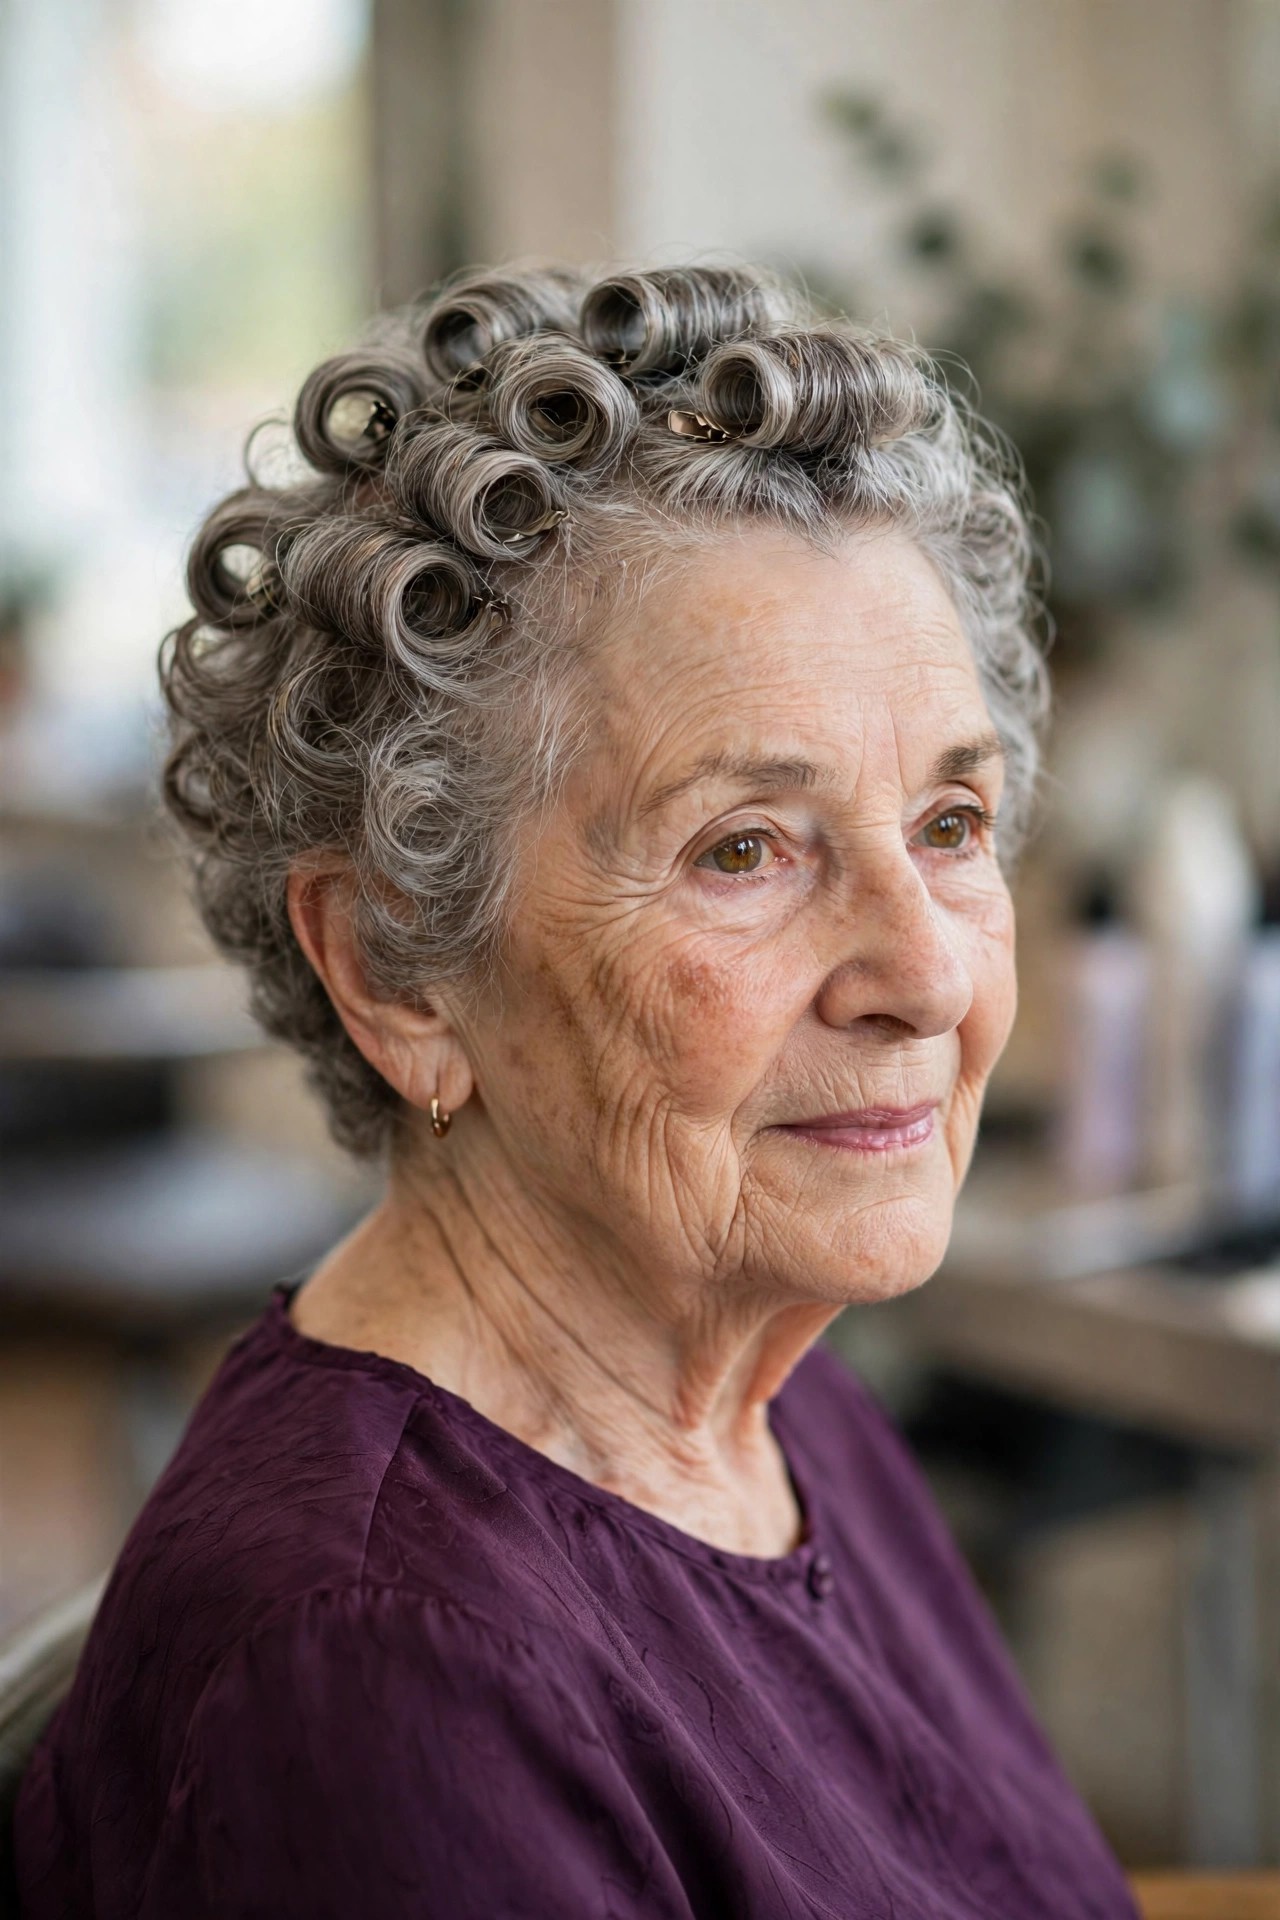
If your short hair is naturally curly, do not fight it — gather individual curls at the crown and pin each one where it naturally wants to sit. The cluster builds height and looks intentionally dressy, while the curl’s own texture hides every pin, which straight hair never quite manages.
This is made for short curly or permed hair around three to five inches long. It is very DIY-friendly because there is no single ‘correct’ placement. Smooth a little serum over the outer curls only, so the cluster looks polished but keeps its bounce, and avoid brushing, which turns the cluster into frizz. Length needed: short curly hair.

7. Headband-Assisted Rolled Updo
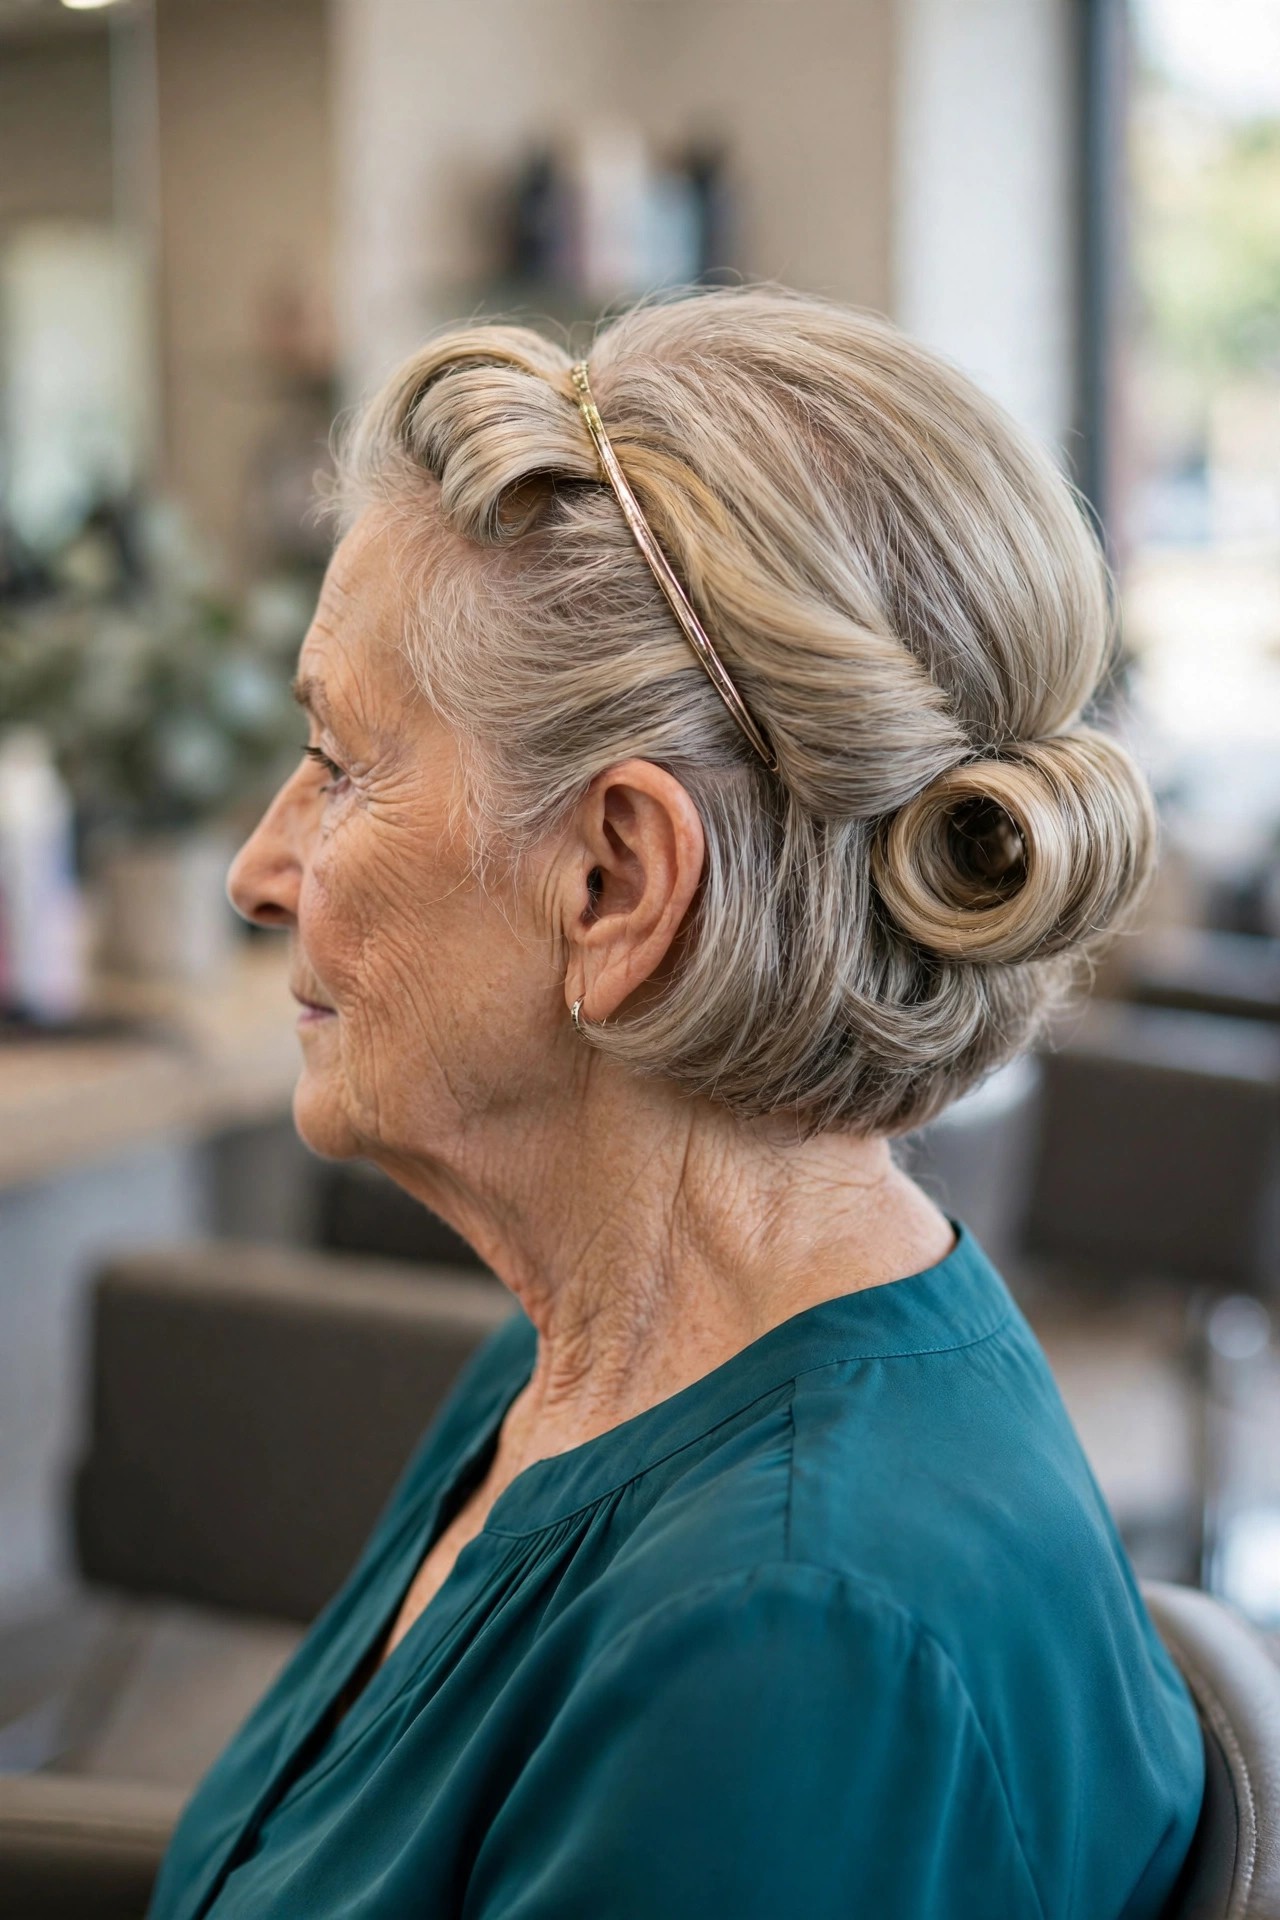
Place a thin headband over the hair, then tuck the back and sides up and over the band, rolling as you go, and pin the roll. The band does the holding that short ends cannot do on their own, which makes this one of the most secure short-hair updos for a long evening.
You need a bob long enough to reach over the band — roughly jaw length or a little longer. It is a genuine DIY win and a good choice if your hands are not confident with lots of pins. Choose a band that matches your hair colour for daytime, or a slim metallic one when you want the band to be part of the look. Length needed: a short bob.

8. Side-Swept Pinned Waves
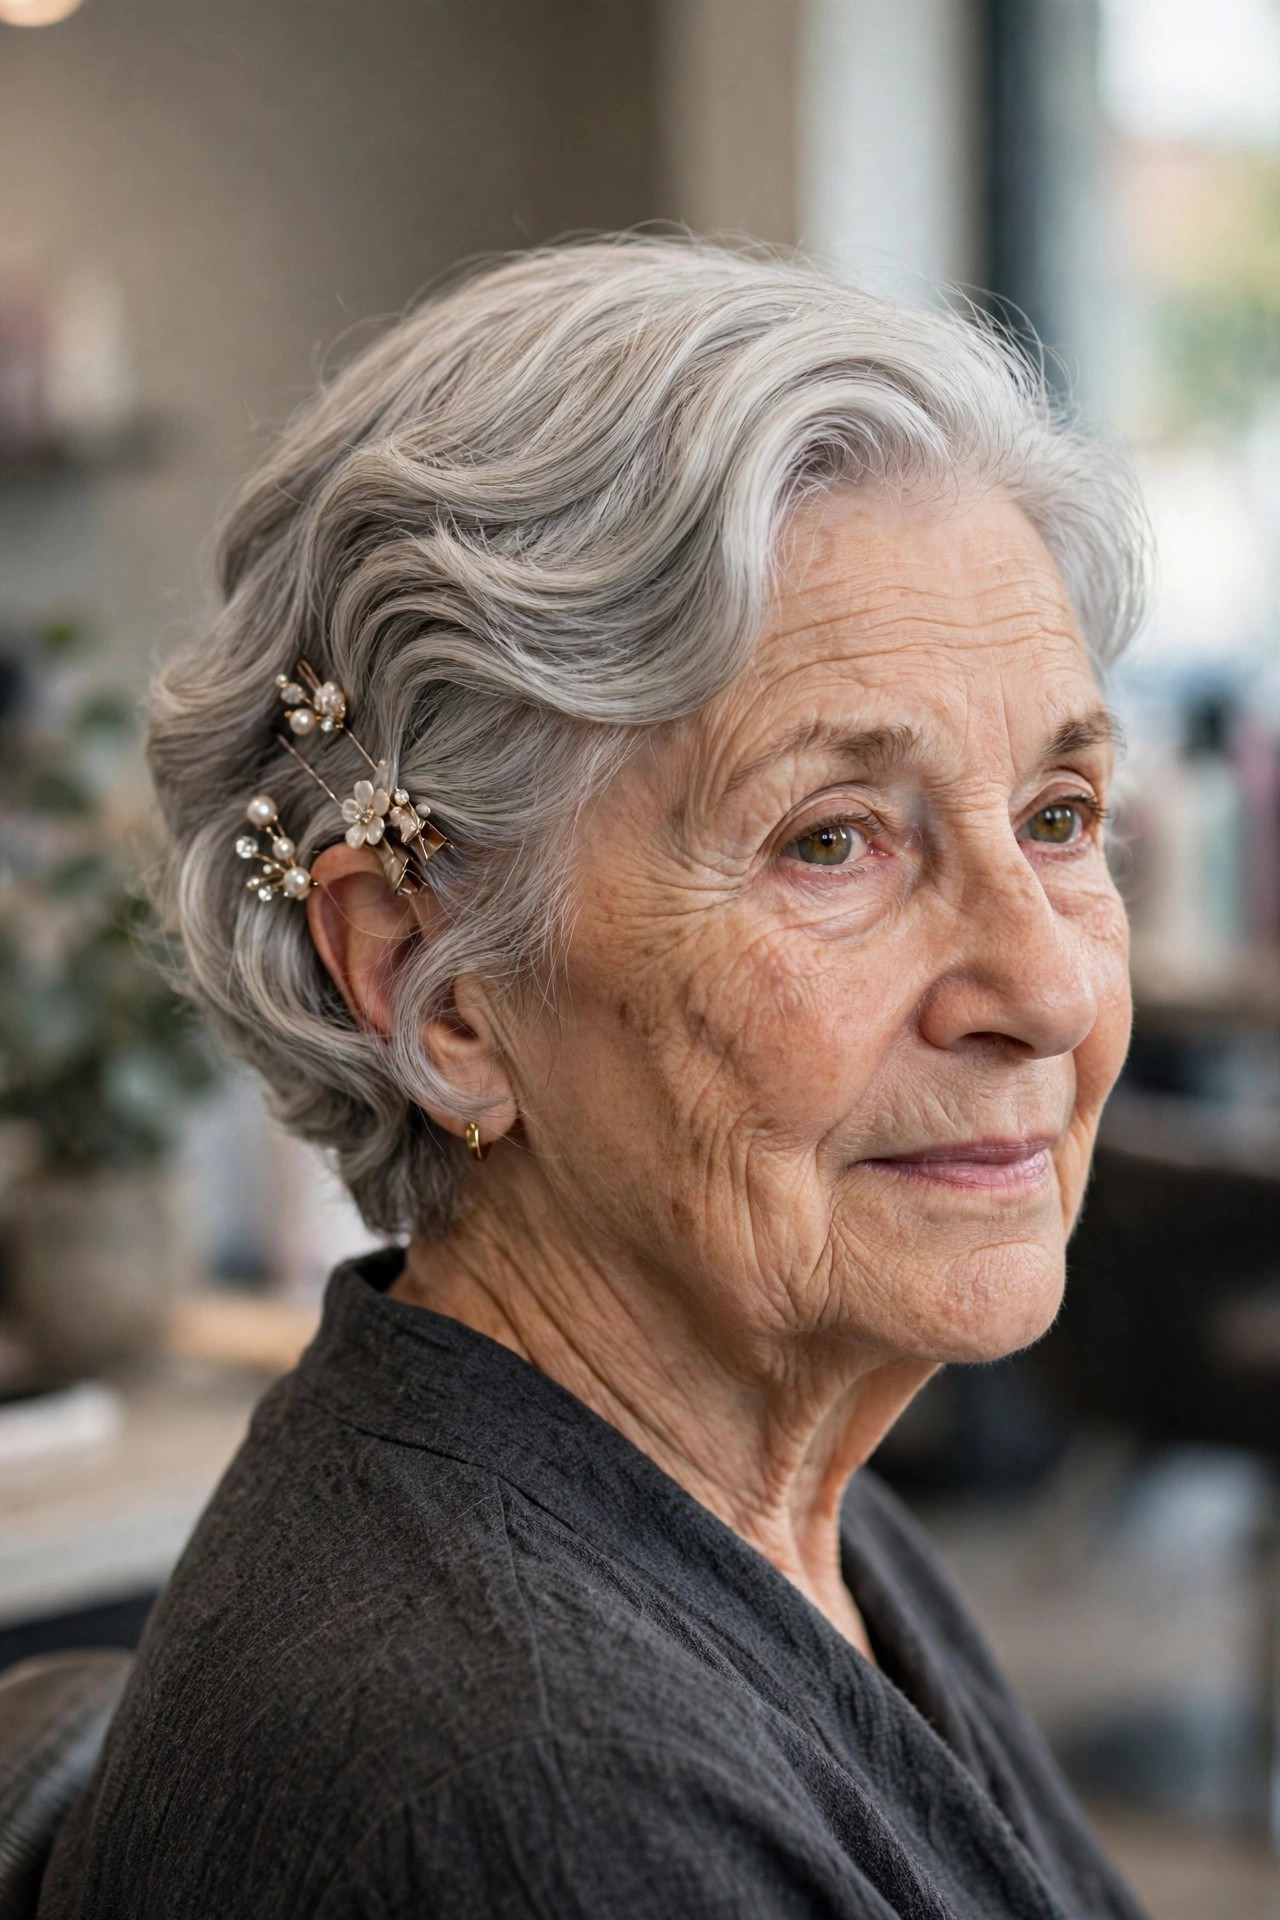
Sweep soft waves across to one side, let them fall in a smooth diagonal over the forehead, and pin firmly behind the opposite ear. The asymmetry is what makes it feel dressed-up: the eye reads the sweep and the pretty pins, not the length of the hair underneath.
This suits a pixie-bob or short bob with enough top length to form a wave — about four inches. Waves give pins something to hold, so this lasts well on wavy or lightly curled hair. On very straight, fine hair, add the wave first with a small iron and set it with mousse before you sweep. Length needed: short wavy hair.

9. Gibson Tuck for a Chin-Length Bob
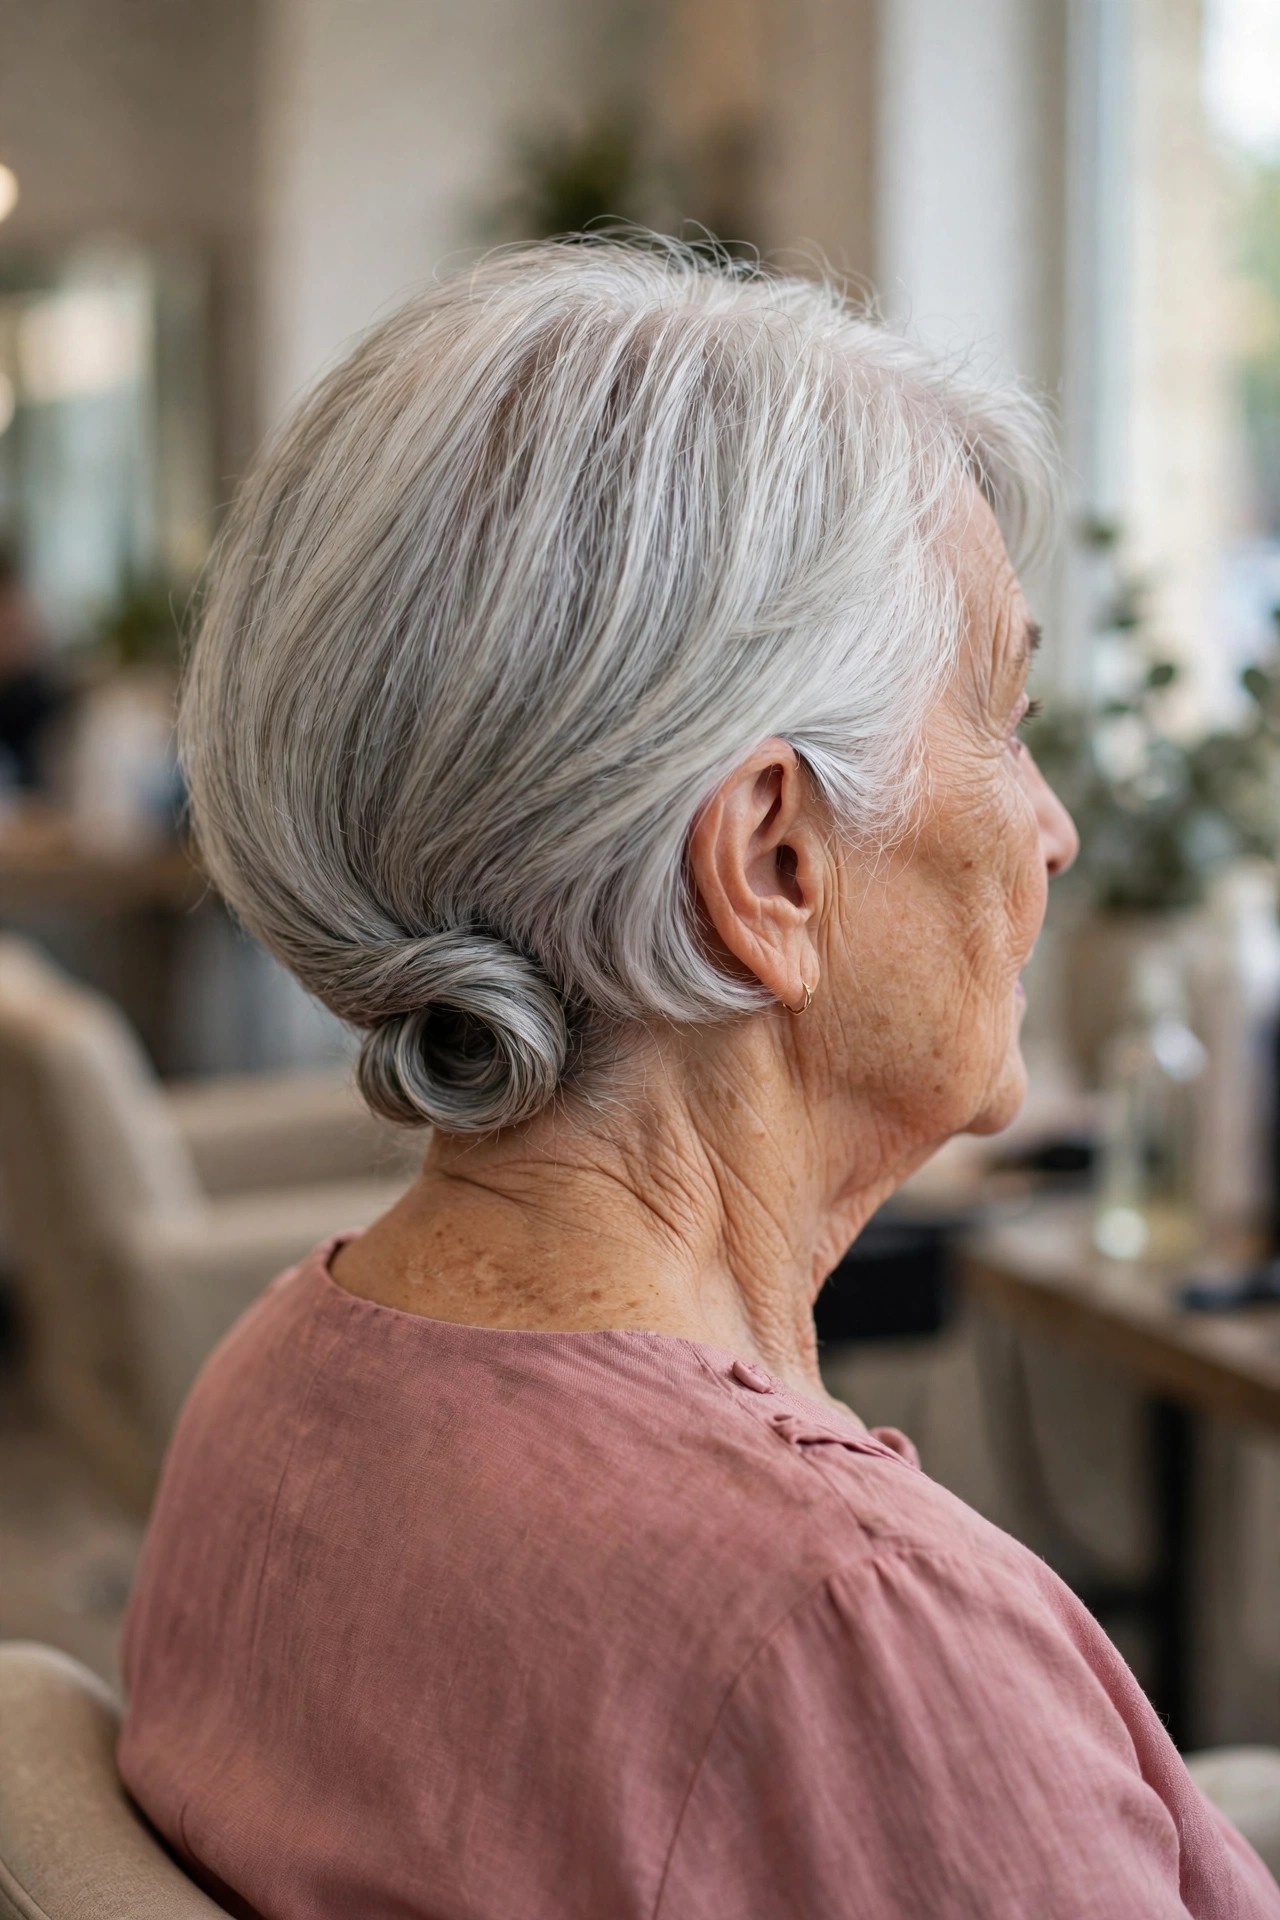
The Gibson tuck is a gift for short hair: put on a slim elastic band, then tuck the ends of the bob up and into the band so they roll under at the nape. Because the band hides the short ends, nobody can tell whether the roll started from a bob or from waist-length hair.
A chin-length bob is the sweet spot; much shorter and the ends poke out, much longer and the tuck gets bulky. It is quick and DIY-friendly once you have done it twice. For fine hair, add texture first — freshly washed, silky ends are the ones that escape the tuck by lunchtime. Length needed: a chin-length bob.
10. Mini Top Knot with Pinned Sides
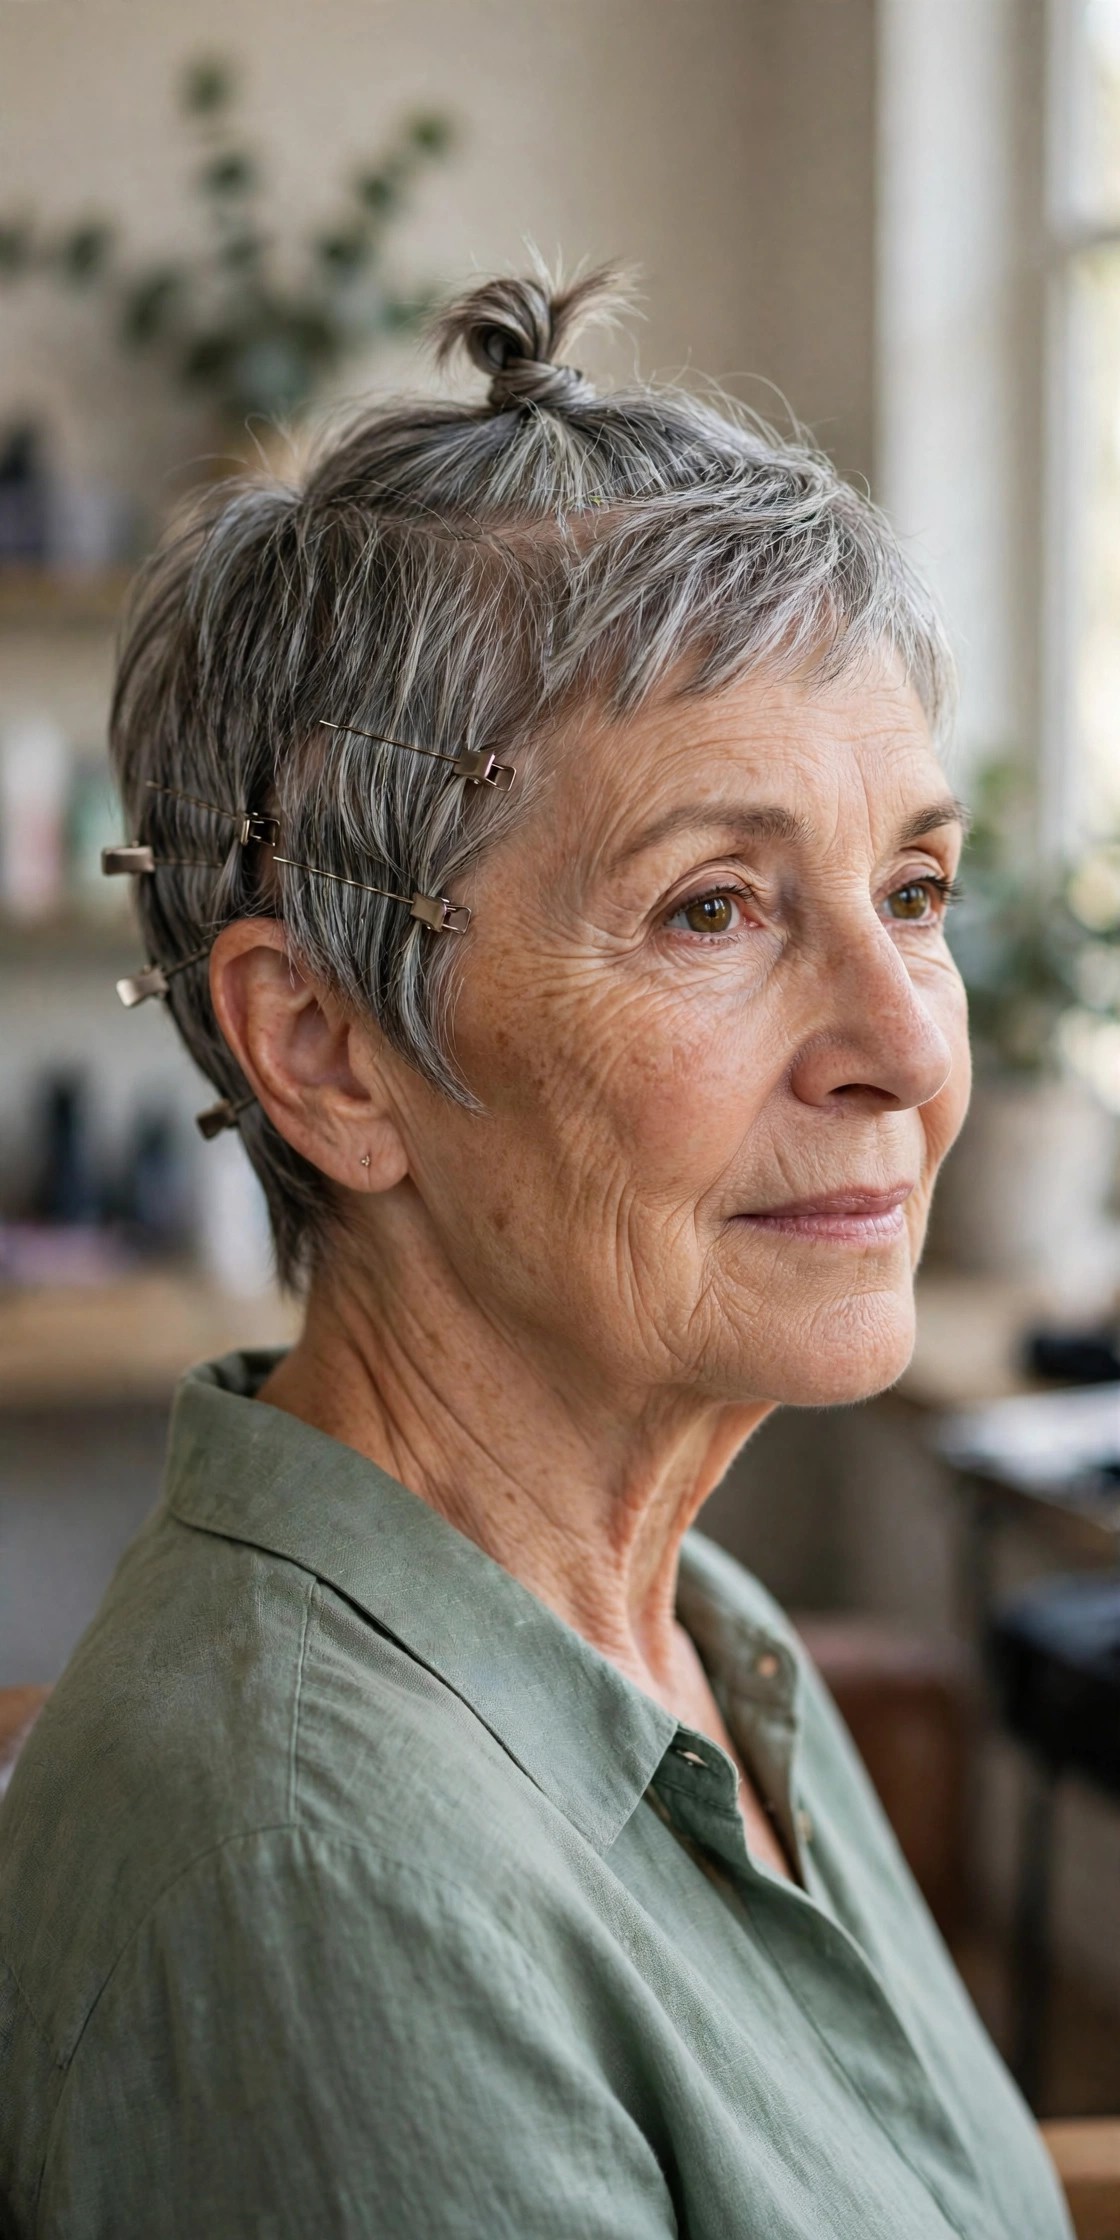
Gather just the top section into a small, neat knot at the crown and pin the sides flat and close. Kept small and smooth — not tall or spiky — a mini knot reads elegant rather than edgy, and pinning the sides is what lifts it from a casual style into an updo.
You need four to five inches on top, so this is for a grown-out pixie or a pixie-bob, not a short crop. It is an easy DIY style, but restraint matters: tease the top section only slightly, keep the knot compact, and let a couple of soft pieces frame the face so it never looks severe. Length needed: a longer pixie or pixie-bob.
11. Braided Crown on Short Hair
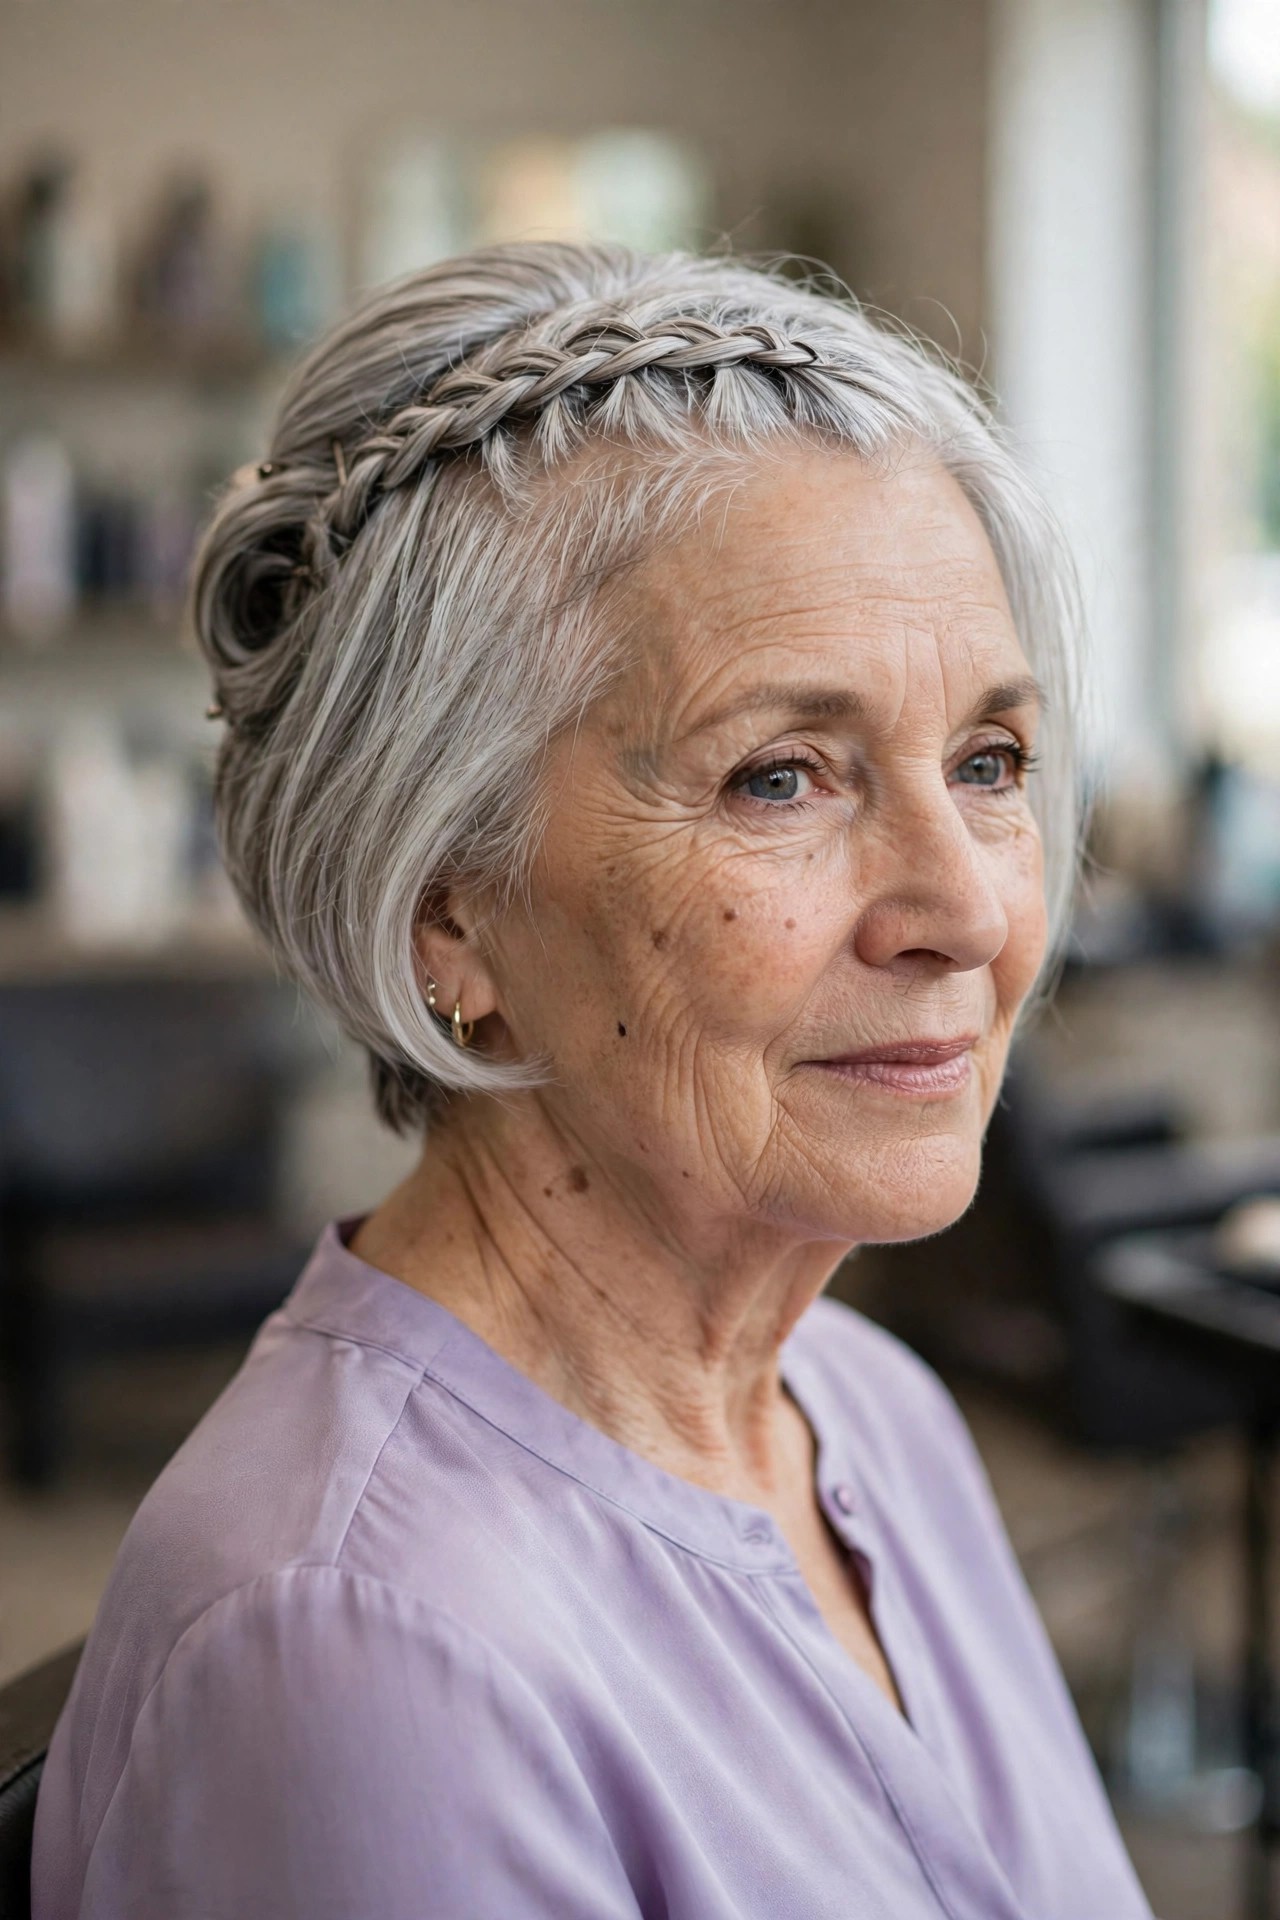
Braid a small section along the front hairline, following it around one side like a crown, then pin the rest of the back up in small tucked sections. The braid gives short hair a focal point and a surprising amount of hold, because braided hair grips pins better than loose hair does.
The front sections need about four inches to braid, so a short bob works better than a pixie here. Braiding your own hairline takes practice — for a first attempt, ask a stylist to braid and finish the back yourself. Keep the braid soft and slightly loose; a tight, thin braid looks harsh against mature skin. Length needed: a short bob.

12. Twisted Halo for a Grown-Out Pixie
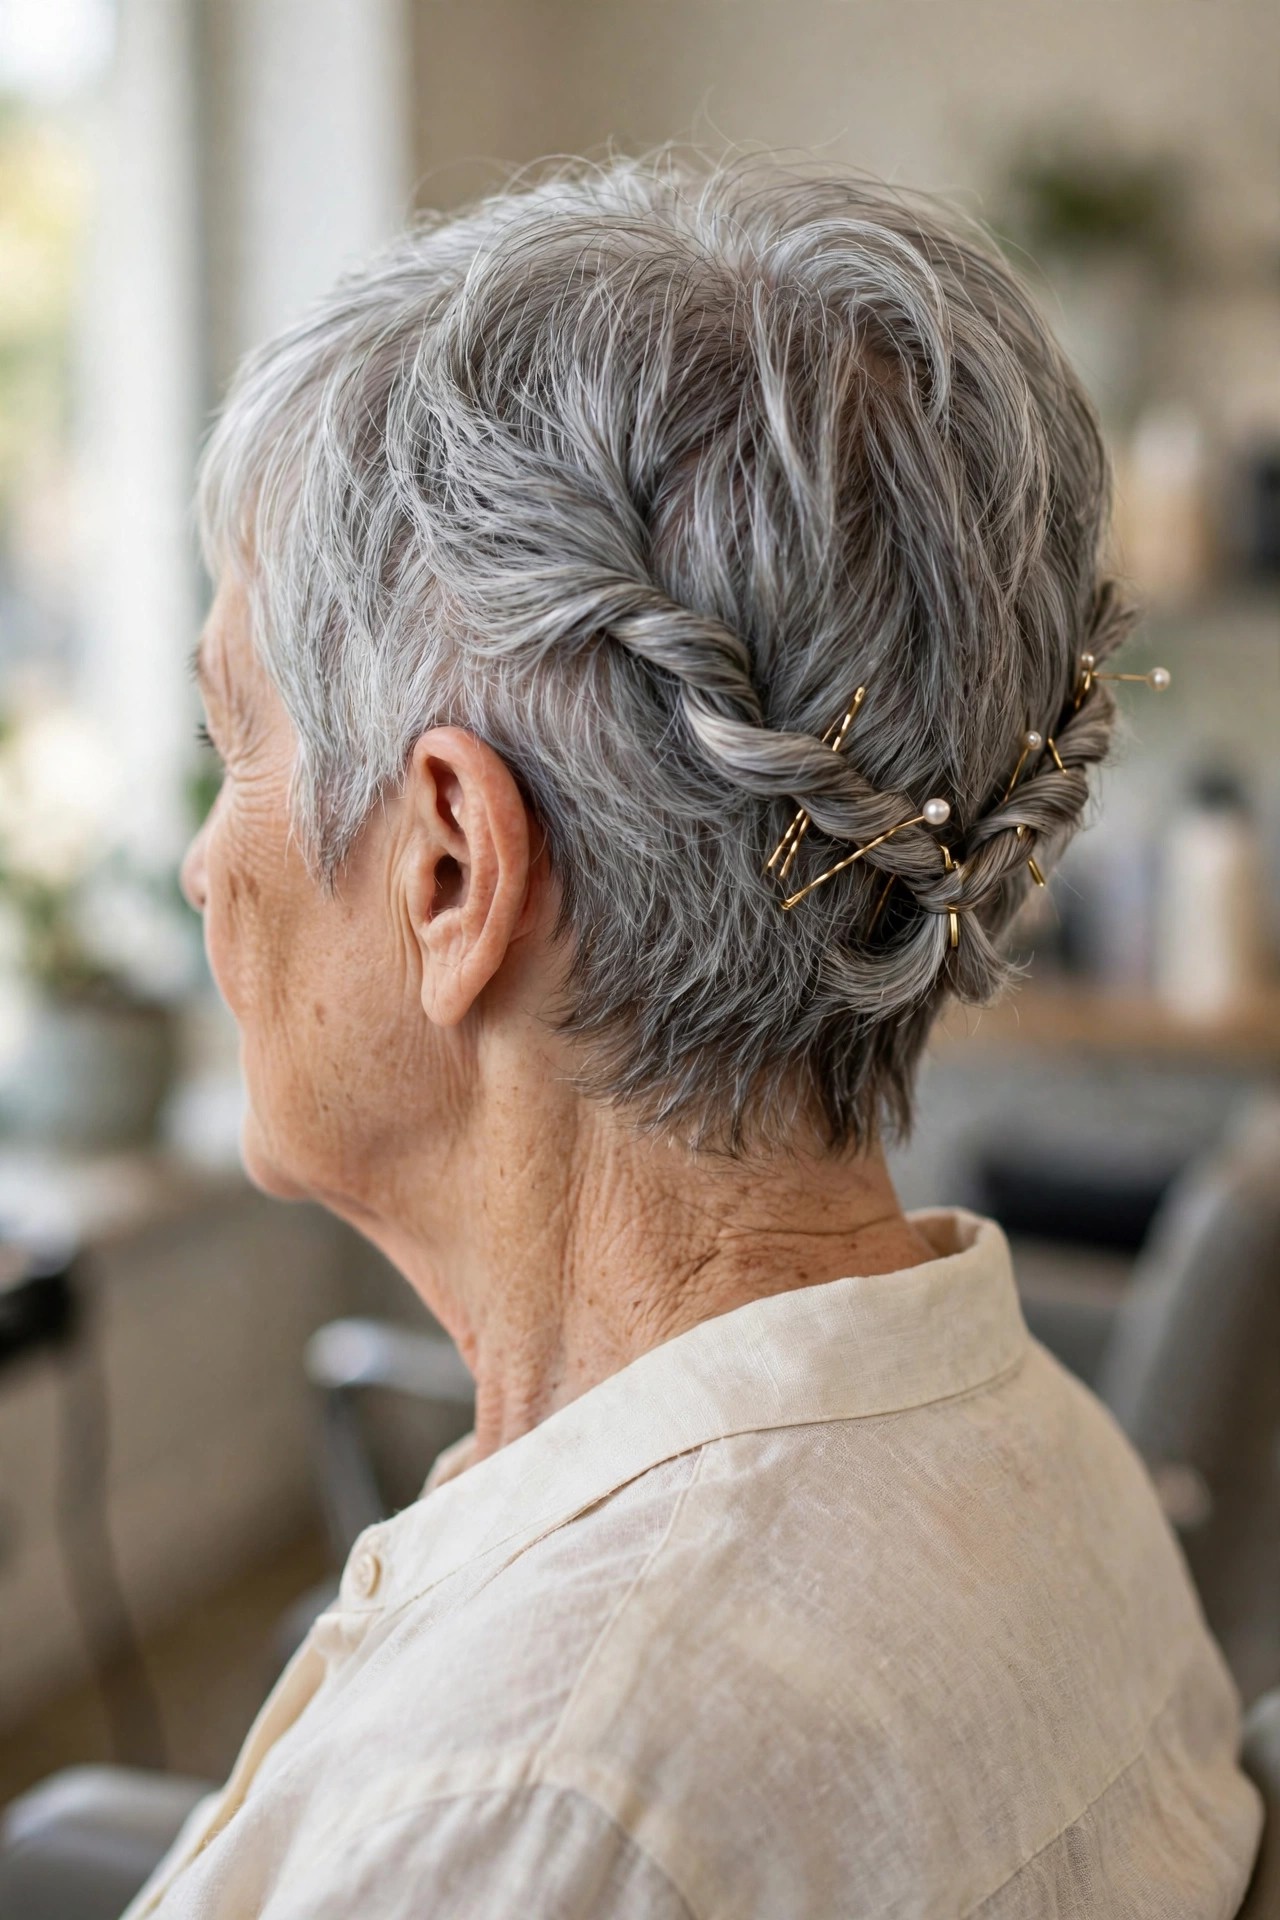
Twist a section from above each ear toward the back, meet the twists in the middle and pin them together in a soft halo line. This is one of the few updos that genuinely works on a pixie, because it only asks for the length you already have around the sides and back.
If your pixie has grown out for six to eight weeks, you have enough to twist. It is a forgiving DIY style — uneven twists just look soft and romantic. Pearl-tipped pins placed where the twists meet turn a simple style into an occasion look in seconds. Length needed: a grown-out pixie.
13. Low Pinned Chignon Illusion
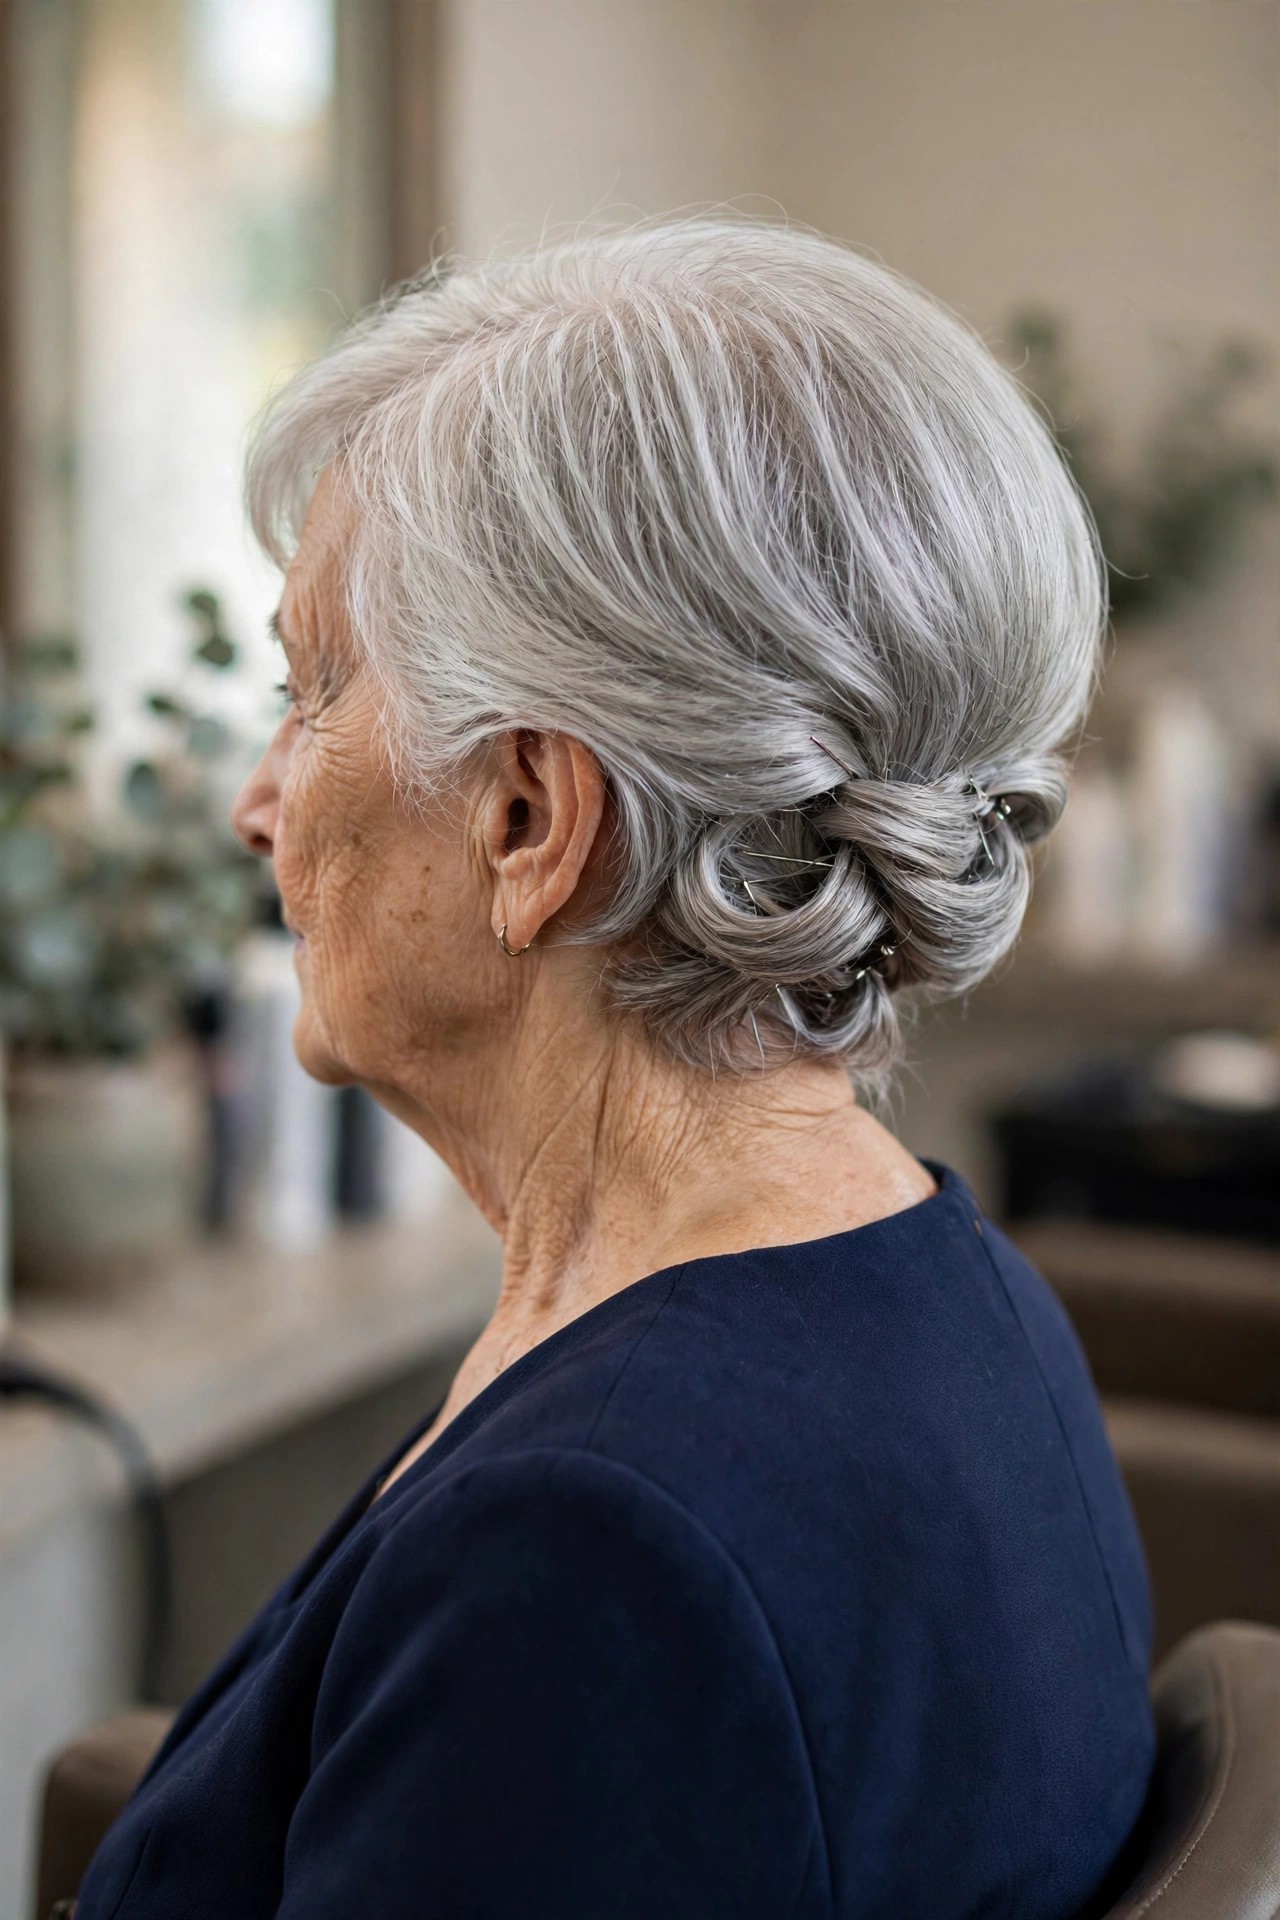
Fold the back of the bob up in two or three overlapping sections and pin each fold over the last, building a low, rounded shape at the nape. Layering the folds is the illusion: from behind, it has the full silhouette of a chignon, even though each individual piece of hair is only a few inches long.
This needs a bob that reaches the nape and works best with a stylist for a big event, because the folds have to overlap evenly. At home, practise once before the day. A small bun donut cut in half and pinned flat behind the folds adds convincing fullness for fine hair. Length needed: a short bob.
14. Vintage Finger Waves Pinned Up
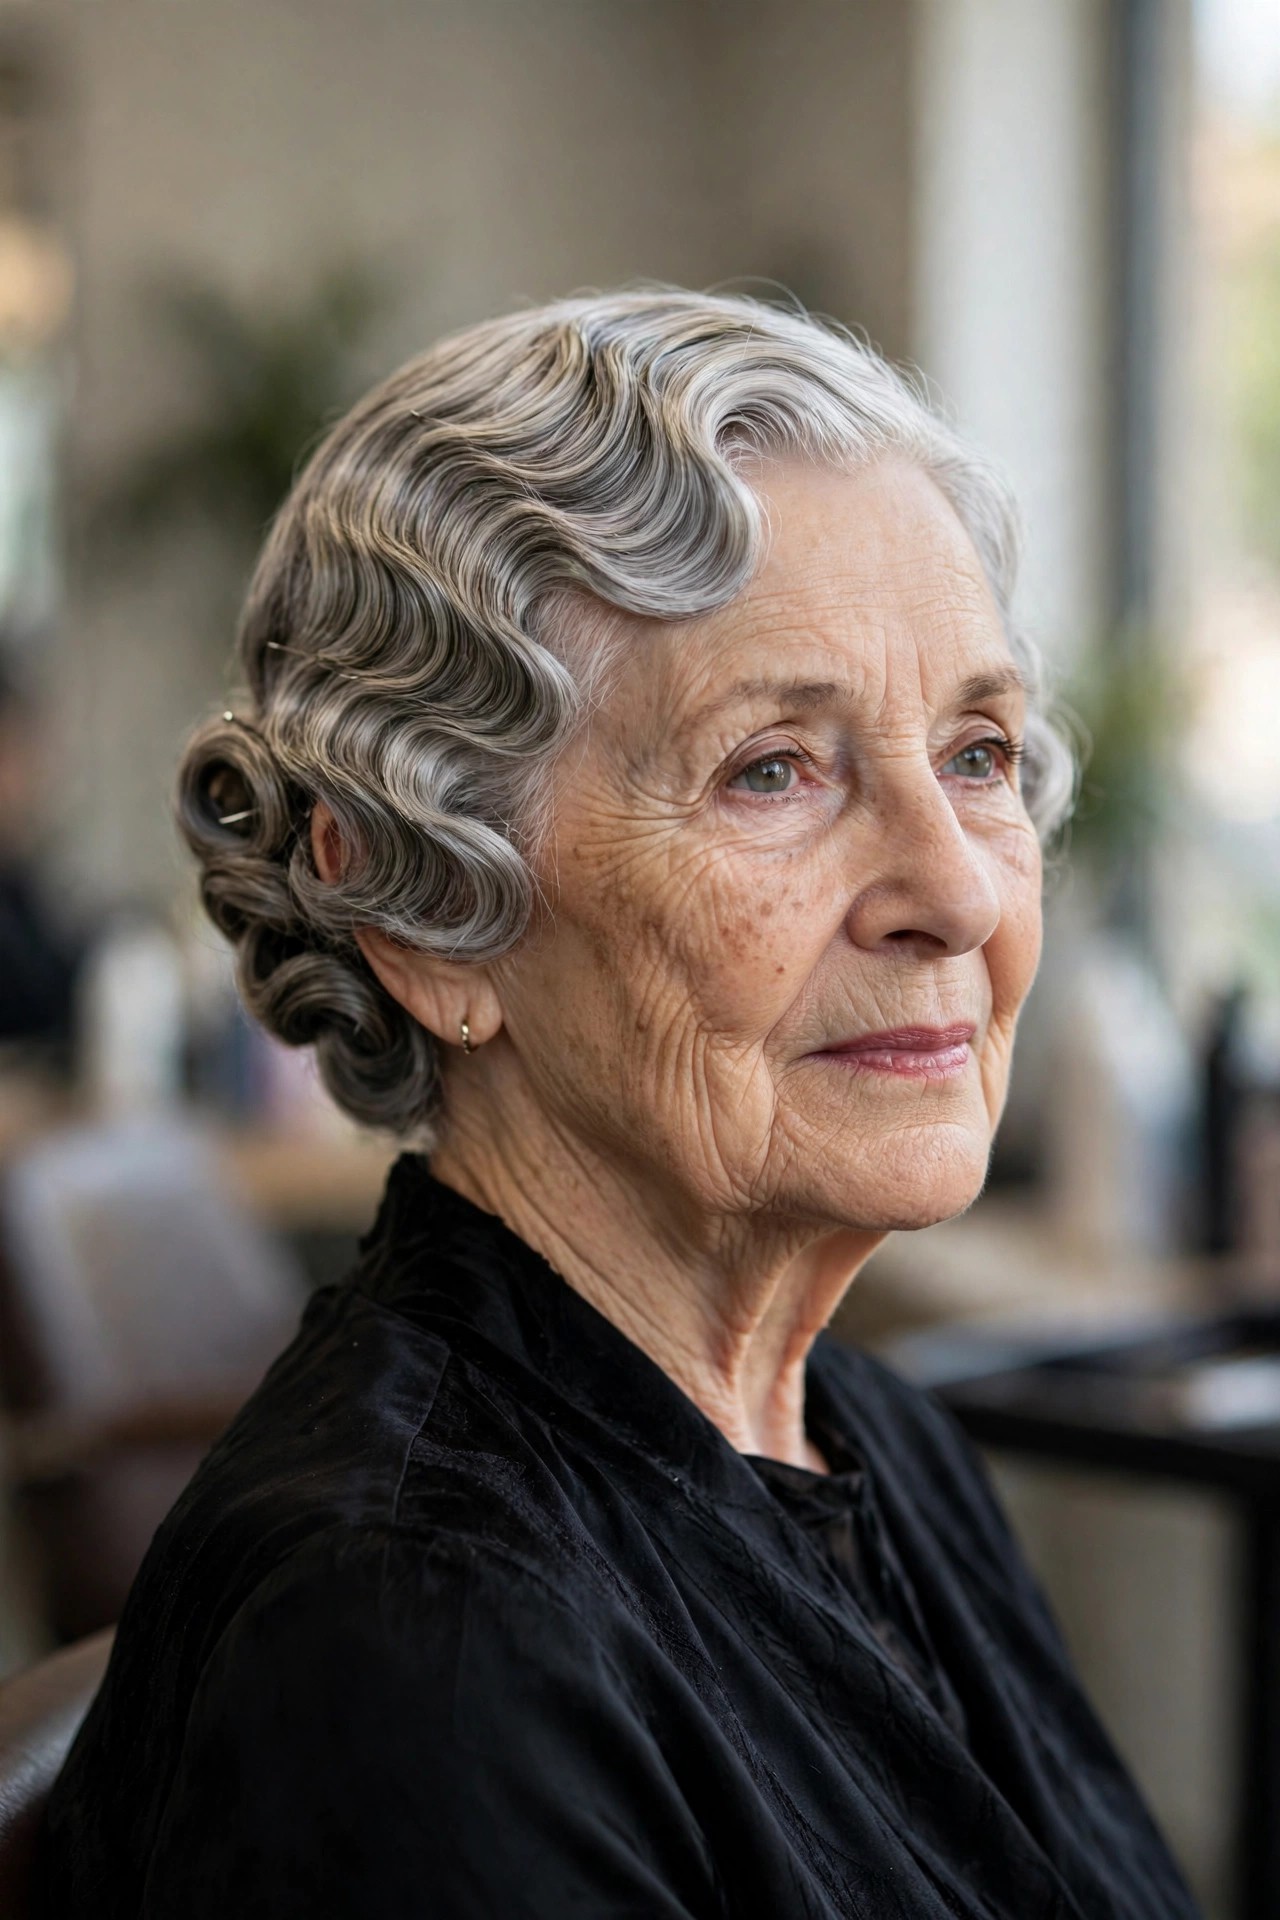
Sculpt finger waves through the top and front, then pin the back up in small flat sections so the waves stay the star. Finger waves were designed for short hair in the first place, which is why this pairing looks so right — glamorous, controlled and completely age-appropriate for an evening event.
Waves can be set on almost any short length. Setting them well is a skill, so for weddings and photographs this is a stylist job; at home, a wave clip set on damp hair with mousse gets you most of the way. Keep makeup and jewellery simple and let the waves carry the look. Length needed: short hair of any texture.
15. Tousled Pinned-Up Texture
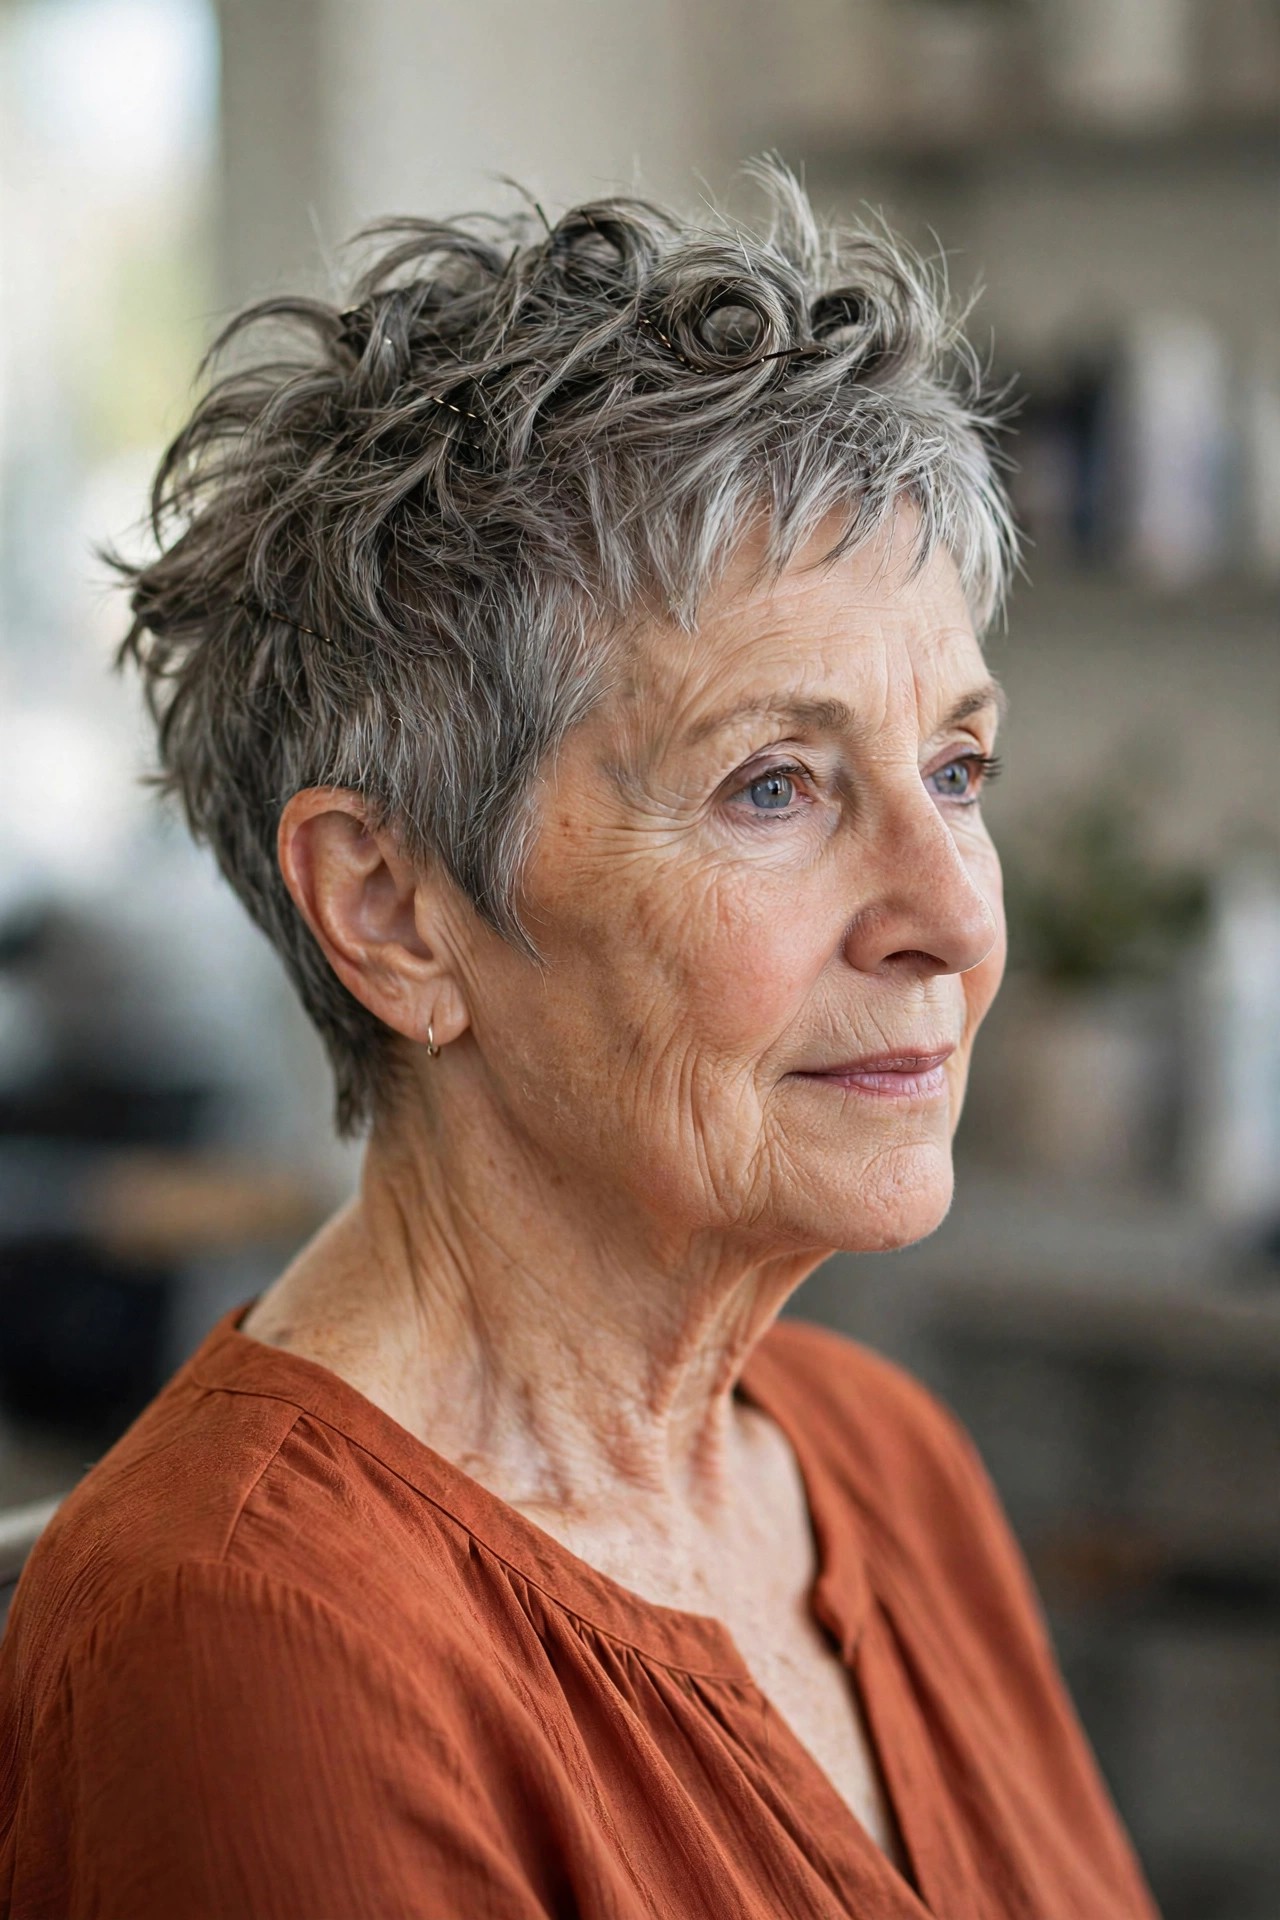
Work texture product through a pixie-bob, then twist and pin random small pieces upward, leaving the crown loose and airy. The tousled finish hides the mechanics, suits fine hair beautifully because it never looks flat, and forgives the pieces that inevitably work loose.
This needs a textured cut with a longer top — ask your stylist for a pixie-bob if you do not have one. It is the most DIY-friendly style in this list and the quickest, at around five minutes. Sea-salt spray before pinning and a light mist after gives fine hair the gritty grip it needs to stay up. Length needed: a textured pixie-bob.
16. Sleek Swept-Back Evening Look
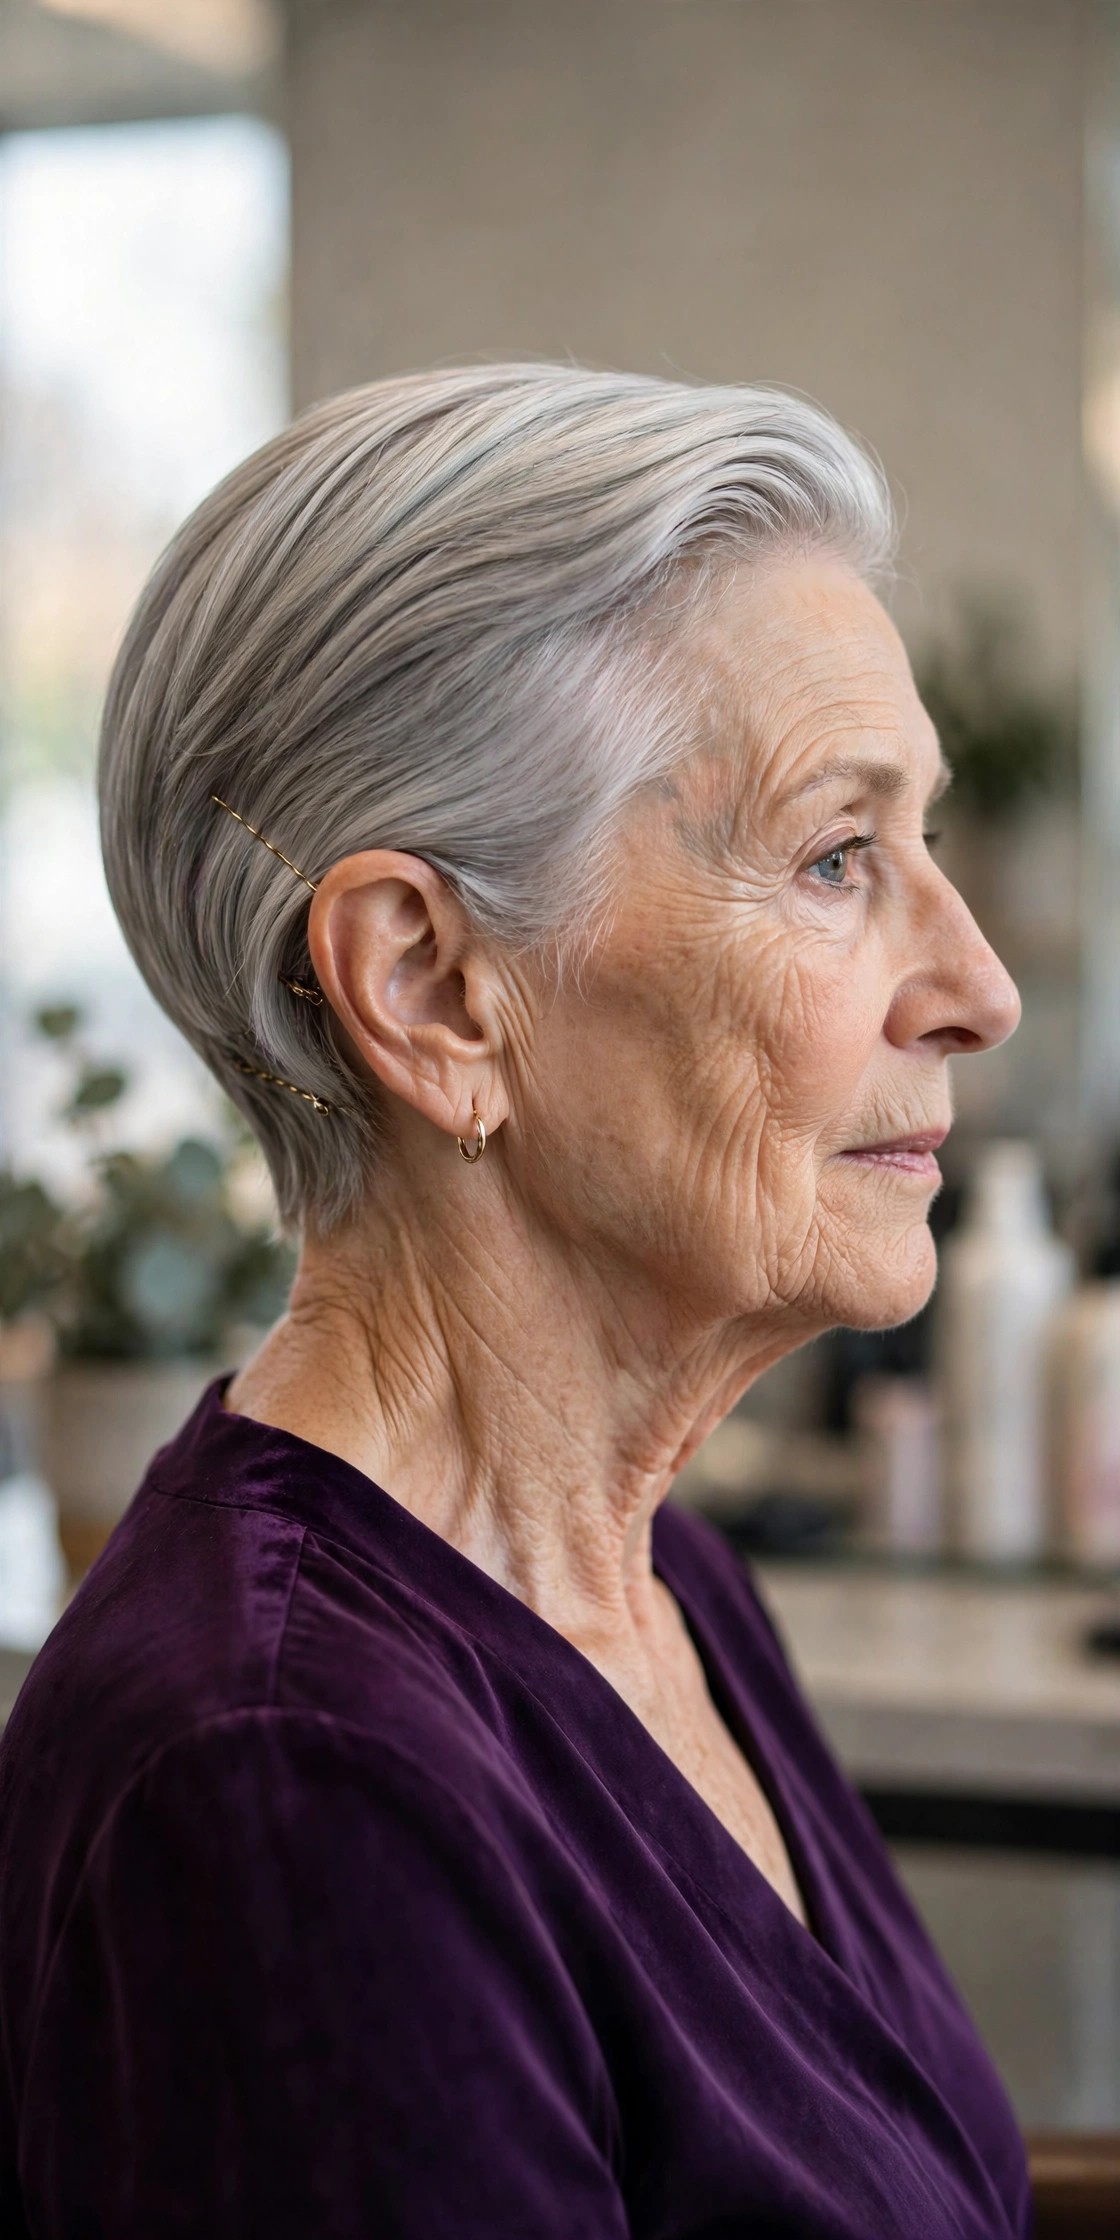
Smooth the hair straight back with a little serum, tuck the sides behind the ears and pin the nape ends flat. The sleek line is striking with silver hair in particular — it shows off the colour, the cheekbones and a good pair of earrings, and it takes minutes rather than an appointment.
Any short length works, including a true pixie. It is entirely DIY, but be light-handed with serum on fine hair or the style will look flat instead of sleek. If your hair is very silky, pin the nape while the hair is still slightly damp from styling, then let it set. Length needed: a short pixie or bob.
17. Double Twist Nape Roll
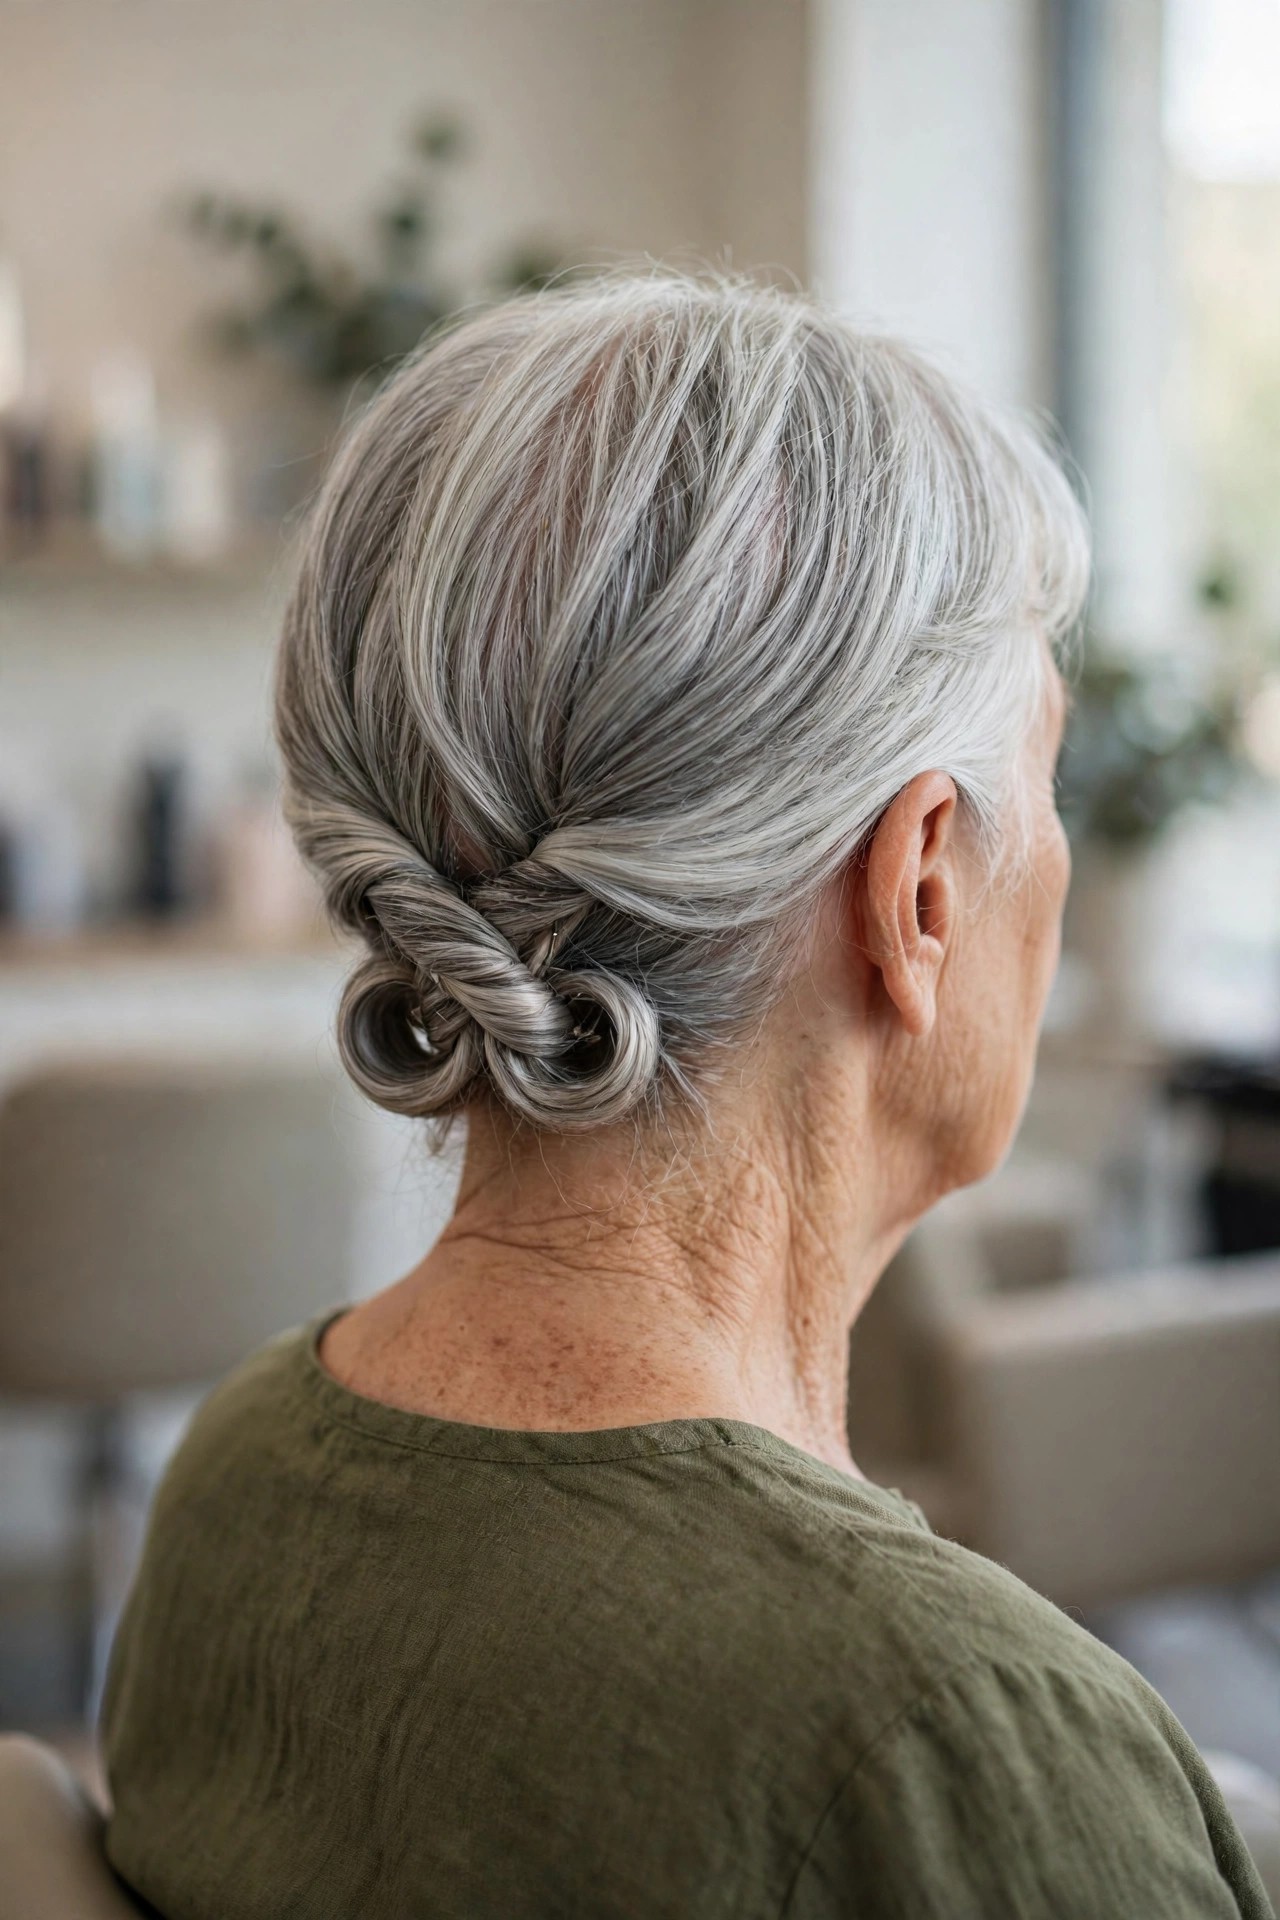
Split the back into two sections, twist each one toward the centre and roll them together at the nape, pinning where they meet. Two smaller twists behave far better on short hair than one big twist — they need less length each, and the doubled roll looks fuller than the hair really is.
A nape-length bob is the minimum. This is a moderate DIY style: easy at the sides, trickier in the centre back, so use two mirrors. Cross your pins in an X at the meeting point; that single trick doubles how long the roll holds on fine or silky hair. Length needed: a short bob.
18. Pearl-Pin Accented Bob Updo
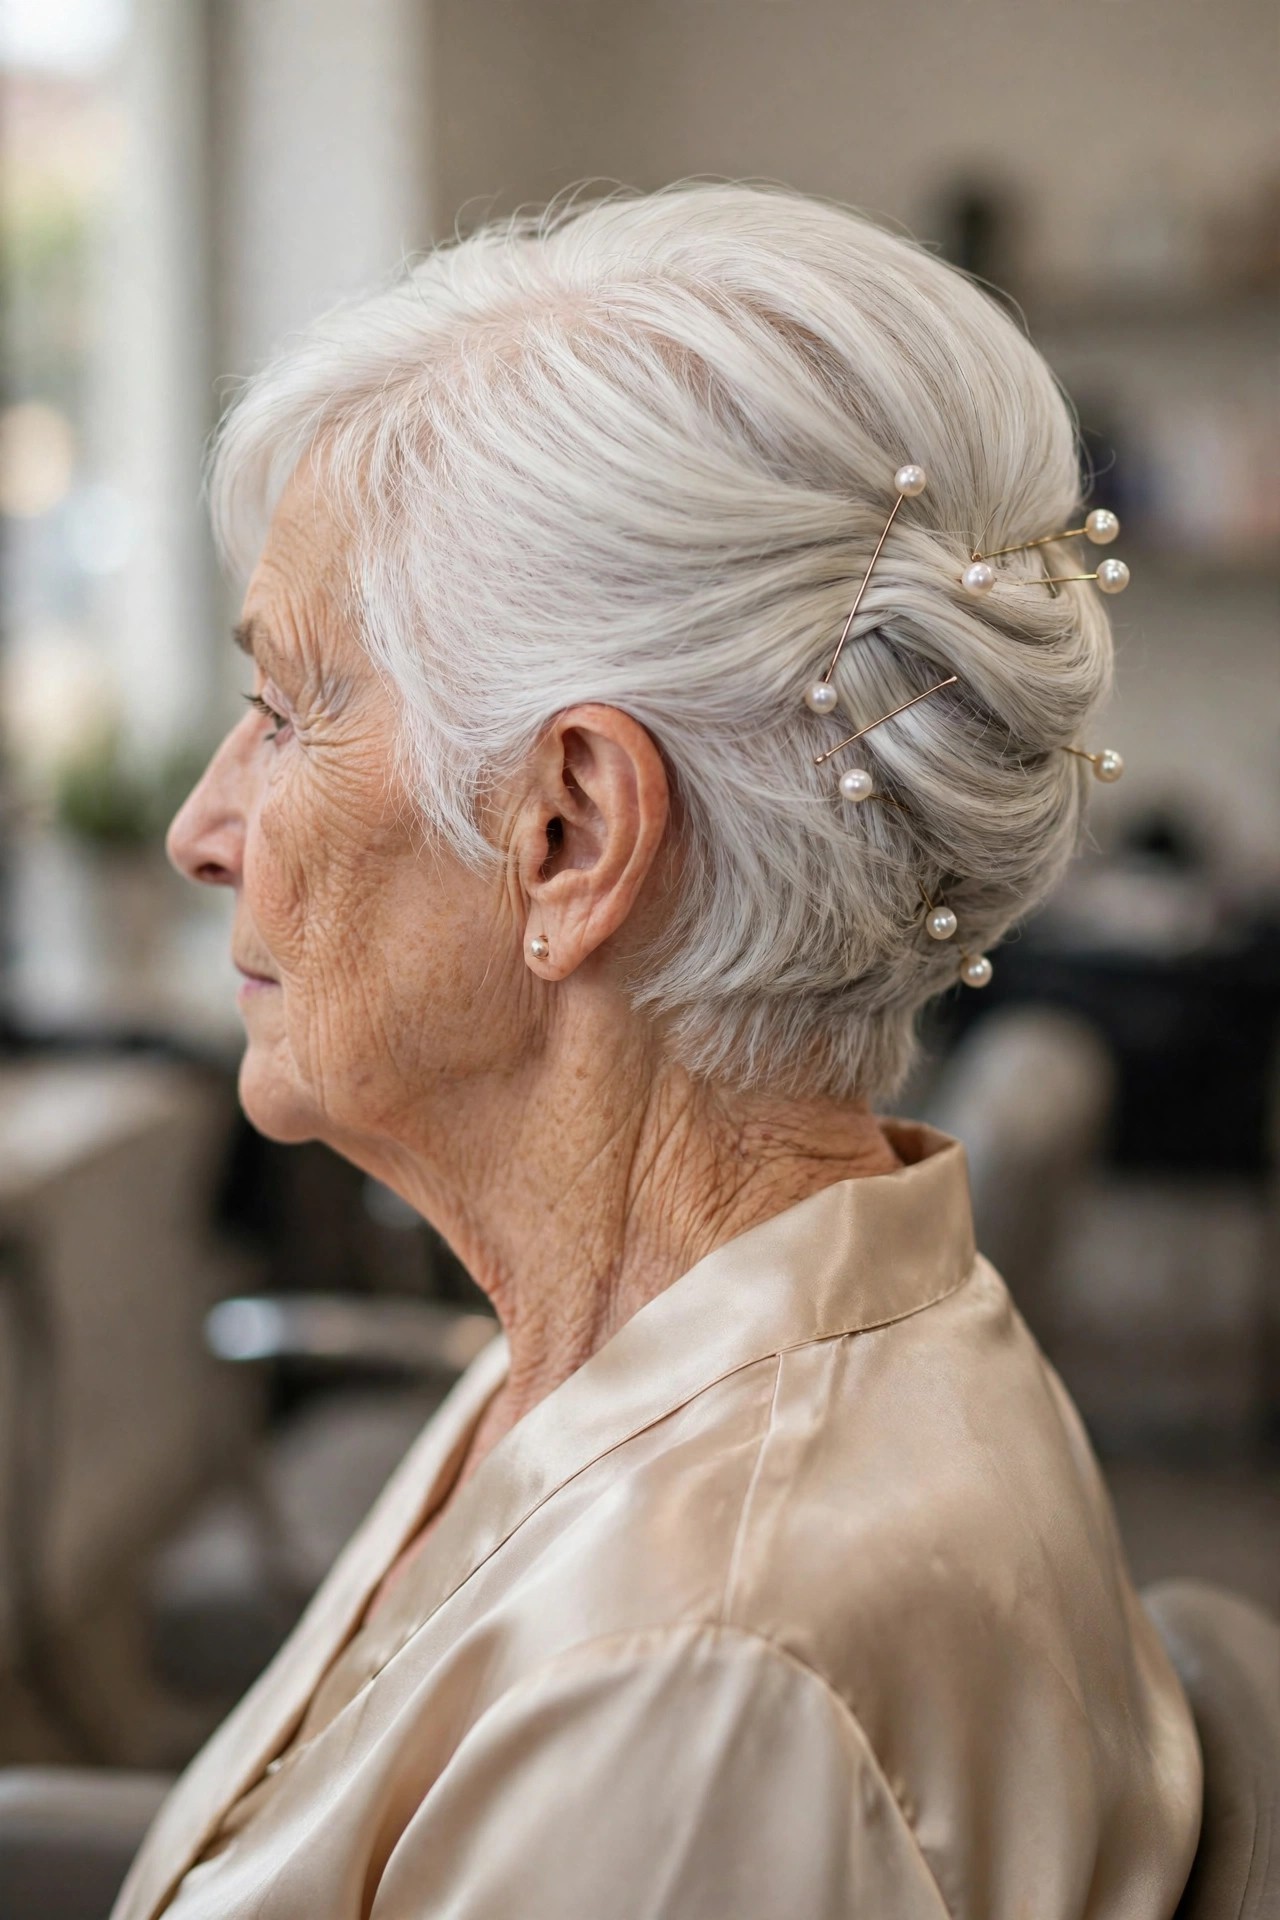
Tuck and pin the back of the bob up in soft sections, then finish with pearl U-pins placed deliberately where the tucks meet. The pearls are not decoration added at the end — placed at the joins, they hide the working pins and make a simple tucked style look planned and precious.
Any bob from jaw to chin length works. It is DIY-friendly and a lovely choice for mothers of the bride or groom who want polish without a salon visit. Match pearl size to your hair: large pearls overwhelm fine hair, while small pearls disappear into thick hair. Length needed: a short bob.

19. Curly Crown Pin-Up
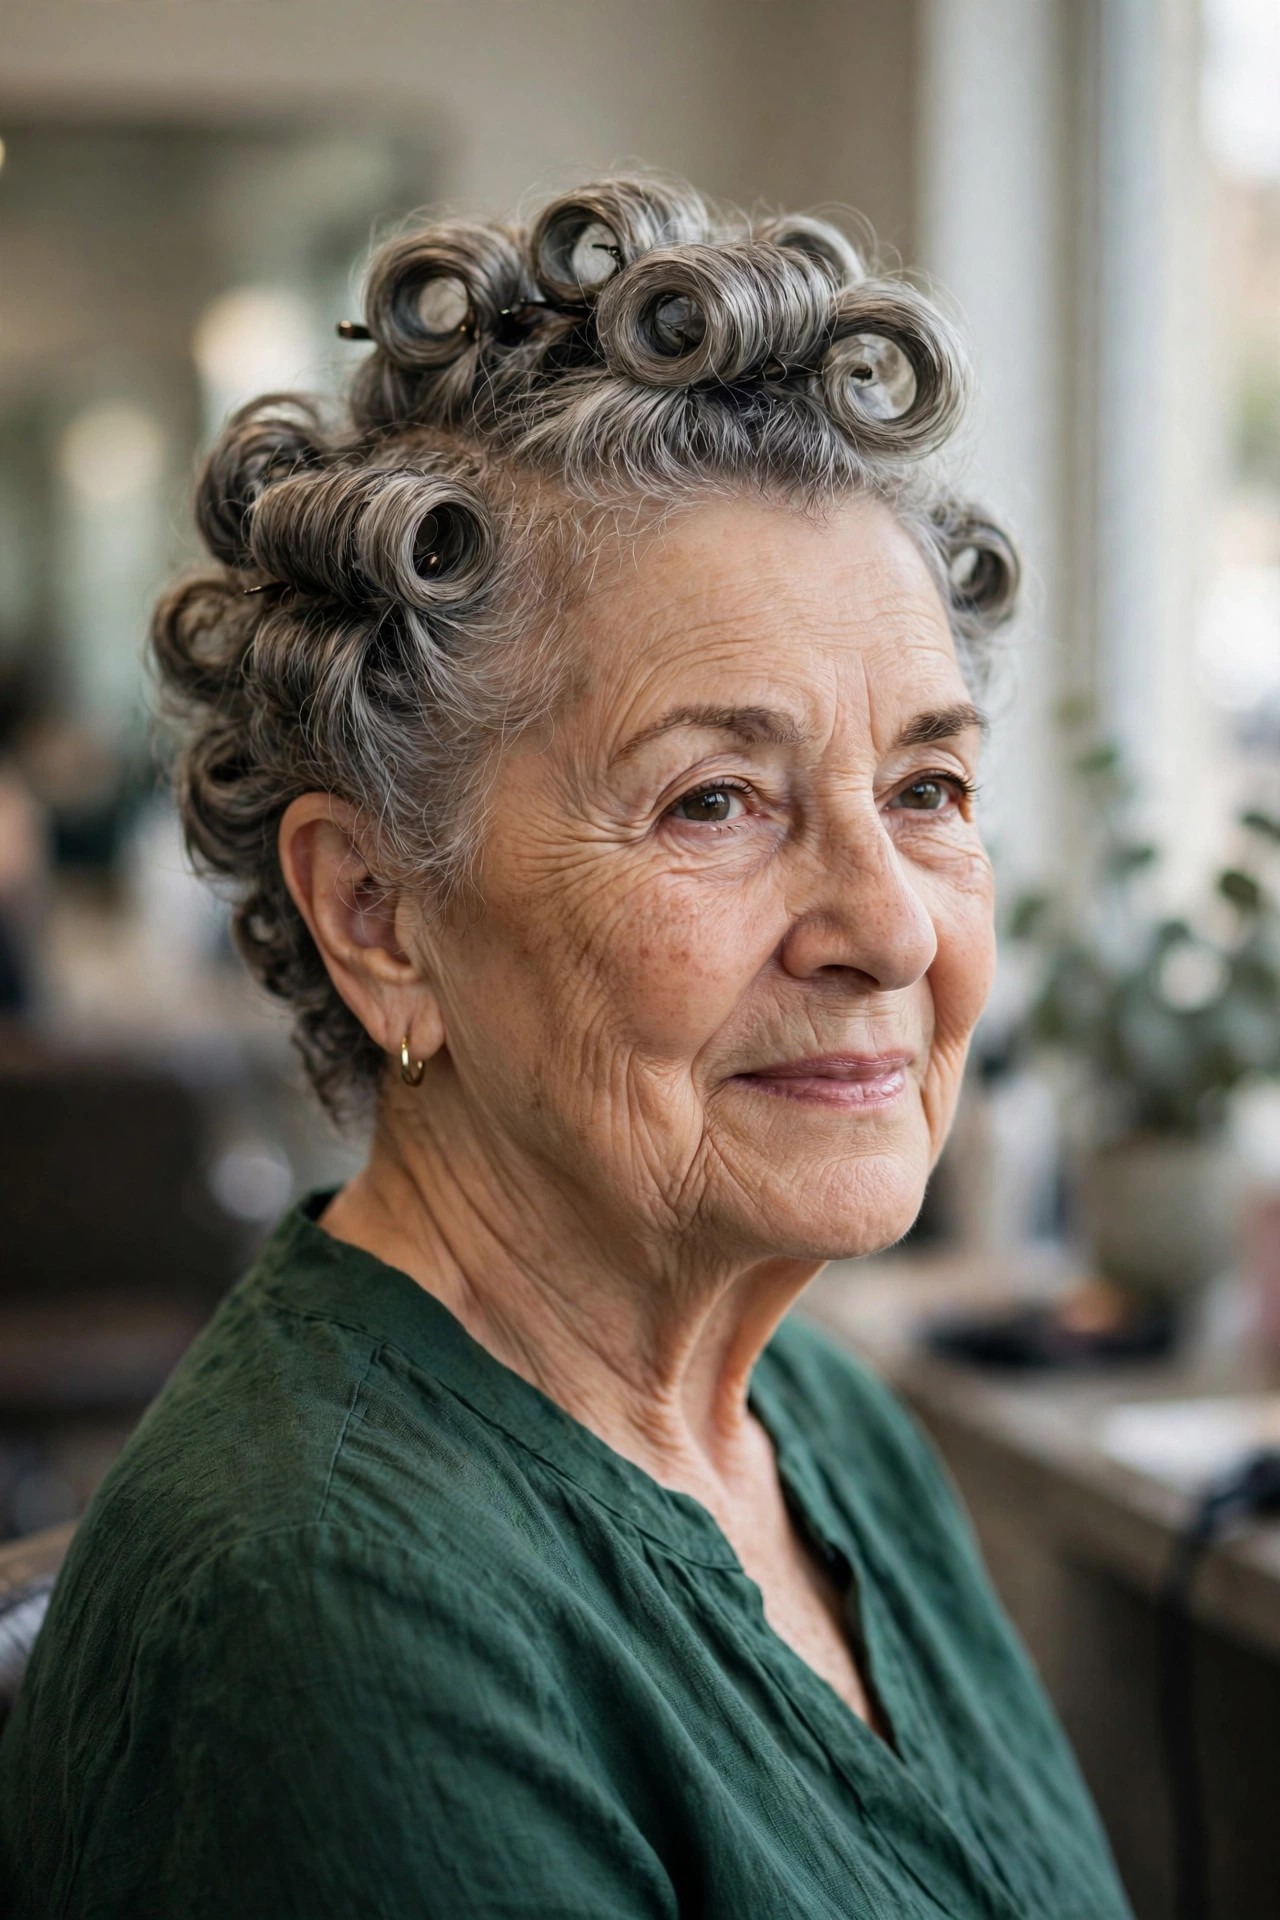
Gather short curls upward and pin them high on the crown, letting a few curls soften the hairline. Pinning curls up, rather than smoothing them down, works with their natural lift, so the style holds for hours with surprisingly few pins and never looks forced.
Best on short curly hair of three inches or more. It is an easy DIY style, and naturally curly hair needs no heat or setting first. If your curls are fine, pin into the base of each curl rather than the ends, and finish with the lightest mist of spray — heavy spray makes curls look crunchy in photographs. Length needed: short curly hair.
20. Elegant Side Roll with Soft Fringe
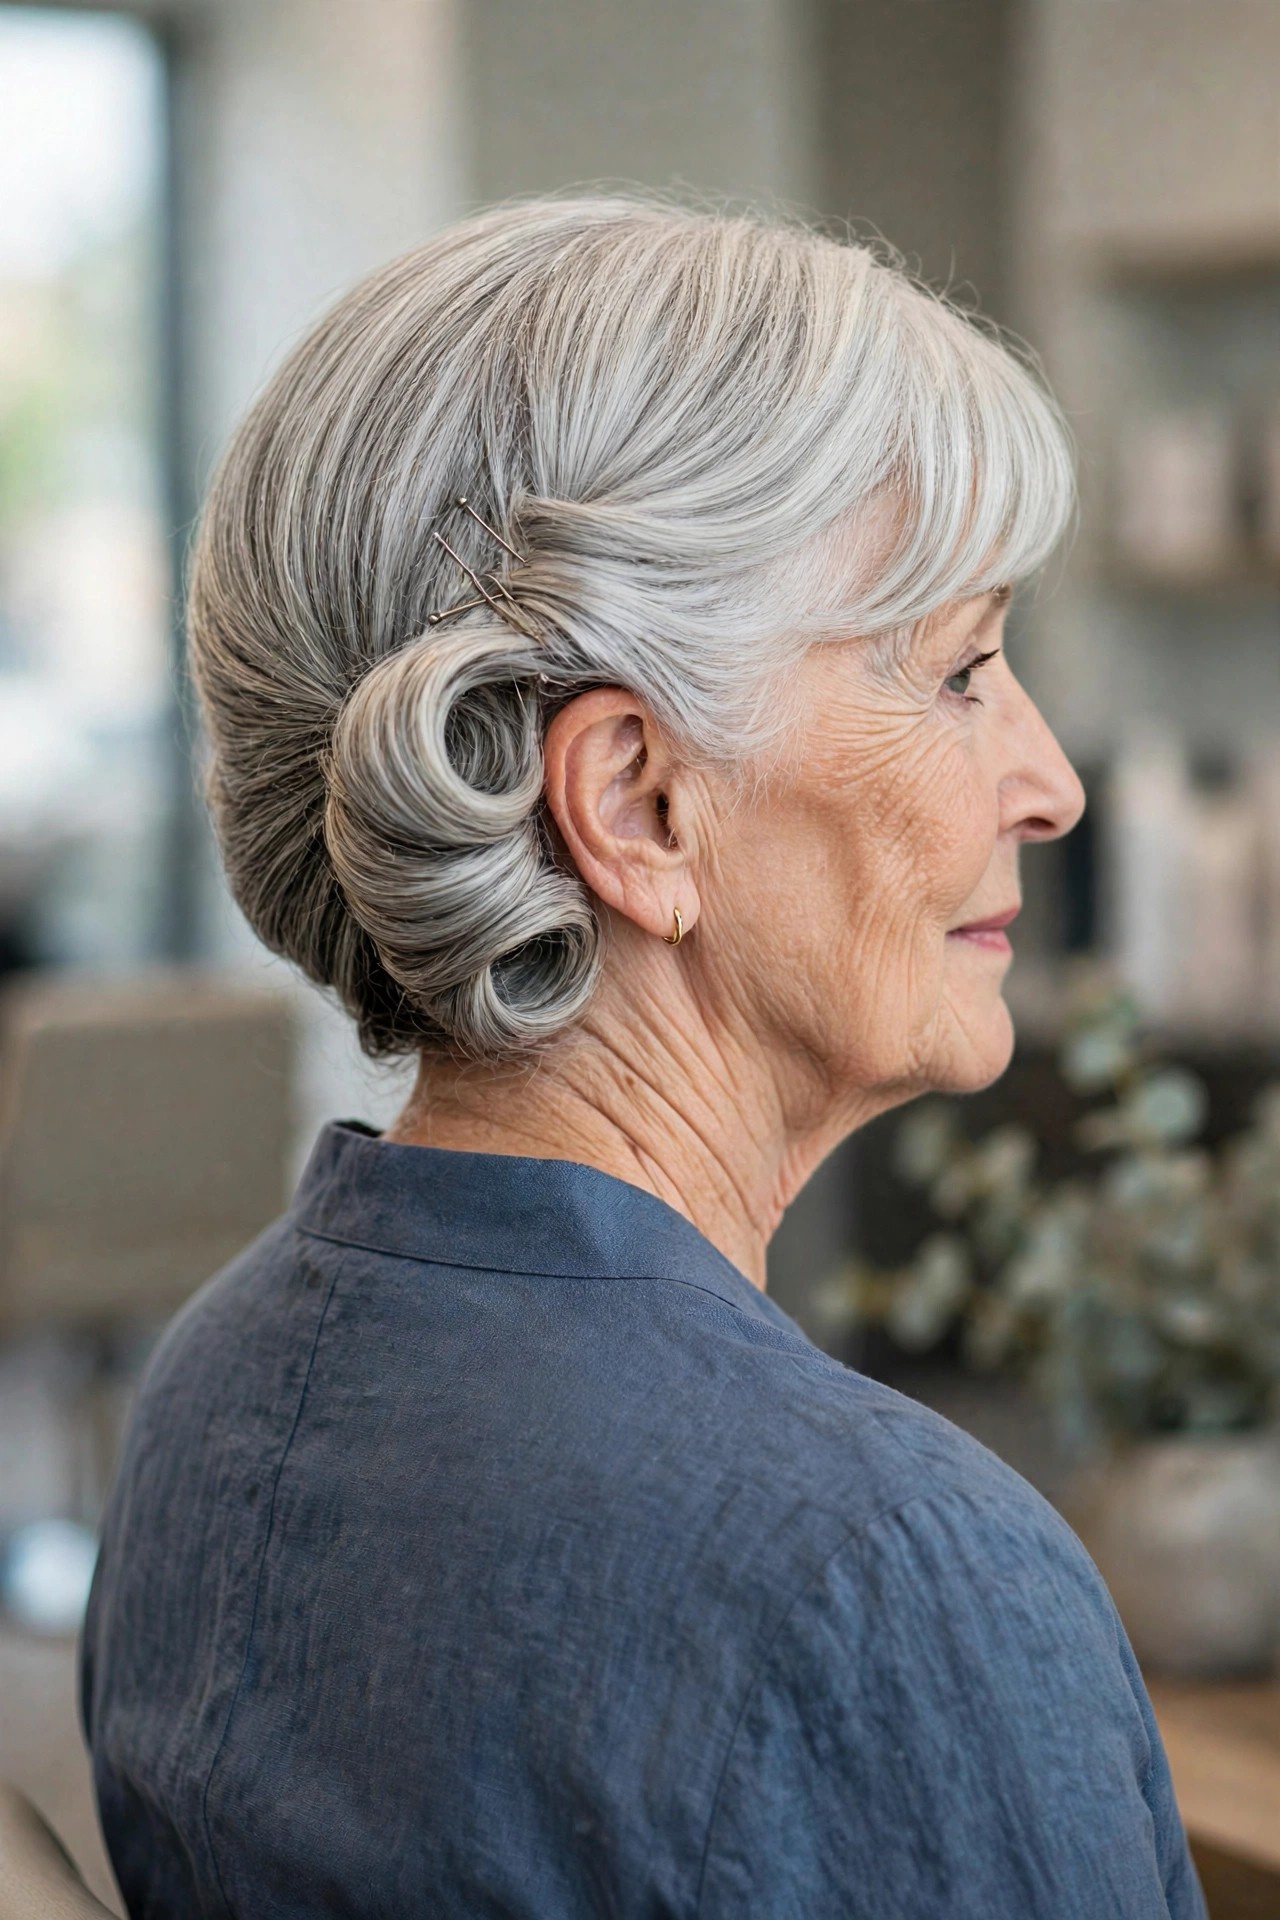
Roll one side of the bob inward, from the temple down to the nape, and pin along the roll, while the soft fringe stays forward to frame the face. Keeping the fringe is the kind detail here: it softens the whole look and means the style flatters, rather than exposes, the forehead.
You need a side section long enough to roll — a bob with a longer side works best — and a fringe you already wear, or soft face-framing pieces. Rolling your own side is a moderate DIY task that gets easy with practice. A stylist version will be smoother, but the home version has a softness that suits daytime events. Length needed: a short bob with fringe.
Recommended Products
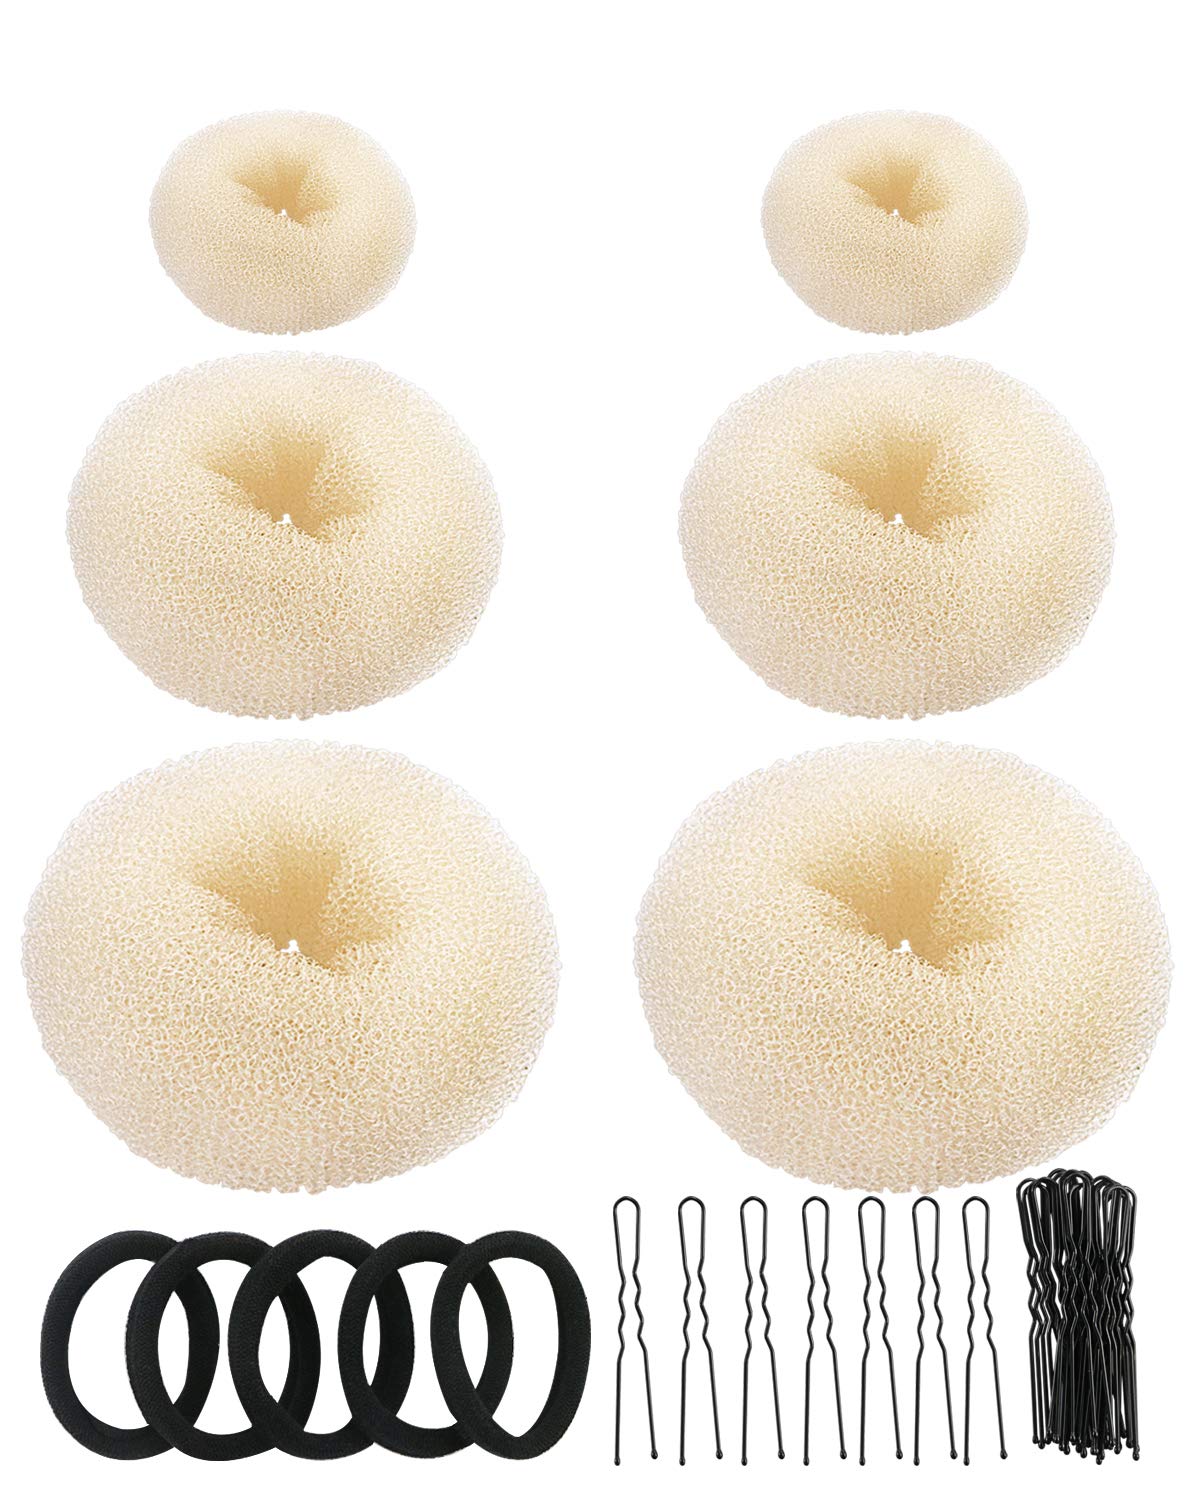
These are the tools that make short-hair updos actually hold: proper U-pins, a bun maker for faux fullness, grip-building texture, and a flexible spray that does not turn fine hair stiff. For more everyday styling ideas between events, see these wedding guest hairstyles for women over 50 with short hair and the timeless shapes in bob hairstyles for women over 60.
Care and Styling Checklist for Short Updos
- Start on day-two hair, or add dry shampoo — clean, silky hair slips out of pins.
- Use U-pins for rolls and tucks, bobby pins for flat sections, and cross pins in an X for hold.
- Backcomb lightly, only at the crown and only where pins will sit.
- Pin into the base of curls and twists, never just the ends.
- Keep a small repair kit in your bag: four spare pins and a travel spray.
- Remove pins gently and condition afterwards — never pull a tucked roll apart dry.
Frequently Asked Questions
Can you really do an updo with short hair over 60?
Yes — but it will be a faux updo built from tucking, rolling, twisting and pinning, not a gathered bun. Bobs can achieve tucked, rolled and chignon-illusion styles, while grown-out pixies suit twists, halos and pinned crowns. The key is matching the style to the length you actually have.
How long does short hair need to be for an updo?
A pixie-bob or grown-out pixie with three to four inches on top can manage twists and pinned styles. Rolled, tucked and Gibson-style updos need a jaw- to chin-length bob. If your hair is a fresh, short pixie, the swept-back and sleek styles in this list are your best options until it grows a little.
How do I make pins hold in fine, silky short hair?
Build grip before you pin: dry shampoo or texture spray on dry hair, a light backcomb where the pin will sit, and U-pins crossed in an X. Pins pushed into textured, slightly teased hair hold several times longer than pins in smooth, freshly washed hair.
Which short updo is best for a wedding?
For photographs and a long day, the Low Pinned Chignon Illusion, the Soft French Twist for a Short Bob and the Pearl-Pin Accented Bob Updo look the most formal. Book a stylist for the twist and chignon illusion if it is your first time; the pearl-pin tuck is realistic to do at home with one practice run.
Will an updo work with glasses?
Yes. Swept-back and side-roll styles keep hair away from the arms of your glasses, and pinned crowns add height that balances frames nicely. Avoid heavy side sections tucked behind the ears, which can push glasses forward — pin sides slightly above the ear instead.
An elegant updo at over 60 is not about having more hair — it is about using the hair you have with intention. Pick the one style above that honestly matches your length, practise it once on a quiet afternoon, and you will walk into your next wedding, dinner or photograph feeling polished rather than preoccupied. Short hair, beautifully pinned, is as elegant as any long-hair updo in the room.